Jumping into Projector Sewing

This is a sponsored post. Products have been given to me in exchange for a review.

If you’ve been around the sewing world for very long you know that projector sewing is here to stay. I’m always on the cautious side of ‘trends’ and usually wait way too long before I pick up anything new technology-wise. I’m a creature of habit and comfort and it’s got to be GOOD for me to change my ways. It seems to take me far too long to pick up on things and man, do I need things dumbed WAY down for me to understand them. So of course I’ve been dragging my feet forever when it comes to switching to using a projector for sewing pdf patterns. When Vankyo reached out to me to see if I would be interested in trying one of their projectors in exchange for a post about my experience, well, let’s just say it was the push this stubborn lady needed!

Vankyo has multiple projectors they promote for sewing (you can see them here) and I got the Leisure 470. It checks all of the necessary boxes for ideal use with patterns- 720p, remote, screen mirroring, WiFi connection. They sent along a ceiling mount as well so I was set to get started.

My ceiling had a spot where a chandelier used to be that was just waiting for a projector to be mounted there. It also means that I will be able to easily wire my projector to the ceiling and ditch the power cord soon! We had this up and mounted in no time.

My sewing space is in our basement right at the bottom of our stairs. It’s not big and glamorous but it works really well for me (and now my girls too!). I was a little concerned that my throw height would be too short since it’s a lower basement ceiling but with 5 feet from the projector to the tabletop, it works great! I loved that this projector was sooooo user friendly- like plug it in and follow a couple of easy steps and my pattern was screen mirrored in seconds! Now actually getting to where I felt good about cutting a pattern took me a bit. There are so many helpful resources out there that really walk you through every aspect of setting up your projector, from calibrating to pattern adjustments. I’ve been in the Projectors for Sewing Facebook group for ages and it was the first place I turned when researching. I highly suggest starting with the files in this group to get you started. Many pattern designers have blogs that offer useful information, especially if you are using one of their projector files. I turned to Love Notions since I was sewing up the Allegro pattern and Katie Kimmell has an excellent post that takes you through the basics of using a projector file.

While the projector itself was a breeze to setup, I thought I’d share a couple of my stumbling blocks as I started this new way of life (there’s no turning back now right?!). With my sewing space in the basement, I typically use my phone for reading pattern instructions so I was hopeful I could use my phone to project from as well. It opened up and mirrored easily but I couldn’t get my pattern zoomed large enough to be calibrated correctly but small enough to fit a pattern piece on my tiny phone screen (that then projects onto your surface). It was also suggested to use Adobe Acrobat to project files (it’s what you typically use to print files as well). One snag is that the mobile app doesn’t support the layers function making it difficult to calibrate a file if you can’t turn on the grid and also difficult to cut the correct size if you can’t turn off the size layers. Now, these are all newbie issues and I’m sure there’s a work around that I’ll need to look more into.

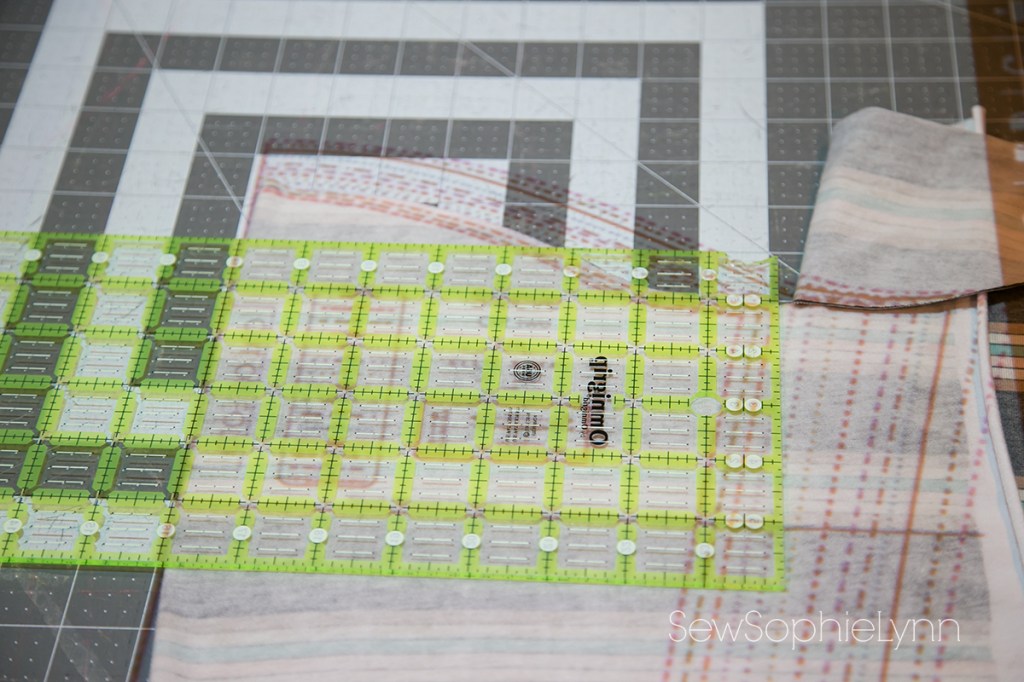
Once I snagged my husband’s laptop we were in business! I was able to easily project my first pattern, the Ellie and Mac Oversized Tee. I went with a loose, knit pattern to keep it simple but I didn’t need to worry. It was super easy to check the 1″ square on the pattern page to ensure my pattern was the correct size. One reason many people are hesitant with projectors is that it makes pattern adjustments a little more difficult. For me, my most common adjustment is adding length and it was so easy! No extra paper to tape on, just my trusty quilting ruler.

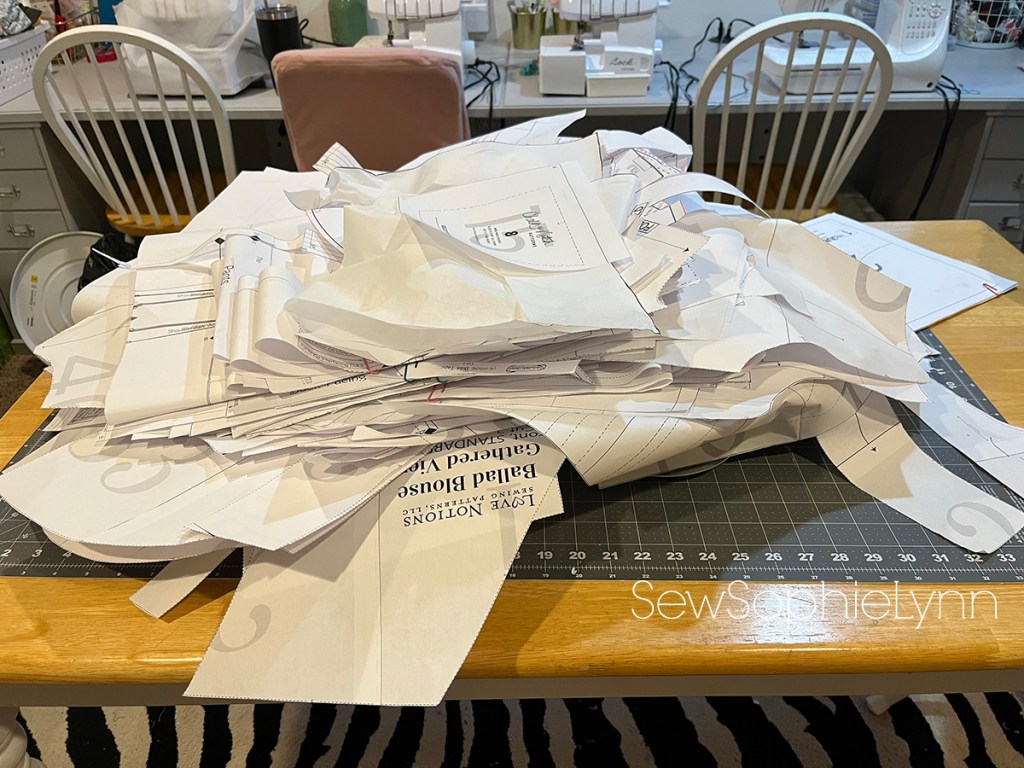
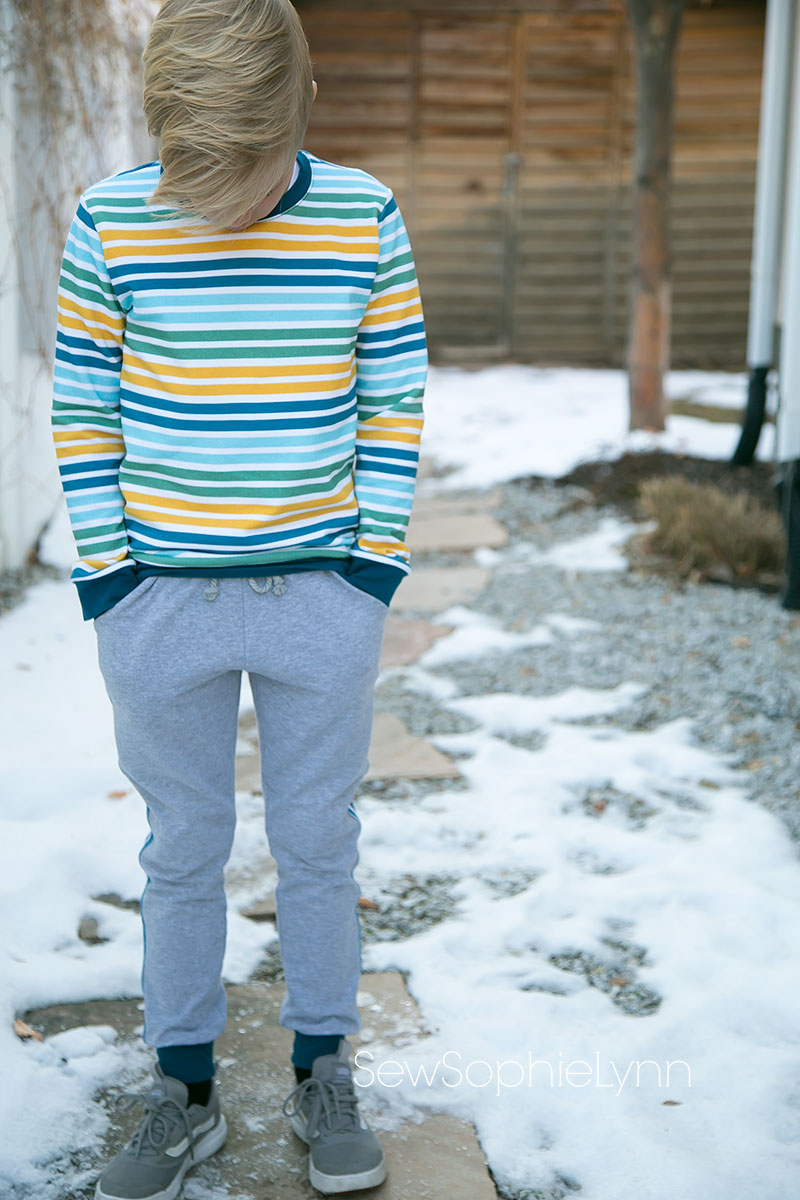
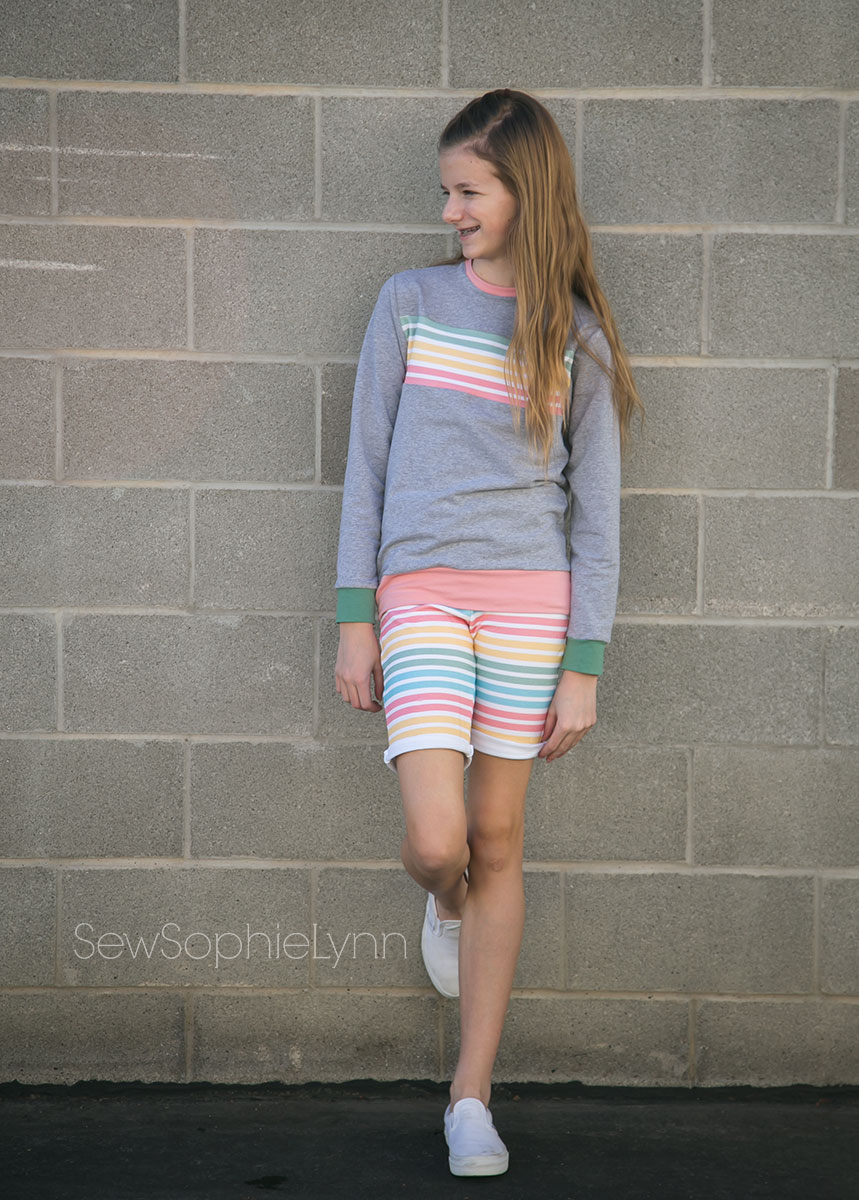
Since I sew for my kids so much a projector just makes so much sense! This is my pile of printed patterns from the last year or so that I hadn’t filed away. Going through them about 75% were for my kids which means you guessed it, they had already outgrown them! I can’t wait to not have to print and cut out multiple sizes as my kids grow and grow or when I’m sewing up the same pattern for multiple kids. I’ve cut way down on pattern testing but in future tests a projector file would save a ton of time and paper. Paper- that’s a whole other issue. For patterns that I use again and again, I never felt bad about printing a pattern. But for those patterns that you might only use once or twice the waste is a little disheartening. Not anymore!

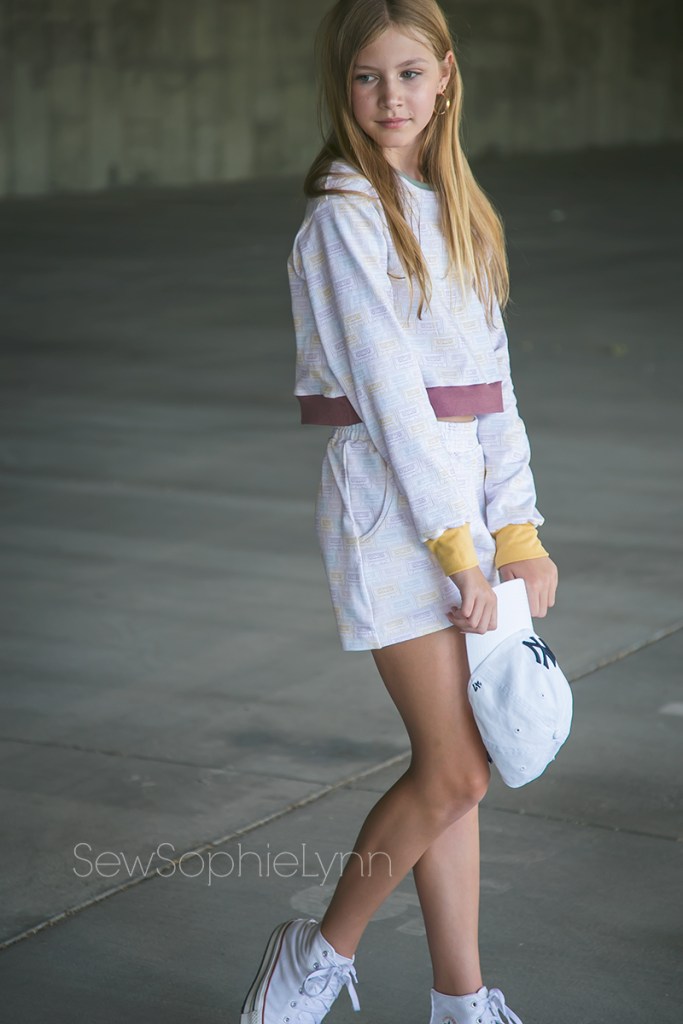
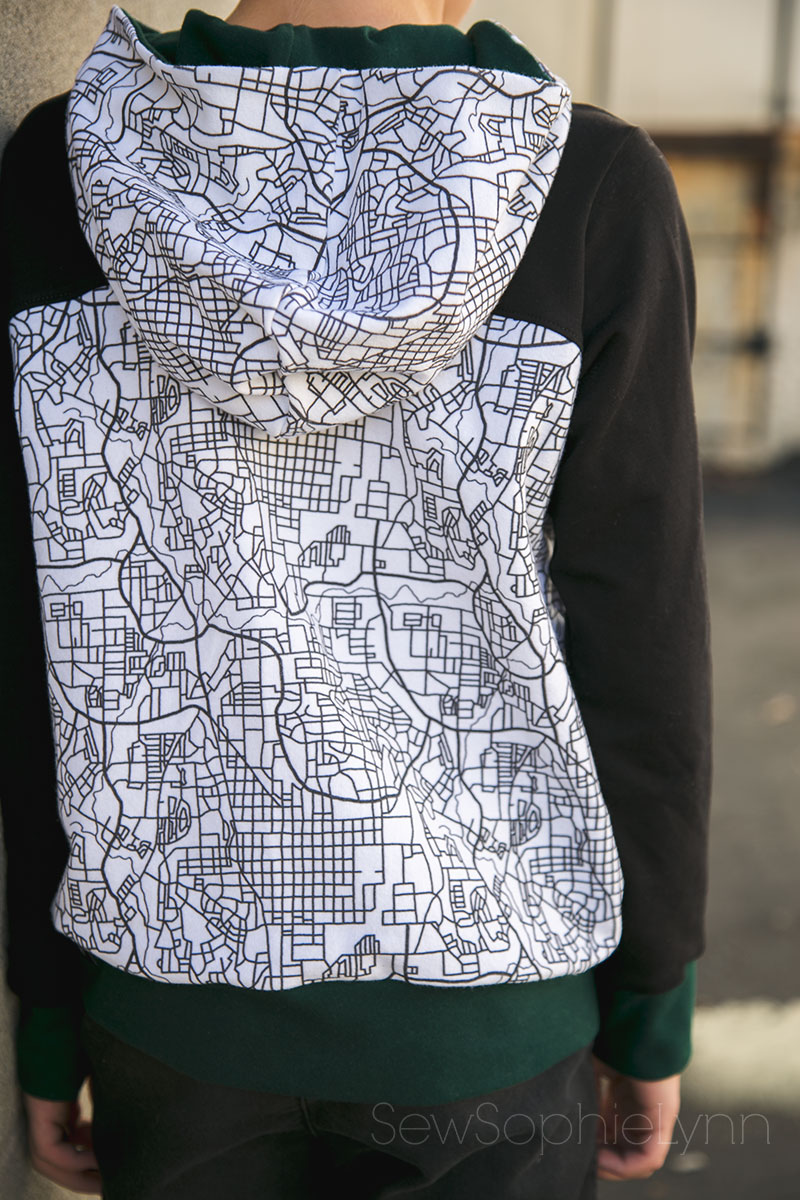
This is my first official ‘projector’ outfit: an Ellie and Mac Oversized Tee paired with a Love Notions Allegro skirt. I used a super soft jersey knit I got in LA for a comfy on the go summer look. I’m really wishing I’d sewn this earlier in the summer because it’s so breezy and cute!

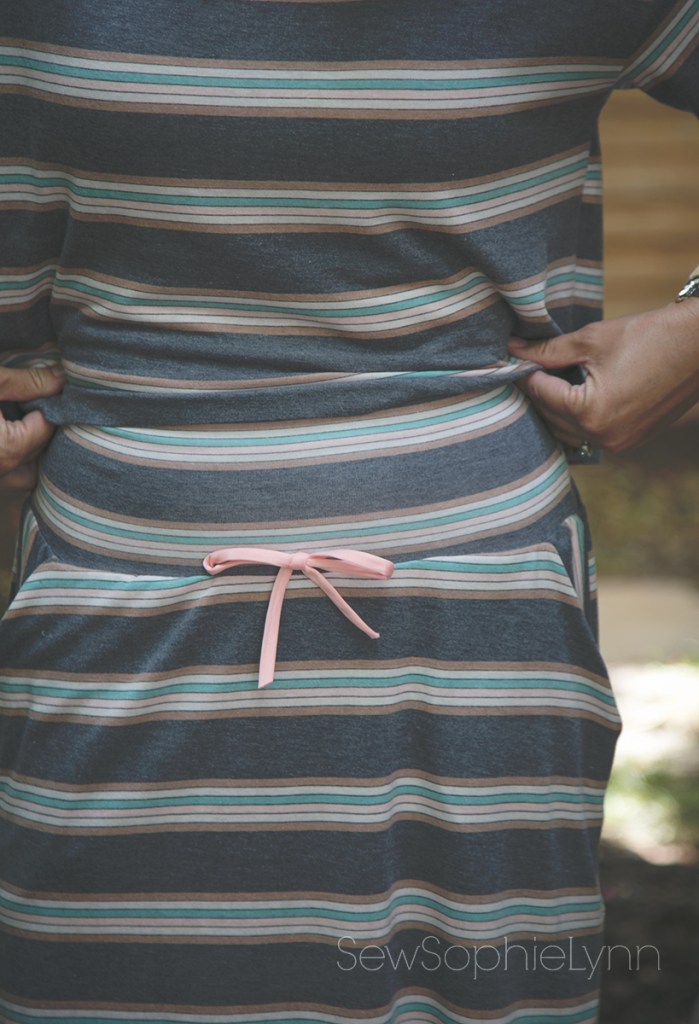
It might not have been the simplest choice to use stripes for my first project but it wasn’t too bad. I was easily able to make the adjustments I wanted to these patterns. For the top, I added an inch to the sleeve length and two inches to the hemmed crop top length. For the skirt, I did a yoga waistband to keep it extra comfortable.

I kind of feel like the last person to jump on the projector band wagon but let me tell you, I am so excited! Vankyo has such affordable options and amazing reviews. If you’re anything like me you like to scout out as many reviews as you can and guess what? They all said the same thing- great, easy to use projectors at incredible prices! Thank you Vankyo for bringing this sewing chic into 2022!

Teen Style with RCF Back to School Line

As my girls are getting older, their love of clothes is getting RIDICULOUS! They love fashion and work hard and save their money to spend on the latest ready-to-wear trends. I love being able to sew things for them still and it is an even bigger thrill when they reach for their handmade wardrobes over their RTW goods!

This little miss is spending her summer dancing and it was so fun to sew up a new mini capsule for those long dance days.

The Raspberry Creek Fabrics Back to School collection just dropped and is on sale through today. I honestly thought my girls would be over Back to School prints but Kim Henrie’s School is Cool line works way beyond the classroom! I used the Mix Tape print in cozy french terry and the Checkers in rib knit for a cute mix and match look.

I used the Made for Mermaids Nicky Top and Bonny Leggings for the rib knit set. The Nicky top is our go-to boxy crop tee. We both love the fit so much. The Bonny Leggings is a free pattern and sooo easy to sew up that she sewed them up herself! It was a fun sewing day with my girly sewing up these pieces.

For the french terry pieces I used the Ellie and Mac Oversized Tee and Shwin Designs Starr Joggers. For the crop sweatshirt I used scraps of ribbing I had in my stash (from RCF as well). The Starr Joggers are modified slightly by cutting them into shorts. She loves this jogger pattern because it is a little roomier and relaxed than most.

Man, outfitting this cute teen is just too fun!

Raspberry Creek Fabrics Spring 2020 CLUB line

group1

I absolutely LOVE this time of year.  February, you ask?!  No, I am so over winter BUT February means new CLUB prints from Raspberry Creek Fabrics!  Spring sewing is just what I need to beat these winter blues!

apreski3

Part of my job at Raspberry Creek Fabrics is that I get to work with our strike team.  As soon as we preview each new line, I sit down with my kiddos and they ooh and aah over all the new prints.  They always have a handful of favorites that they want immediately in their closets.  It usually goes something like this, “I want a hoodie out of that, a t-shirt in that, pj’s in those, and a dress in that print!”  Sometimes their wish lists are a mile long!

boystripes1

I’m usually happy to oblige!  CLUB knits are my favorites to sew with.  They are stable and my serger LOVES them.  Most of these projects are quick and easy sews, usually taking under an hour per garment.  That’s my kind of project- especially when I have three eager kiddos awaiting each finished piece.  I’m excited to share what I’ve sewn up so far from the new spring collection.

hatteras2hatteras5hatteras4

This look was one I debated making for myself.  My tween and I are usually on the same page fashion-wise and if it’s something I’m crushing on I can pretty much guarantee she wants it too.  Chest stripe sweatshirts keep cropping up everywhere and I knew I wanted to recreate one- this time she was the lucky recipient.  I used the Flora Stripe in french terry, paired with the light heather grey french terry and deep sage and dusty rose jersey.   I sewed up the Hatteras Hoodie from Hey June Handmade and did my own color blocking with the stripes.  An easy hack for such a cute result!  I threw in a pair of lounge shorts using the Lexi and Lou Loungers from Made for Mermaids.  She’s already worn the sweatshirt to school with jeans in this cold weather and I think come summer this will be a cute outfit to throw on after a day at the pool.

apreski4apreski2apreski1

This girl is all about the girly prints and fun details.  I’ve been wanting to sew up another Striped Swallow Designs Apres Ski top for her and this pretty floral was just perfect for it.   I’ve sewn up the Apres Ski plenty of times before in lighter-weight fabrics but I think this jersey just might be my favorite.  I love how full the sleeves look in it!

boystripes4Boystripes3Boystripes2

This little guy was the proud recipient of a handful of new clothes this past week.  He’s growing so fast and I’m desperately trying to keep him clothed so this was perfect timing.  I’m a sucker for stripes and the spring line is full of so many good ones.  I used the Fauna stripes in french terry paired with the grey heather ft and teal jersey this time.  I sewed up a classic Sew A Little Seam Constance Sweater using the stripes.  For the pants I used True Bias Mini Hudson Pants and sewed a racing stripe to the side seam using the Fauna stripes.  I simply cut the stripe leaving the white stripe on either side and folded that under.  I sewed the first side down right on the side seam then sewed the other side down on the back of the pants.  Another easy hack that takes these pants up a notch!

rowan1rowan2rowan3

This kid loves his hoodies and was smitten with this Knight and Dragon fabric too.  This time I used jersey fabric for a lighter weight top that will work well through spring.  I turned to the Rowan tee from Titchy Threads (it’s a good one if you haven’t tried it!).  It’s got a slim fit that fits my little guy so well.  I love that arm stripe detail!

charlie1charlie3charlie4charlie5

This last piece for Charlie is quite possibly my favorite thing in his wardrobe.  It was such a fun make and I love how it came out.  I used the Ellie and Mac Be Creative Hoodie.  It was my first Ellie and Mac make and I have to admit I’m always apprehensive trying out new designers.  I was so impressed with this pattern and all the little details it includes.  Those are faux drawstrings which I love considering they ALWAYS come out in the wash.  The color blocking options with this pattern are so fun too.  I used this amazing City Map print in french terry paired with black french terry and hunter jersey for a sweatshirt that is our high school colors.  He’s already excited to wear this to his big brother’s soccer games!

Fun fact about this kiddo:  He wore these fake glasses all last week and convinced all his friends they were his reading glasses.  He made sure to include that he was getting contacts this weekend so he wasn’t stuck wearing them forever!  Yes, we did have a little chat about it but man, did he crack me up!  I love that I got these pictures to remember this funny little man!

hatteras3charlie2apreski5group2

Have you filled up your cart yet?  What prints are you getting?  Remember that release week pricing of $1 off per yard ends Monday February 17th so make sure you check out soon!  I think we all need a little spring sewing!