
This is the dress dreams are made of. It’s one of those things you feel fabulous in but is also so incredibly comfortable you contemplate wearing it everyday- it’s totally appropriate for the soccer field and a Target run, right?!!
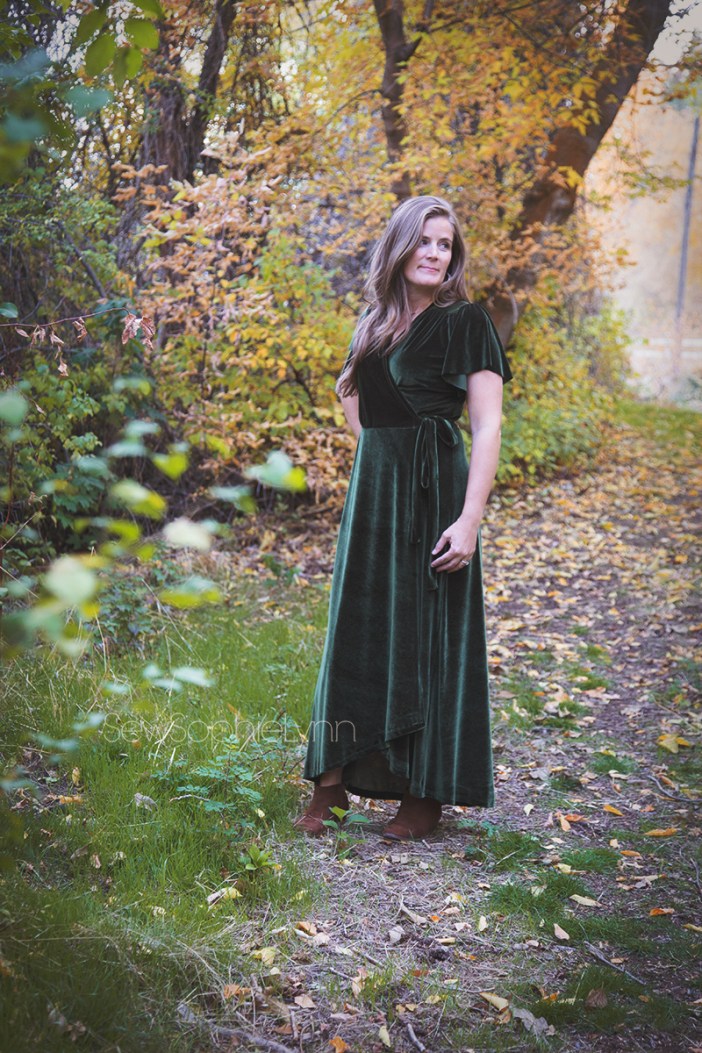

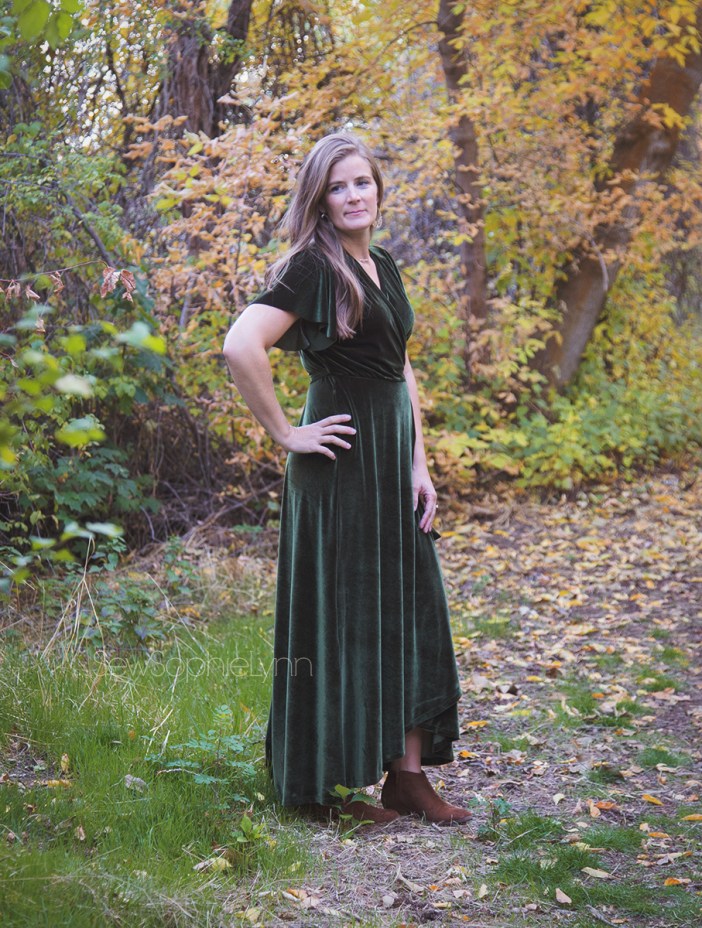
My journey for this dress began back in August when I picked up this luscious olive green velvet from Stylish Fabrics. I knew immediately it needed to be a dress for me and couldn’t get a wrap dress out of my head. I searched and searched for the perfect pattern- I really wanted a higher neckline but couldn’t find one that looked right. The details on the Striped Swallow Designs Summer Dawn were exactly what I wanted though. Those sleeves are just about the most awesome things ever and that shoulder gather is perfection! I grabbed it and then sat on this project while I tried to figure out all the alterations I’d need to do to make it work for me…
The changing leaves really motivated me to get this thing done- I NEEDED a gorgeous fall backdrop to really do justice to this dress!
With a few modifications this dress is all I had hoped it would be. I’ve never even worn a wrap dress before and now I want to fill my closet with them! This style is just my cup of tea- comfortable and classic but with a bit of wow thrown in. I’ll let you in on all my tricks to get the perfect dress for me!

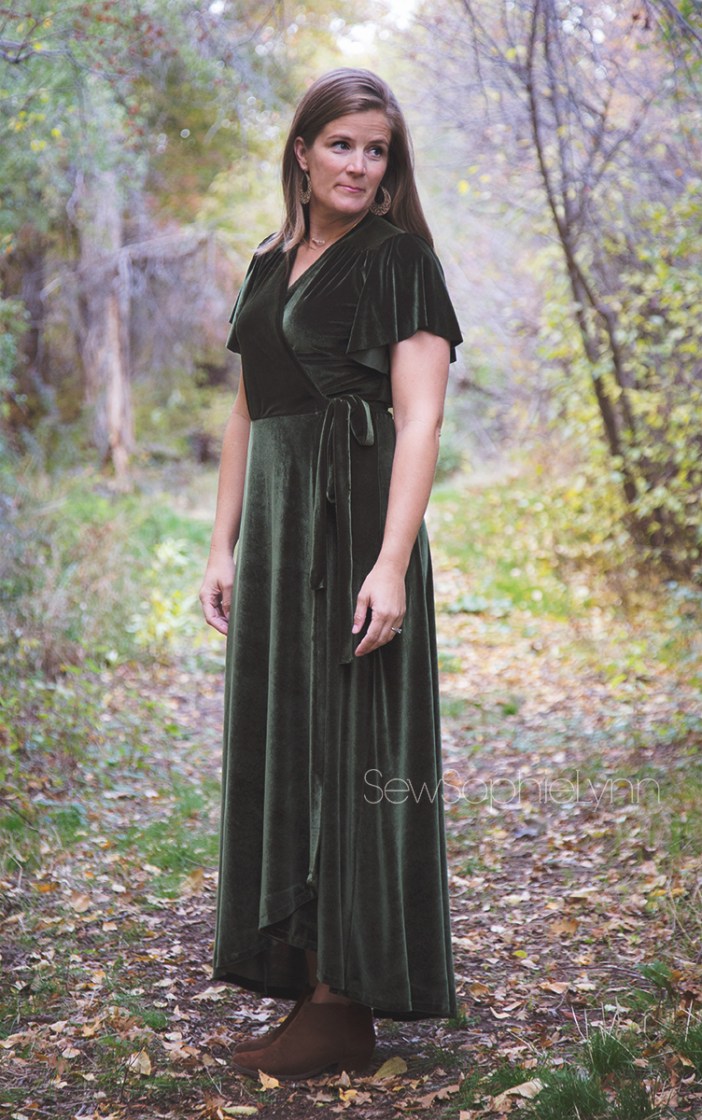
The modifications I made were only to the bodice and straps. In making the alterations I did need to change the construction a bit also. My main goal was to raise the neckline. Every version I’d seen was way too low for my tastes and needs. I’ll be primarily wearing this to church and on the rare special occasion so modesty was key.

I took my front bodice piece and first extended the bottom to fit my front skirt piece. I then drew a line straight up to match the line marked in the picture. From there I extended the diagonal out for more coverage. It didn’t need too much extra.

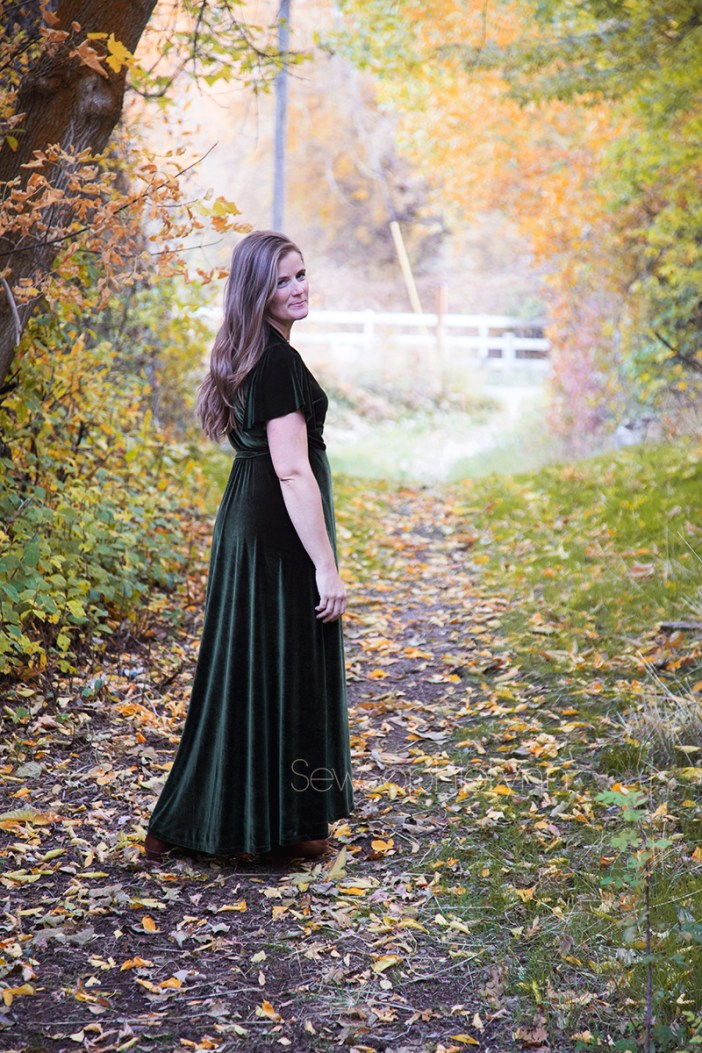
When I attached the neckline binding piece I folded it in half then serged the whole thing on, creating a neckband instead of the hidden binding in the pattern. This added even more coverage. I sandwiched my waist ties in the binding/bodice seam and tacked them down. The pattern calls for one tie to be placed in the side seam and then sewn across the waist. I knew the velvet would add too much unwanted bulk and chose to simply trim my tie and sew it into the binding instead. I also left the sleeves unhemmed, wanting to preserve the flowiness and not add the bulk of a hem. These might be easy alterations for some but it really took some thinking for me. I’m a rule follower and have the hardest time figuring these things out sometimes! It all worked out beautifully and now that I’ve done it once I can easily whip up a few more!

My cute husband was a gem and met me after work to get these pics. I sure love his creative composition and I know it’s not really part of the marriage package to be the on call photographer. He did a fantastic job even though velvet is just about the hardest thing ever to photograph! Now we just need a killer date night where I can wear this out on the town!


It’s so beautiful!! I want to try sewing with velvet now!
LikeLike
This is simply perfect! Wow! The modest neckline is great. I usually end up wearing a top underneath. I will try your steps next time!
LikeLike
You take the most beautiful photos! I have 3 yards of red velvet in my stash and this post is getting my creative juices going. Thanks!
LikeLike
Looks wonderful! Did you find you had much excess yardage compared to the recommended amount? I have two meters and would like to get away with making the maxi length in XS.
LikeLike
I didn’t have a ton left over and I had three yards of fabric. With velvet you have to make sure the nap is going the same direction so it’s a bit trickier!
LikeLike