
We’re halfway through this year’s tour and I hope you’re learning lots! I’ve learned we need more swimsuits, lol! I’ve been so inspired by the other bloggers and my sewing list keeps growing with each new make I see. Luckily we can still get 15% off all swim at Raspberry Creek with code SWIMTOUR through Friday.

Every year I try to sew a couple of suits for me but then I get so wrapped up in sewing for all my kids that my own sewing often gets rushed or doesn’t happen at all. This year I was determined to change that! I sewed all of my suits first, even snagging some of the prints my daughter requested for myself, such a bad mom, lol! I know they have PLENTY of suits and she got over it real fast when she saw her own new suits. Plus, the swim season is young and I’m sure she’ll get even more suits by the time the summer is over.

Part of my struggle in sewing for myself is that I have a hard time settling on patterns for me. This year I tried a new to me swim pattern, used my tried and true bottoms pattern, and used a couple of regular top patterns for swim tops that I adore! After seeing what the other bloggers on the tour have sewn up, I think there are a few more adult swim patterns I’d like to try too.

This is the first suit I sewed up this season because I was dying to try this pattern and this print is my absolute favorite from the new RCF swim collection. The colors in this print are so gorgeous and muted and it comes in both swim knit and boardshort fabric. I think it’d make darling little boy swimmers too! This is one of the prints both of my girls were fighting over too but mama won for now.

I sewed up the Midline Swimsuit from Gingham Hive. Ashley is a local friend and has amazing style (check out her Instagram for the proof!). I knew anything coming from her would be well done and this suit pattern is no exception. She has a sewalong on her blog that really helps walk you through anything that might be tricky.

There are multiple support options and you can use this pattern to create a super supportive sports bra as well. I did the shelf bra option and added bra cups. I skipped the extra lining since RCF swim is pretty substantial and the part that really needs it (the bust) has the shelf bra. The bottoms have a genius construction method that leaves you with pretty insides and no exposed seams. I used swim fabric to line my bottoms. I usually use power mesh in the front of my bottoms and didn’t on these. They still feel pretty supportive but I may add it to the front middle piece in the future (I just really love that extra bit of structure it gives). The multiple pattern pieces on the bottom make them fun for color blocking or playing with pattern too.
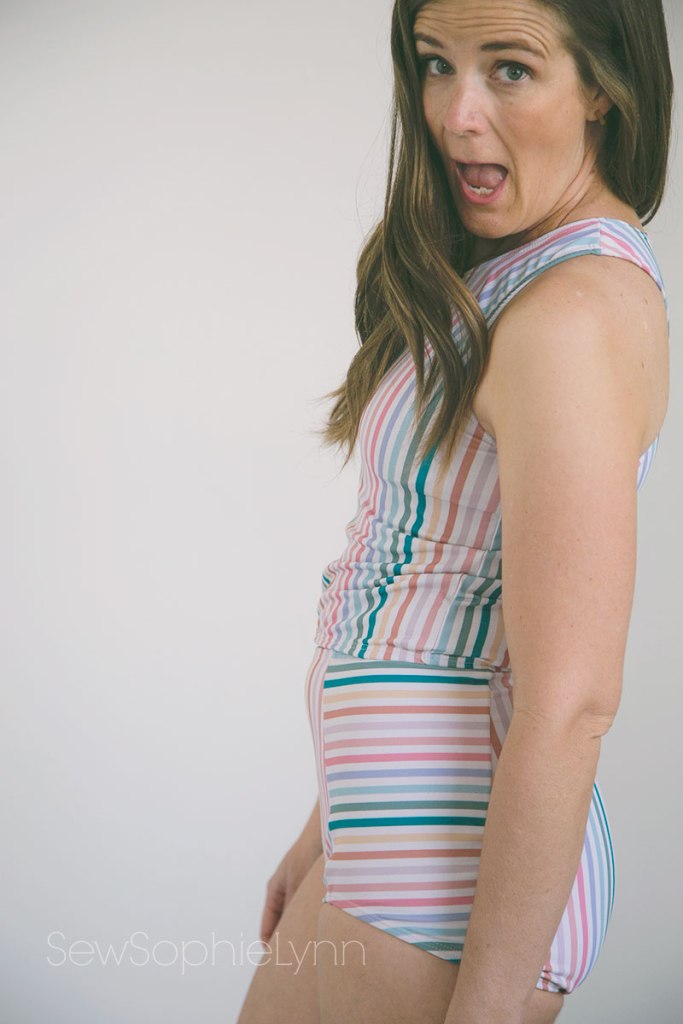
I am super happy with the coverage of this suit and love that I can mix and match it with the other pieces I sewed up. I’m pretty positive that there will be more Midline Suits in my wardrobe.
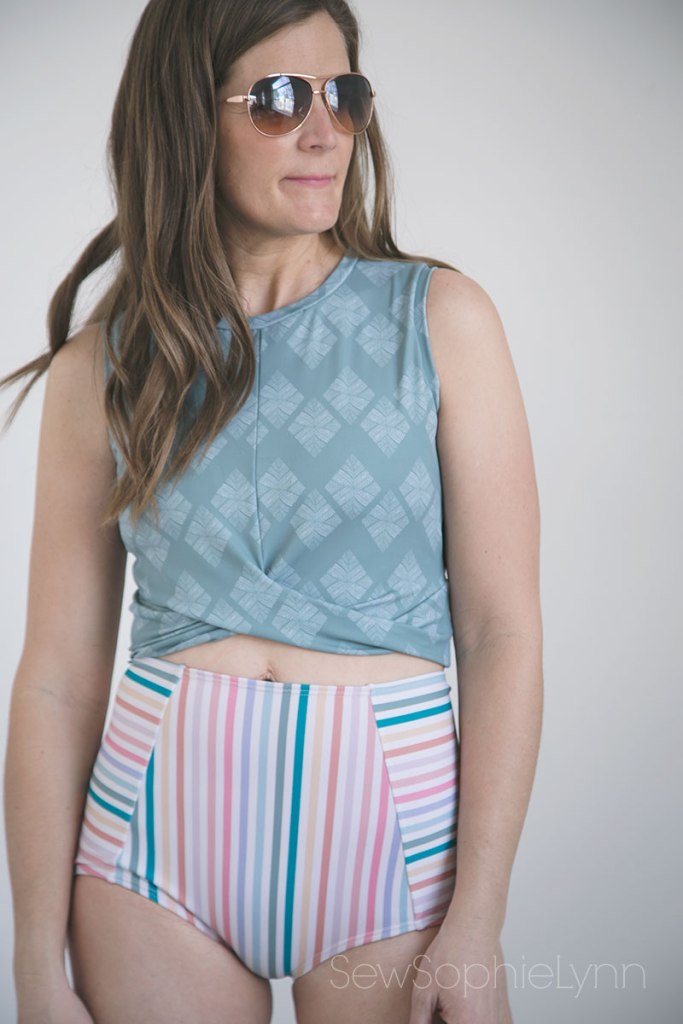
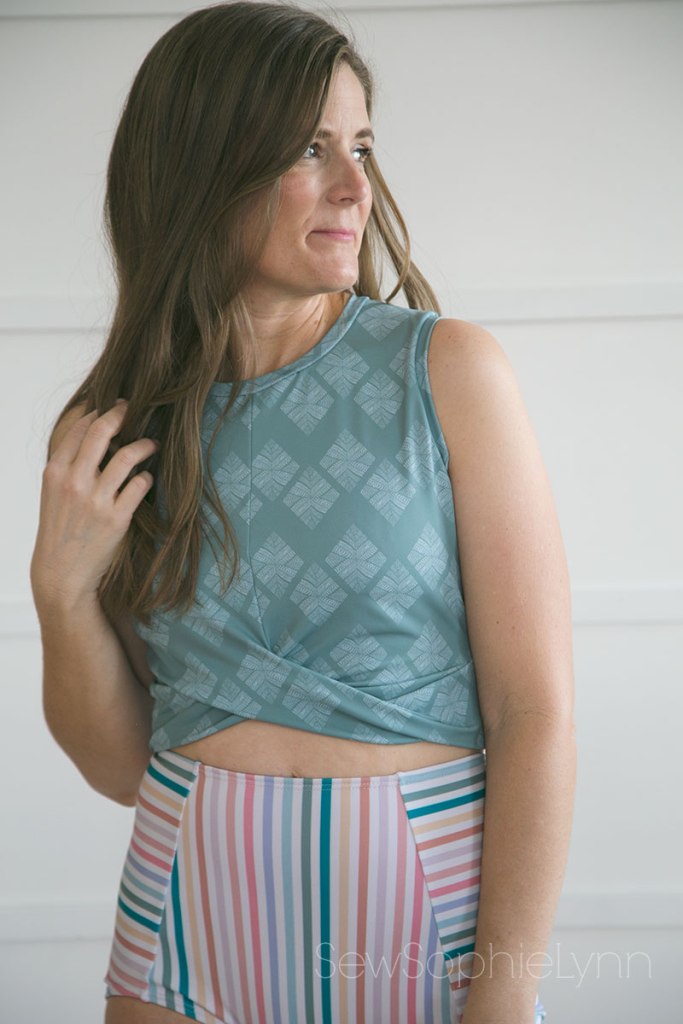
Can we talk about this top?!!! This is my absolute favorite piece I made for myself. I love the sportiness of it and the coverage is awesome. I used the Xfactor Top and Dress from Patterns for Pirates. It’s technically not a swim pattern but with a couple of simple alterations it works so well. The pattern has multiple sleeve options and a dress version too. I’m sure I’ll eventually get to all of the options but for now I just want to sew up a million JUST LIKE THIS! I want a couple in my workout wardrobe for summer too.

To make this more practical for swimming, I added a front lining and shelf bra. I cut the lining on the fold (I folded over the front pattern piece on the notch marking) and cut it just under the bust. I added cups to the lining and a taught 1 inch elastic strip near the hem of the lining. The elastic adds support and also keeps the lining in place next to my skin. The rest of the top is a little loose making it comfortable and flattering. That twist in the front is my favorite detail! I sewed up a size small, according to my measurements. If you preferred a tighter fit, you could try sizing down a size.

This pretty sage and white diamond print is such a gorgeous color and pairs so well with so many of the new spring prints as well. It also comes in boardshort fabric and I’m dying to make Charlie a suit out of it.

The bottoms I’ve paired with it are Hello Sailor bottoms, also from Patterns for Pirates. I turn to this pattern year after year for so many reasons. I absolutely love the fit of these bottoms. I sew up a size small and there is quite a bit of negative ease, sucking things in where I need them! I like to use power mesh in between the lining and main fabric on the front from the top of the leg seam to the waist. For these, I used power mesh on the green and brown pair but skipped it on this pair simply because I forgot. I also like to do the waistband slightly wider and add one inch elastic to it but alas I forgot on these ones too (I think I was just too excited to be sewing for myself again!). It doesn’t necessarily need it but when editing these pics I noticed the waistband is rolled in many of the photos. Adding elastic eliminates the rolling and also adds just a little more support too.
I used this green sage cream and brown stripe and also this teal sage deep peach and yellow stripe. With the 4-way stretch these stripes are great to use either horizontally or vertically. I personally love the vertical stripe on my bottom half.

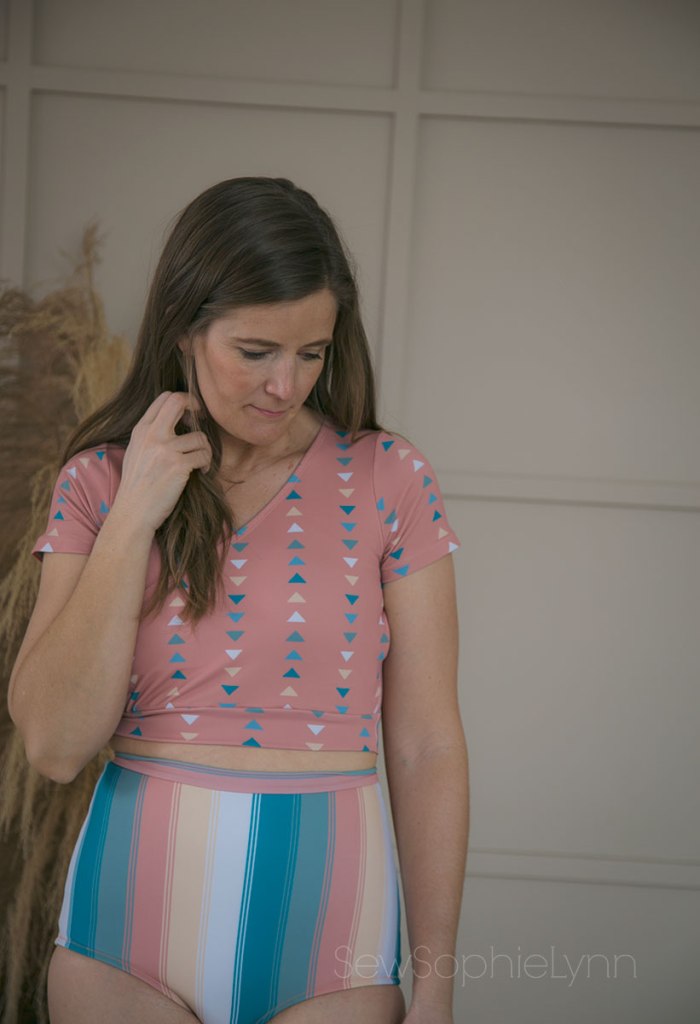
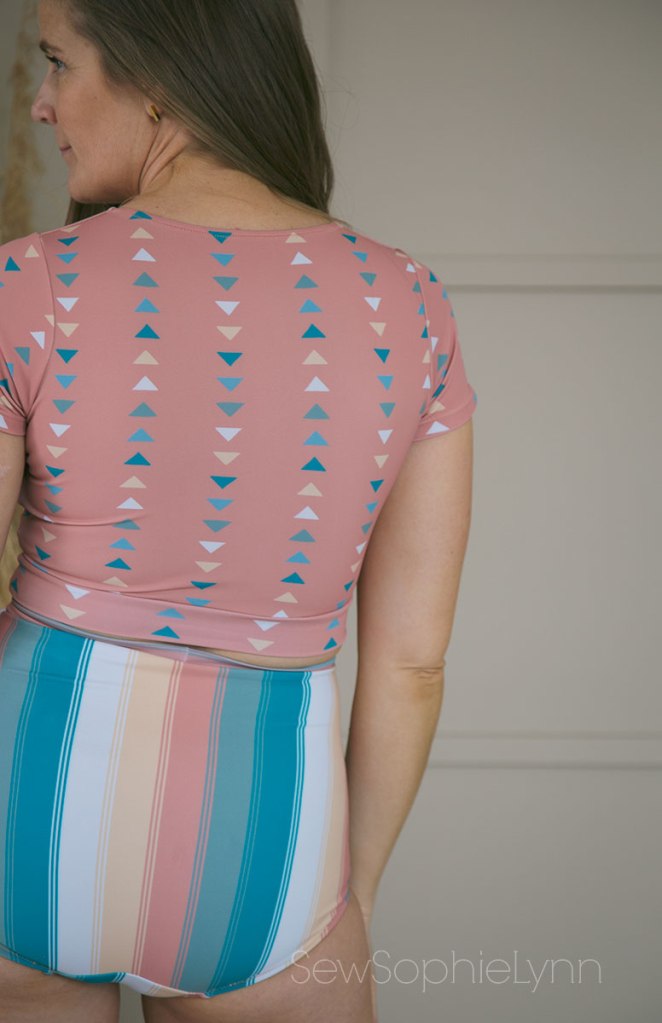
I sewed up one more top and I’m in love! I purchased this top for a vacation earlier this year and loved it so much I wanted to recreate it. I turned to my trusty Willow Wrap Dress pattern from Love Notions. It had the perfect cross front and sleeve options like the inspiration. I wanted to add a little more length than the original and while it did complicate things a bit, it was easy to get the length I wanted starting with the Willow Wrap bodice. For this top, I used the dark peach triangle stripe. I love that this print coordinates with so many prints too and it looks darling with the multi stripe from my Midline Suit too.

I’ll tell you what I did and also what I’d do differently next time. Something about swim makes me less nervous to try new things. Maybe it’s the fact that it takes much less fabric or maybe it’s just a chance to be a little more adventurous. For this top, I cut my pattern pieces out per the instructions, cutting the bodice pieces at the shorten/lengthen line. I also cut two front lining pieces out of white swim fabric. I’m really leaning towards lining all of our suits in swim fabric instead of actual swim lining. It’s softer against the skin and doesn’t get snagged or stretched out with wear. Ok, now we’re going to get a little crazy. I layered my bodice pieces at the shoulder like this- front lining, back bodice right side up, front bodice right side down, and sewed the shoulder seams. This gives you a hidden shoulder seam. Next I sewed 3/8″ swim elastic to the inside of the whole neckline. I used my serger and just pulled it tight as I sewed, not stretching it too much but just enough to help it lay snug against the body. Now flip it to the inside to cover the elastic and secure with a zig zag or coverstitch. Now this is where I’d do things a little differently. I basted my sides and then determined where my cups should go. Then pulled out the basting stitches, sewed my cups in and proceeded to sew the rest of the top. I think it’d be genius if you left a small opening in the lining to add removable cups after constructing the top. This is what my RTW version has and then you can adjust the cups to be exactly where you want them.
After sewing on my cups, I basted the front bodice pieces together, leaving off the main front bodice piece that is on the outside. I sewed a plush 1.5 inch elastic across the underbust for support through the three layers of bodice pieces. Again, I would change that up and sew it just to the side of the bodice that will be on the inside next to your skin. If you didn’t want the longer top length, you could omit this all together. My rtw version just has elastic in the bottom band and it hits right under the bust so it’s very supportive. After you finish the front bodice construction you will sew the sleeves and side seams according to the pattern. To finish it off I sewed a band to the bottom of the bodice.

Did I thoroughly confuse you?! There’s a reason I don’t write tutorials, lol! When I do stray from the pattern, I usually wing it and hope it all works out. If you do feel like giving this a try, don’t hesitate to reach out to me and hopefully I can help you out. More than likely, you all have a better, easier way to do it and you can pass those tips along to me!

I did my pictures after grabbing my kids photos and I couldn’t get my remote to work right so my youngest two got to man the camera. I set up the tripod to make it as easy as possible for them and all they had to do was hit the button. I’d ask if I was in the frame and they said yes every.single.time! And guess what, most of the pics I am in the frame even if just barely, lol! I laughed and laughed as I scrolled through the hundreds of pictures they took and this gem right here is me taking tips from my sassy tween.


I’m so excited to have a new set up suits for summer! I’m so looking forward to pool days (even if they’re kiddie pool in the backyard days like last year!). I want the warmth and lazy days right about now.
I hope you’re following along this week as we showcase all of the amazing swim fabrics Raspberry Creek Fabrics has to offer. A huge thank you to all of our sponsors for donating patterns to our team of bloggers as well as patterns and shop credits to our daily giveaways. This sewing community is really the best!
Please stop by all of the other stops on the tour this week. Today’s bloggers have more cute adults suits as well as some darling little girls suits!
Sew Mary Mac Merritts Makes Wild + Wanderful Call Ajaire
Made by Kates Violet and Jewels Sweet Mama Life All Things Katy!
Intensely Distracted Pins & Pinot My Heart Will Sew On The Petite Sewist
All My Spare Time Kara Metta Handcrafted by RED Sincerely, Shantelle
Replicate Then Deviate That’s Sew Kari Desert Blooms Boo + Lu

Titchy Threads Sew A Little Seam Simple Life Pattern Co. Pattern for Pirates Ellie and Mac
Lowland Kids Gingham Hive Striped Swallow Designs Honeydew Kisses Little Lizard King
Jennuine Designs Greenstyle Creations Made for Mermaids Call Ajaire Hey June Boo Designs!
Sofiona Designs Love Notions Lil Luxe Collection Jalie Sweet Red Poppy

Love them all! Incredible and you look fantastic!
LikeLike