Vankyo Projectors for Sewing

*This is a sponsored post.

It’s been a month or so since I’ve joined team Projector. In that time my kiddos have gone back to school and I’ve been able to sew a few things again. Can I get a hallelujah?! I’ve loved getting to play with my projector and to get my sewing setup updated. With my own laptop now, my sewing room is now up to date and I want to spend every spare minute in it!

The generous team at Vankyo sent me another projector to try out and compare. You can read my review of the Leisure 470 here. I got to try out the Leisure 470 Pro (you can check out their other sewing projectors here).

The Leisure 470 Pro is even smaller in size (7.8x5.7x3 inches) than the Leisure 470. The resolution is higher at 1920×1080. It’s brighter and clearer than the 470 and has 2 HDMI ports, a USB port, a memory card slot and AV input. The sound is even better too! They both come with carrying cases, remotes, and HD cables. The Leisure 470 Pro is even easier to transport and it’s so nice to be able to take it anywhere.

So that should make it better for sewing right? More bells and whistles doesn’t necessarily make it ideal for the sewing room though. For projecting patterns you need a few things. A bright light, clear focus, correct and easy calibration, and the right throw height (the distance from the projector to the surface it’s projected to). My sewing space is in our basement with 8 foot ceilings and the short throw height (50″ from ceiling mount to table top) just was not ideal for the 470 Pro. I could get it to work by projecting from the ceiling to the floor (I know many sewists prefer to cut on the floor so this projector could be for you!). It really just needed about 6 more inches to get a crisp clear focus so even a slightly taller ceiling or shorter table would be perfect!

Before I set the new projector up in my sewing space we tried it out for movie night. We set it up outside and it was fantastic. The picture was amazing and the sound was great. There’s just something about cuddling up under the stars with popcorn and a good flick!

Of course I had to sew something up with the new projector! I used the free Tessuti Monroe Turtleneck and the Love Notions Sybil Skirt.

I used a thick rib knit that I picked up from Knitpop last year. It’s a mid weight and will be perfect as the weather cools off. I sewed up a size 2 Monroe Turtleneck with size 3 sleeves. I really wanted an oversized look that was super comfy and I could wear with leggings or jeans too. For the skirt I added a few inches to the midi length and left one side open at the knee. I also added a 3″ elastic waistband.

The Monroe Turtleneck did not have a projector file but it did have a copyshop version that worked just as well. Love Notions patterns come with so many options and the projector file is so easy to use.

If you’re looking to join the projector sewing party, check out the options from Vankyo.

Simple Life Pattern Co. Cora

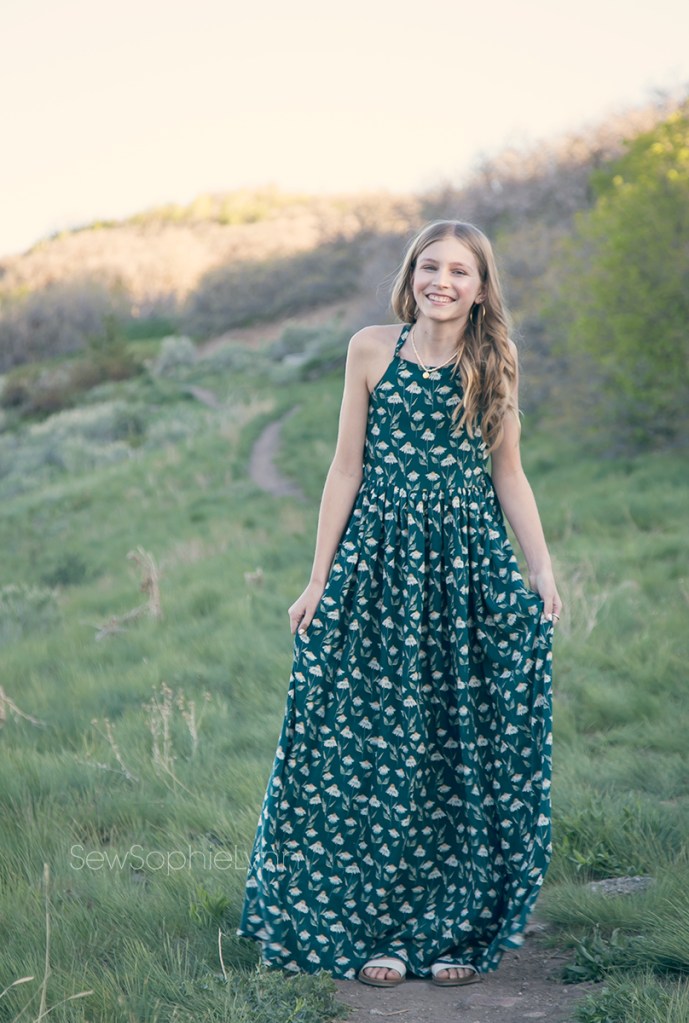
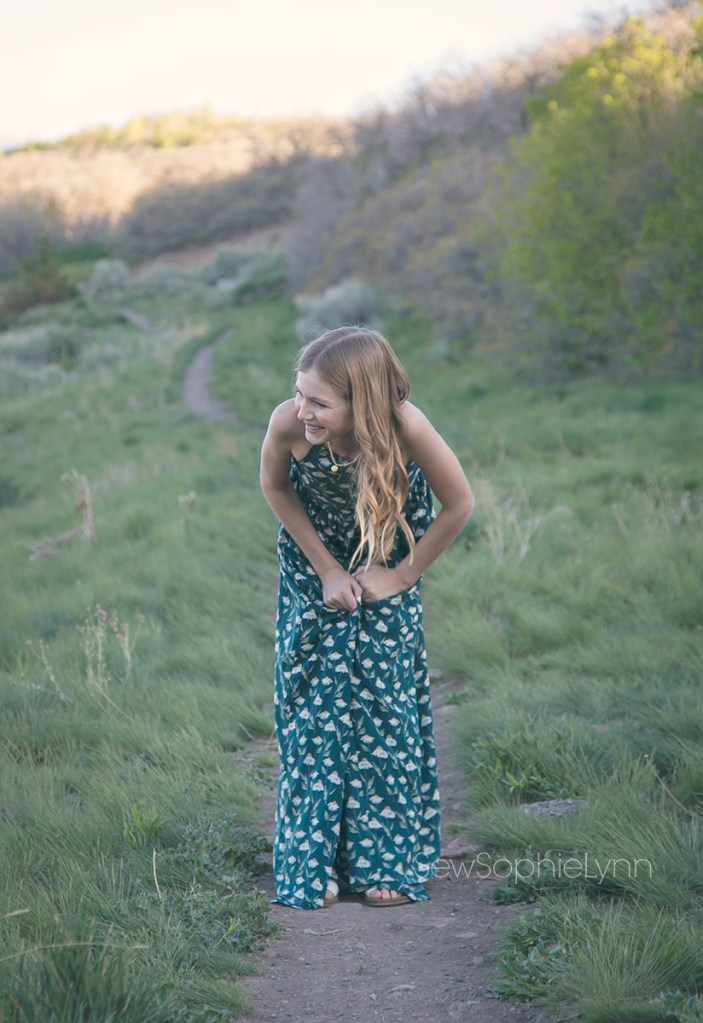
There’s just something magical about a floaty, floral maxi dress!
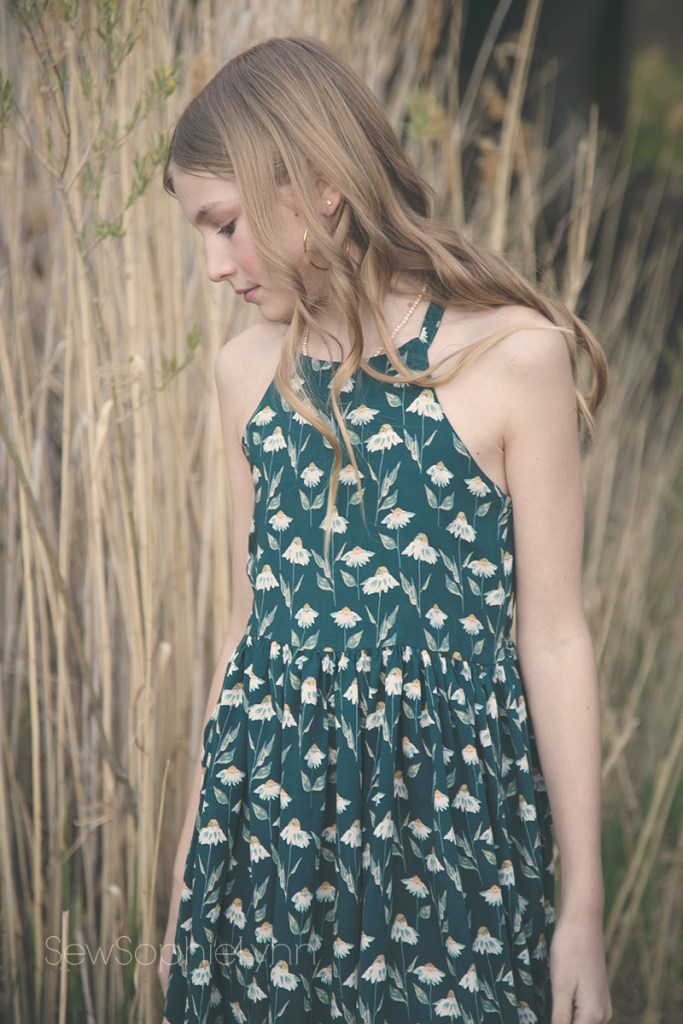
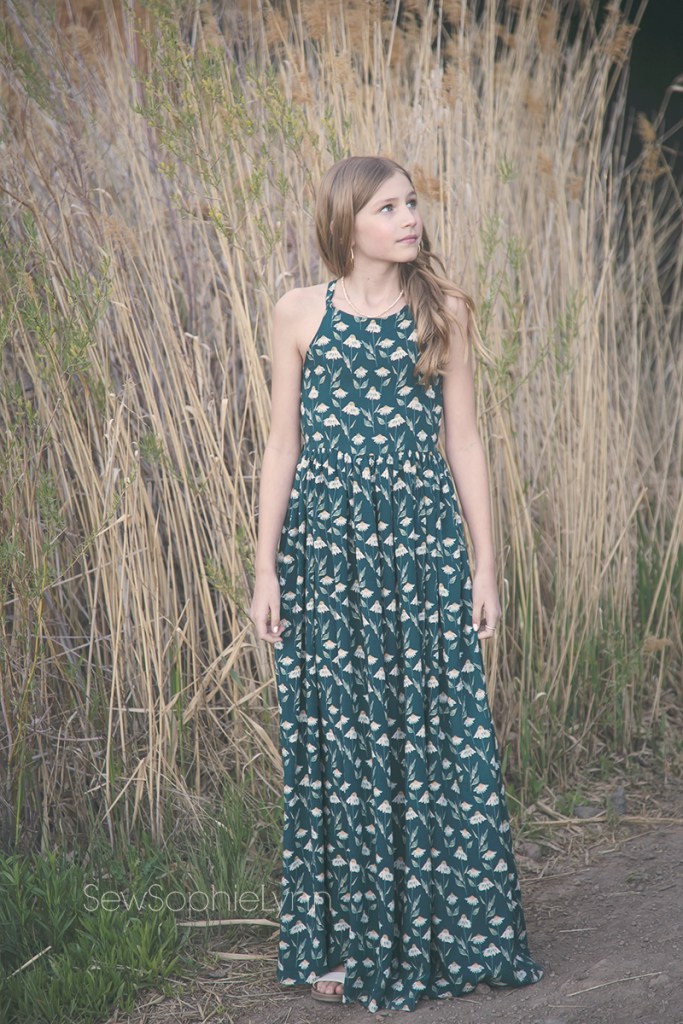
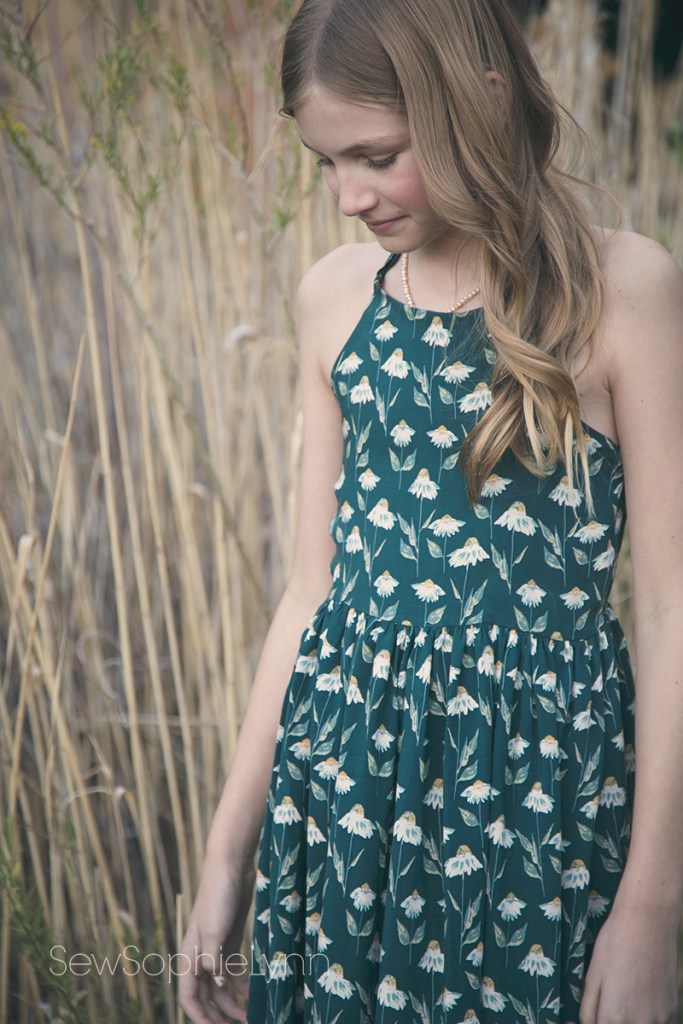
The Cora Top, Dress and Maxi from Simple Life Pattern Co. is simple summer perfection. Sewn up in a gorgeous Art Gallery Fabrics rayon challis, I don’t think it gets any better.

The Cottage Favorite print from Sharon Holland’s Willow line immediately jumped out at us. We both love that deep emerald/teal color and the floral print is simple and sweet. Art Gallery rayon challis is so soft and dreamy to wear and sews up easily too!

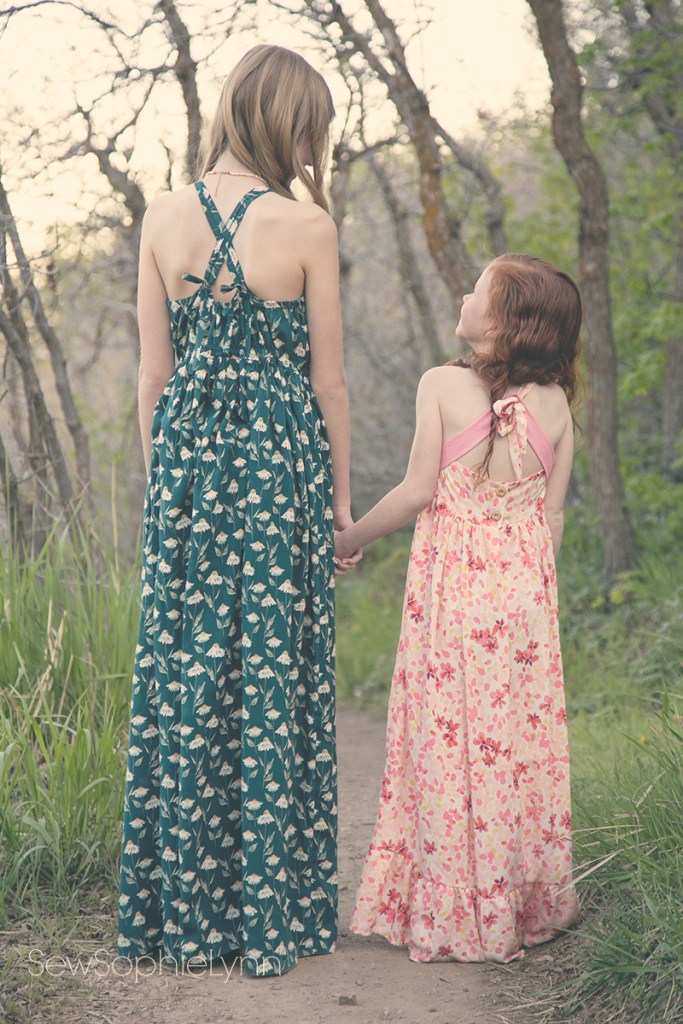
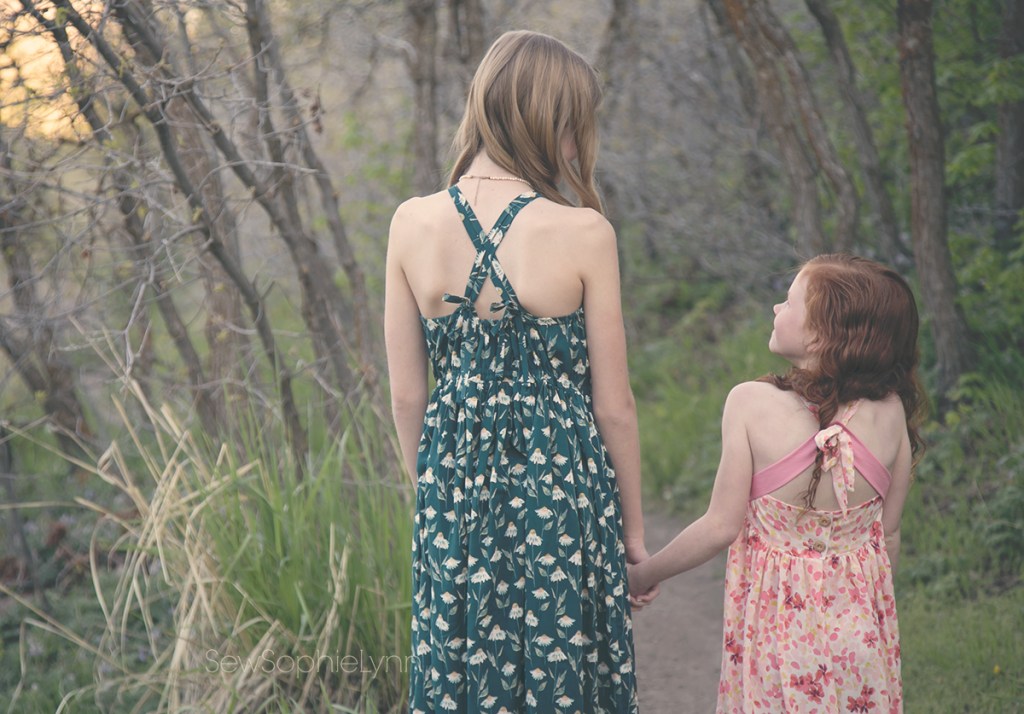
The strappy back of the Cora is definitely a show stopper! The elastic back casings create a perfect fit too!

I sewed up a size 12 with a little bit of added length to the skirt (using every inch of my three yards of fabric for this!). I’m in denial that my girls are growing out of SLPCo patterns. Hopefully, we can get one more year with this girl!

I really love that it’s both grown-up but not too ‘adult’. She wore this the next day with a little white tee underneath and it was the cutest! I love when she takes my makes and really makes them her own.

We met up with cute little Inara for some pics and these girls couldn’t be more adorable! Aren’t the backs of these dresses to die for?!

These patterns are on sale for the month of June as part of the SLPCo monthly challenge. Don’t you just love any excuse to sew up an adorable new look?!

Personalized Gifts with Cricut

This is a sponsored conversation written by me on behalf of Cricut. The opinions and text are all mine.


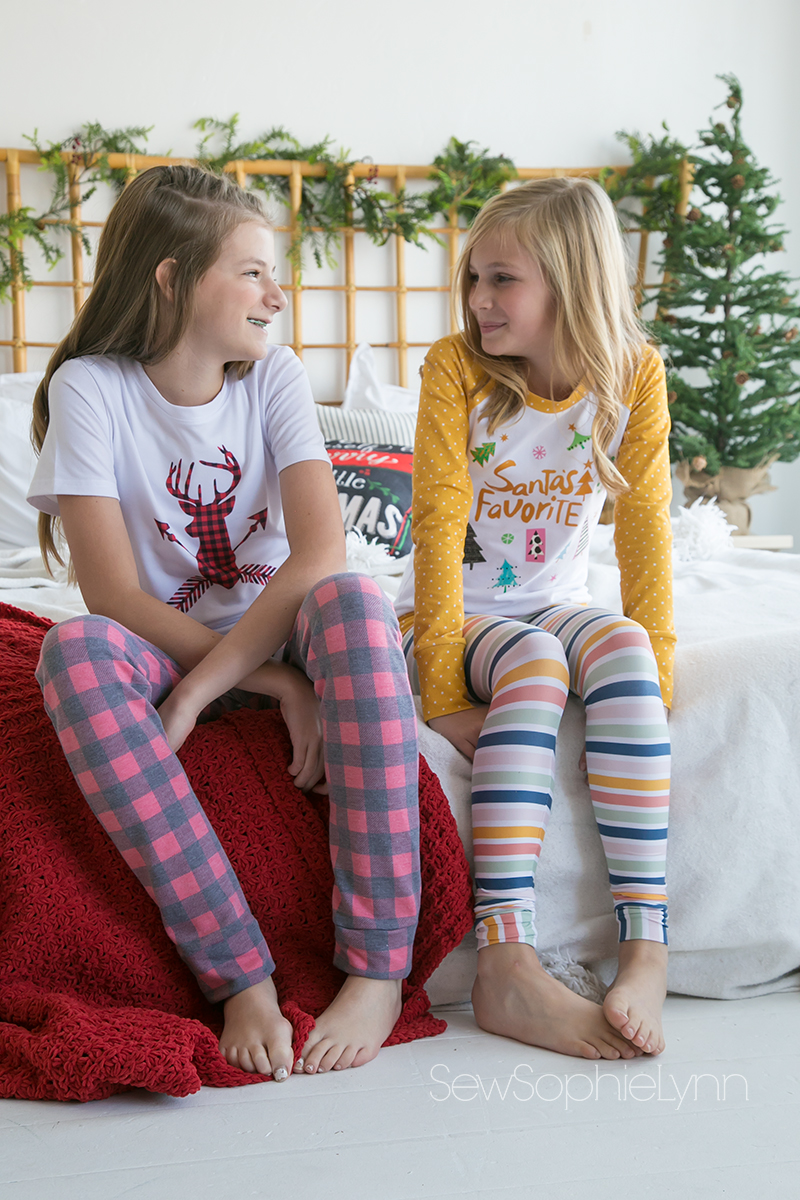
A couple of weeks ago I shared these personalized family Christmas pajamas with you.  Today I’ve got a round up of more personalized holiday projects using your Cricut and Cricut supplies plus I’m getting a little sentimental with y’all!

Package

Every year growing up, we opened up a new pair of pajamas on Christmas Eve.  It was a tradition my mom never missed and one that my siblings and I always looked forward to.  As a child, we moved often and by the time I was married at 23 I had moved 17 times.  I think stable traditions like this take on a whole new meaning when your outside world is constantly changing.  We learned to cling to each other and to celebrate as a family no matter where we were in the country.  New pajamas were just a small comfort that came to mean so much to me.

Girls2

Now with my own children, I love to carry on that tradition.  This year instead of going all matching, I was able to use my Cricut Maker to create pj’s that matched their personalities and interests to a tee.  I love being able to create gifts that mean a little more to the recipient and personalization is key.  From grandma’s and grandpa’s to teachers and neighbor gifts, our Cricut gets a workout this time of year.

Kids2

Here’s a roundup of 25 projects that will get your holiday kicked off right!

Tote Bag with the Tattooed Quilter

A Swiss Alps Holiday with Oh Happy Day

Personalized Ornaments with Phat Quarters

Holiday Pajamas with Sookee Designs

Teacher Tote Bag with Sew Much Ado

DIY Teacher Mug with Sew Much Ado

Personalized Name Coasters with The Quiet Grove

Monogram Journals with See Kate Sew

Reusable Gift Bags with Jordan’s Easy Entertaining

Debossed Foil Gift Wrap with Proper

Bird Coasters with Crafting in the Rain

Personalized Color Your Own Gift Bags with Happy Go Lucky

Gift Basket for a Sewer with Heather Handmade

Fridge Magnets with The Country Chic Cottage

Personalized Stockings with Not So Cli-Shea

Personalized Stationery with Just My Little Mess

Baking Set with Hey Let’s Make Stuff

Personalized Ornaments with 5 Little Monsters

Christmas Countdown with Ameroonie Designs

Rainbow Glitter Tumblers with Happiness is Homemade

DIY Placemats for the Holidays with Fleece Fun

Christmas Eve Bag with Suburban Wife City Life

Hostess Gifts with Pineapple Paper Co.

Baking Gift Idea with the Idea Room

Personalized Christmas Sign with Polka Dot Chair

So many great ideas!  I can’t wait to get crafting!

Pin5

Pin3

Issie Top by SewPony

issie4

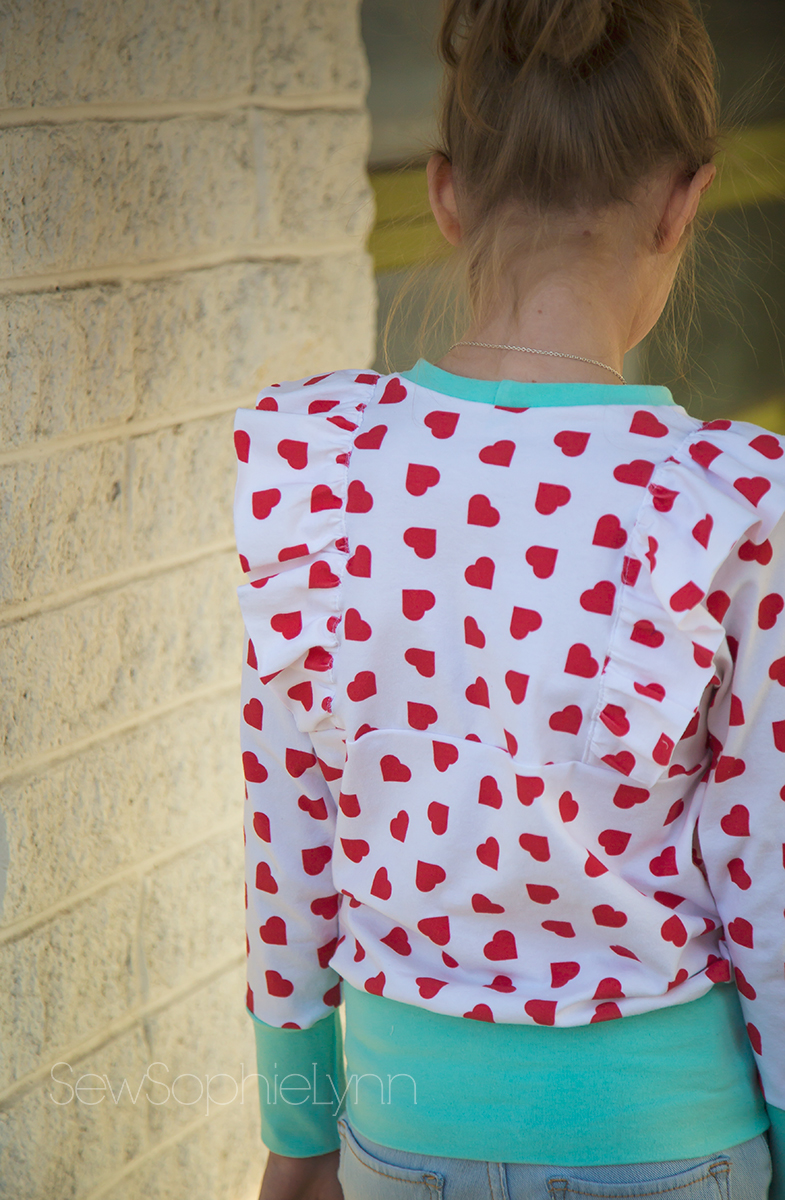
I’m so excited about this make!  This is one of those moments when the fabric just knew what it was meant to become.  I’d been dying to sew up this vintage-feel combo since this fabric released and was looking for the perfect pattern for it.

issie1

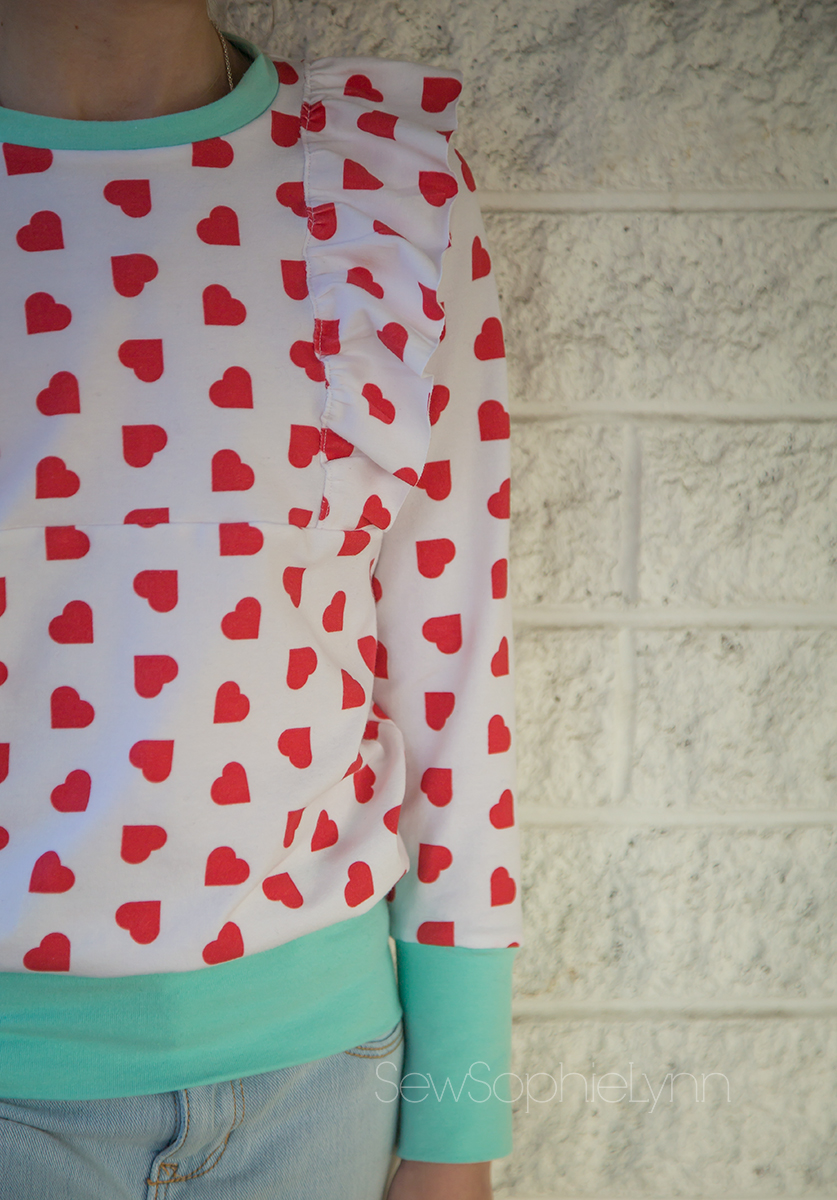
I’ve had the Issie Top by SewPony for ages!  I’ve even had it printed out for months and months.  It’s one of those patterns that’s so full of options that you get paralyzed deciding just which one to do first.   I’ve always loved the cute side ruffles and once I had this fabric in my hands I knew the time had finally come to sew an Issie.  I love the sweet, classic look of this pattern and paired with this retro-inspired color combo it’s a perfect match.

I did a size 8 with a little length added.  Those ruffles added a few extra steps but because it’s a knit it was still a pretty quick project.  The ruffles are sewn on top of the bodice which I was unsure of at first.  In the end I love it that way- no big bulky seams on the inside to bug my little girly.  Those big wide bands are a cute touch and also mean no hemming- hooray!

issie2

This fabric is too cute, right?!  It’s from Raspberry Creek Fabrics of course!  I used the cotton jersey version and paired it with mint jerseyBri paired these two fabrics and I was instantly in love!

issie3

This fabric is only available until Valentine’s day so make sure you grab it soon!  I love sewing for Valentine’s because we still wear our cute hearts year-round.  Too cute to let sit in a closet!

Love Notions North Star Pullover

northstar1

This post contains affiliate links.  By purchasing through my links I receive a small commission.

I’ve got a new face on the blog for you today!  I’m excited to introduce you to my handsome other half sporting the first thing I’ve ever made him.  And it’s extra appropriate that it’s also Love Notions Patterns very first men’s pattern as well!

northstar9

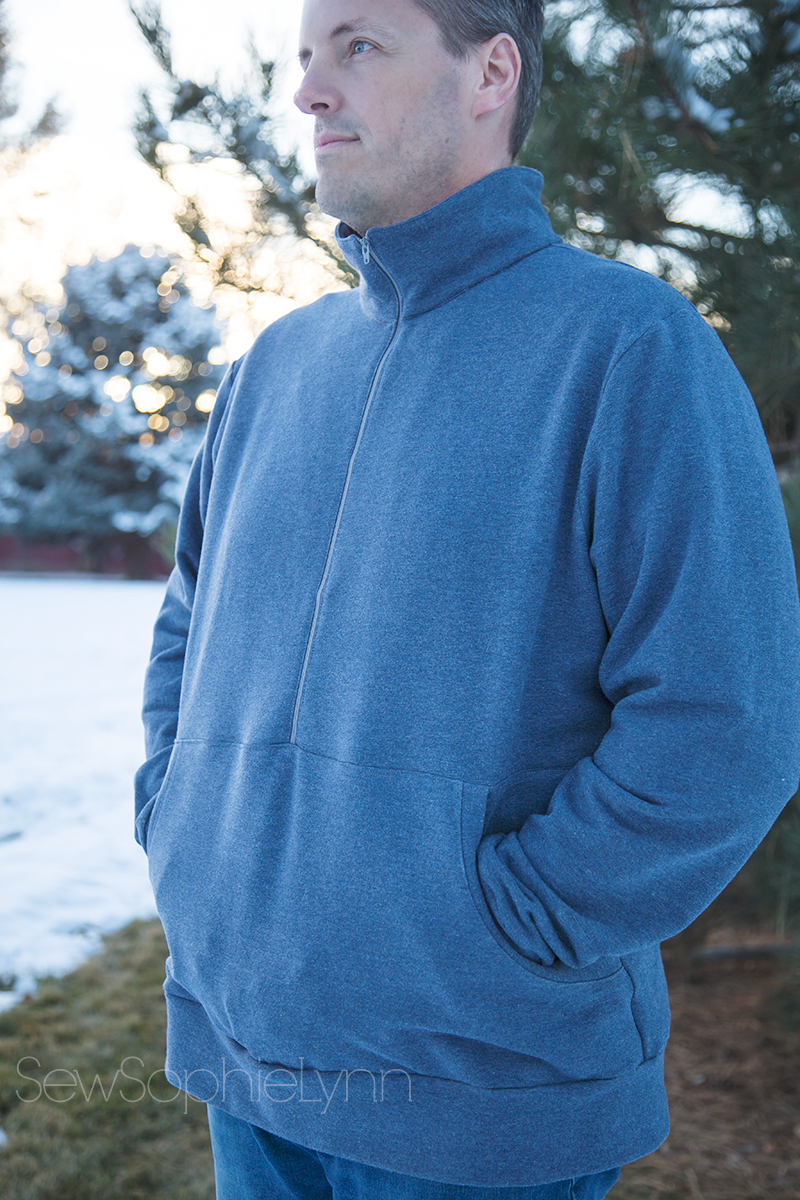
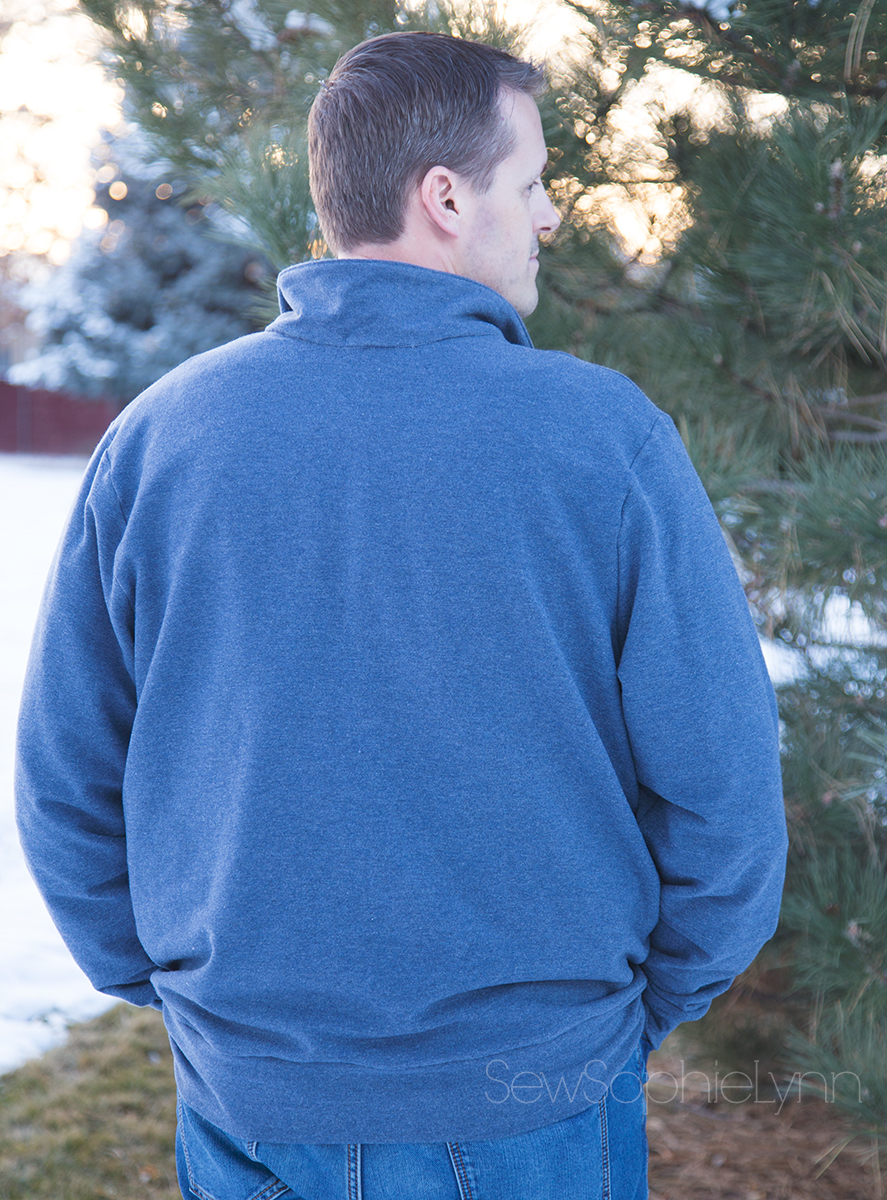
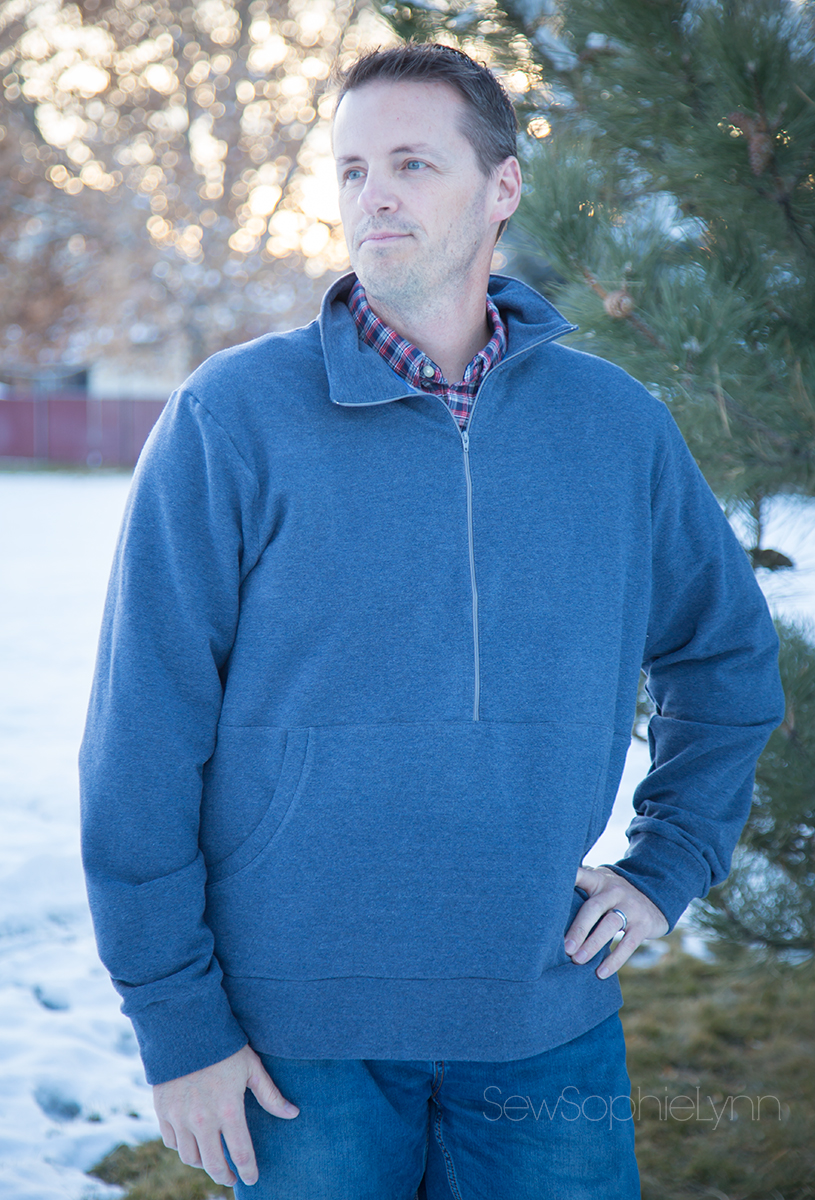
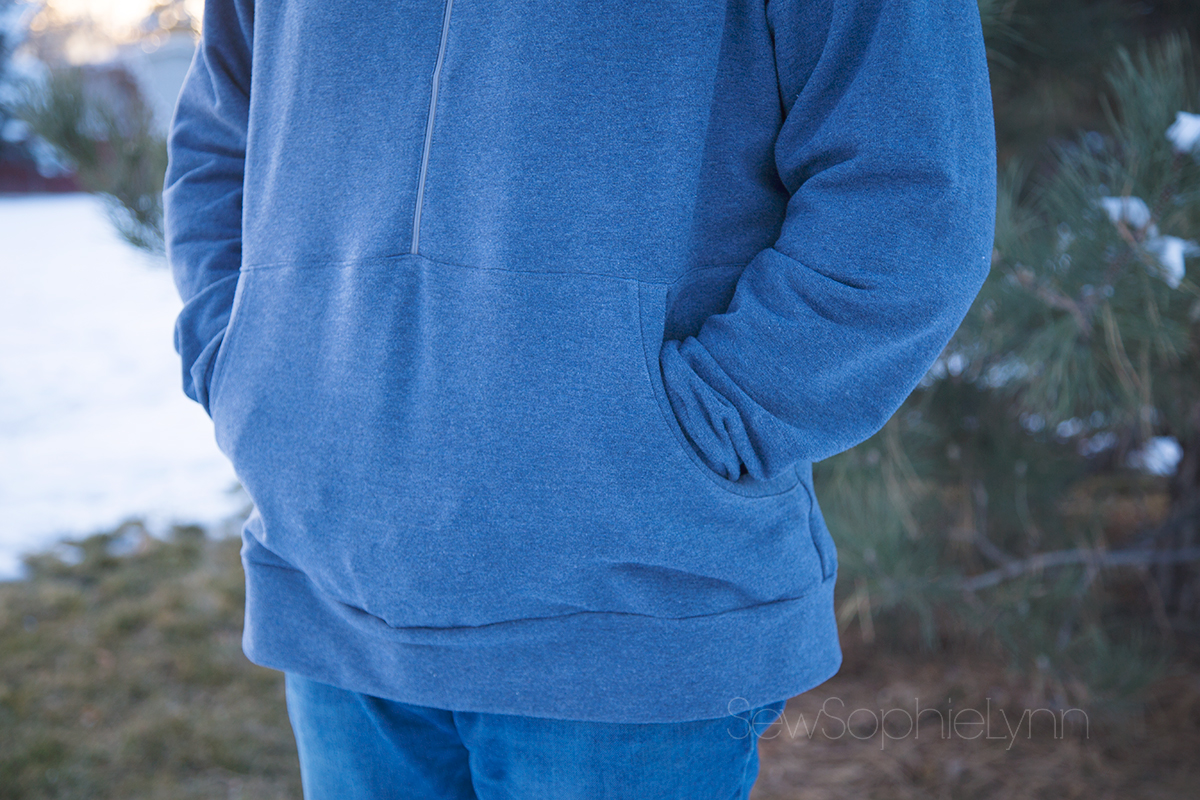
The North Star Pullover is the men’s version of my latest Love Notion’s make the Constellation Hoodie.  The North Star is a great relaxed fit pullover.  It features a half zip front with a nice big front pocket.  You can choose a hood or collar option.

northstar2

My husband is not a hoodie guy so I went with the collar version.  I like that the collar is a bit dressier than the hood but still zips up nice and cozy.

northstar6

My husband is wearing an XXL with an inch added to the length (he’s 6’1″).  I added the length to both the front top portion and the back pattern piece.  He likes the relaxed, casual fit but I think I could go down a size in the future.

northstar5

The collar and hood construction is so clean and easy.  The collar lining is bound with bias tape leaving the neckline seam with such a smooth, clean finish.

northstar8

For his first make I definitely had to spoil him.  He’s waited a long time for this day so he deserved some good fabric!  I used Organic Cotton Lyocell from Raspberry Creek Fabrics.  It’s currently sold out but more should be arriving in the next few weeks.  This fabric is just about as good as it gets.  It’s so incredibly soft, has nice stretch, and is so darn warm and cozy!  I think he’ll be comfortable wearing this casually around the house or out to dinner as well.

northstar10

He was such a good sport ‘modeling’ for me!  We were cracking up as he struck all the silly poses he’s seen me do way too many times!  It was so nice to have our roles reversed during this shoot.  He’s a natural, don’t you think?!

northstar7northstar4northstar3

Grab this pattern on sale for just $8 until December 12th!  While you’re there pick up the ladies Constellation Hoodie and the kids Navigator Pullover for 20% at checkout.


Project Run and Play Week Two: Charlotte’s Web

Charlotte's-main

Week two is here and I’m so thrilled to be back again.  I can’t thank you guys enough for all the love and support last week!  What an amazing week it was and I know you’re going to be amazed at what my competitors have to offer this week as well.  So much crazy talent! Make sure you head over to Project Run and Play to vote!

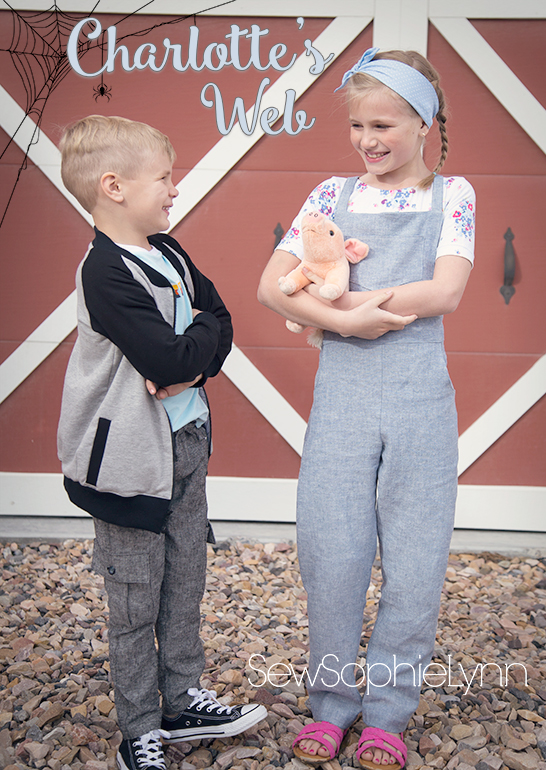
The theme this week is Crafting a Story, weaving elements of your favorite story book into this weeks project.  So fun, right?!!  My kids and I sat down and came up with a huge list of all of our favorite books and characters.  We kept coming back to Charlotte’s Web, a book I’d read as a child and read to my oldest boys years ago and again just last summer to these two cuties.  We loved it a ton and so much of the story resonated with us.  The character’s friendship is inspiring and teaches us to look past our physical differences.   The message that a tiny spider can bring about great things is so important for our kids to hear.  I want them to know that they can do anything and that simply being a good friend can make all the difference in the world.

pair1.1

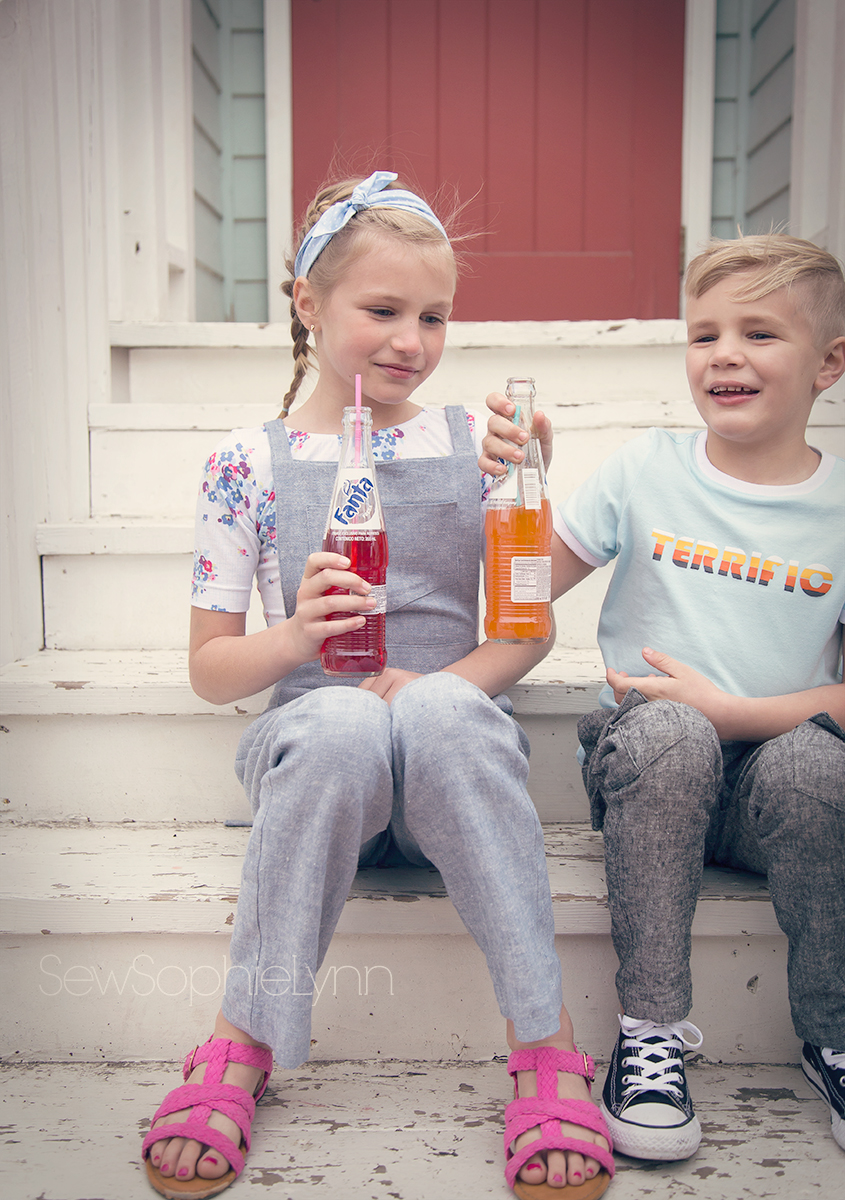
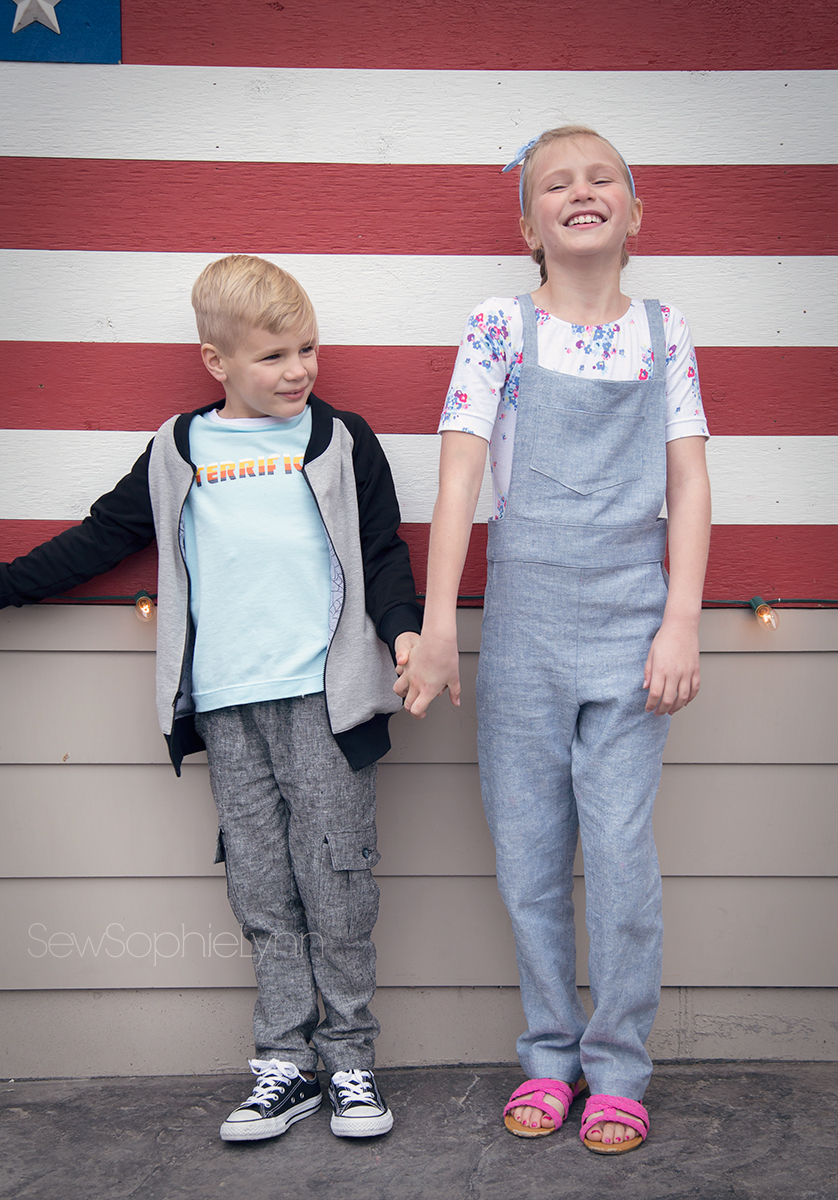
For our looks this week, I really wanted something classic and keeping with the charm of the book.  I used a ton of our favorite patterns and created looks that are reminiscent of Charlotte and her friends but that will also get worn in heavy rotation long after the competition is over.
pair4.1

All of my fabric this week was provided by Raspberry Creek Fabrics.  I love that I was able to grab the linen for the overalls and pants and the perfect knit solids and prints all in one stop.  I knew I wanted to use the spider-web print from their CLUB line and built the rest of the look around that.  The fabrics were so perfect for creating just the look I was after!

payton2.1

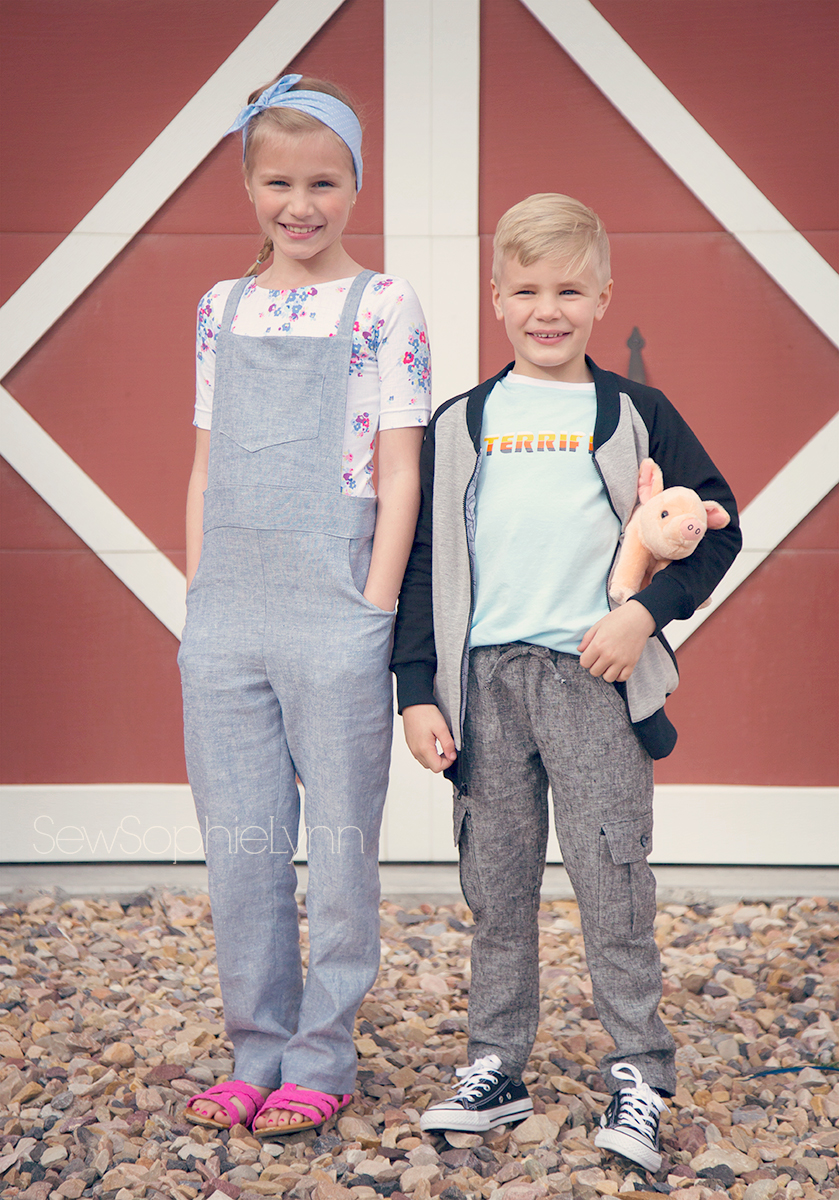
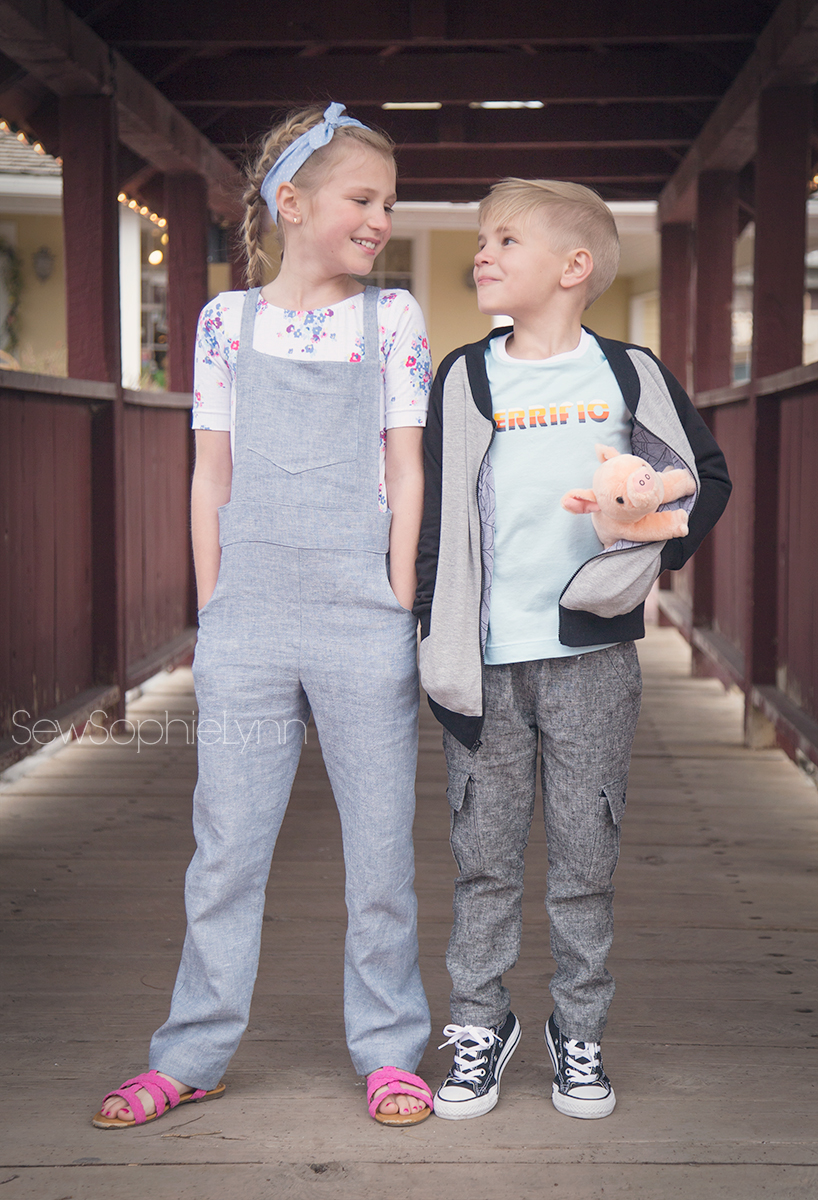
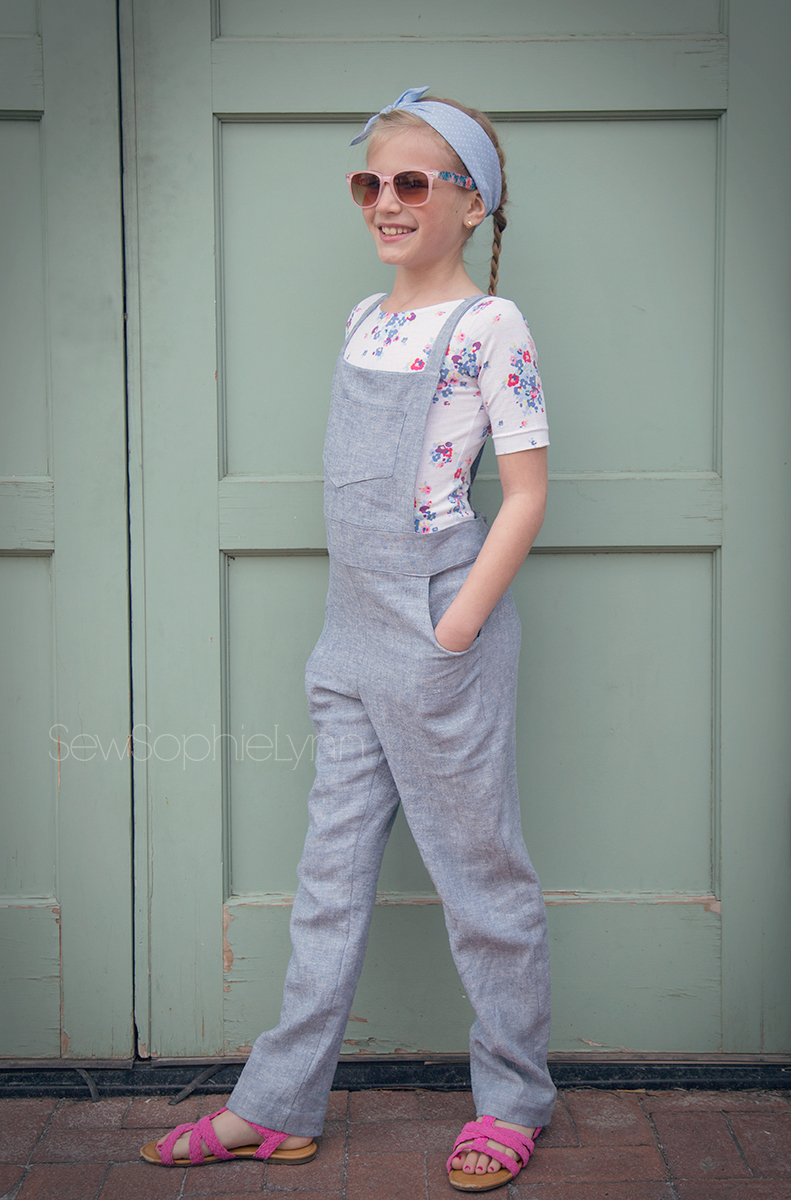
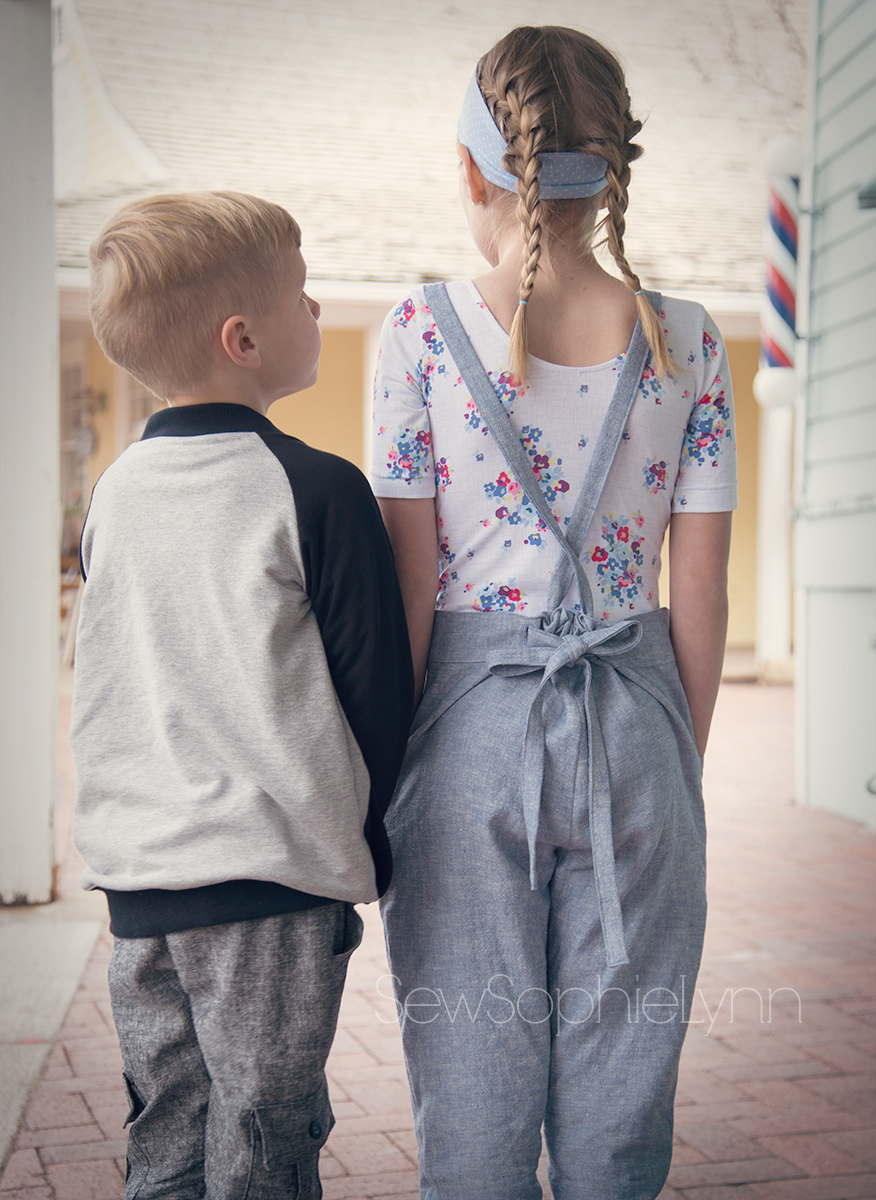
I knew we needed to do overalls but wanted to do a little twist on the classic denim pair.  I used a soft rayon linen blend for a modern take.  I used the Linville Romper pants from Hey June Handmade.  I went down a size and slimmed them a bit more for a straight leg fit.  I trimmed the waist to hit at her hips and added a wide waistband.  The pockets are lined in the same fun polka dot print used for her headband.  We played around with the bib to get just the size we both liked and added a pocket to the front.

backshot1.1

My favorite feature of the overalls is the drawstring tie in the back.  I did buttonholes on the inside of the waistband and a pair of buttonholes on the outside as well.  The straps go in through the inside holes, crossover and come out the outside to be tied in a bow.  It was a fun construction element that will also let these grow with her since they’re so easy to adjust.

payton7.1

The clean lines and topstitching make me so happy.  She needed a slim, simple top to wear underneath so we did a sleek bodysuit to layer under.

payton4.1

This pretty Riley Blake print just ties the looks together and is reminiscent of spring- when Wilbur was born!
payton3.1

For the bodysuit I mashed two patterns- the Camilla Swimsuit from Made for Mermaids with the Boo! Designs Sleeved Leotard.  I love the modest cut of the legs and fit through the body of the Camilla.  Combined with the sleeves and neckline of the Boo! leotard it’s the perfect fit!  I did knit bands instead of elastic in the legs for comfort.

paytonflat

payton5.1

I finished off the look with a self drafted knotted headband.  The perfect accessory for this vintage inspired outfit.
charlie7.1

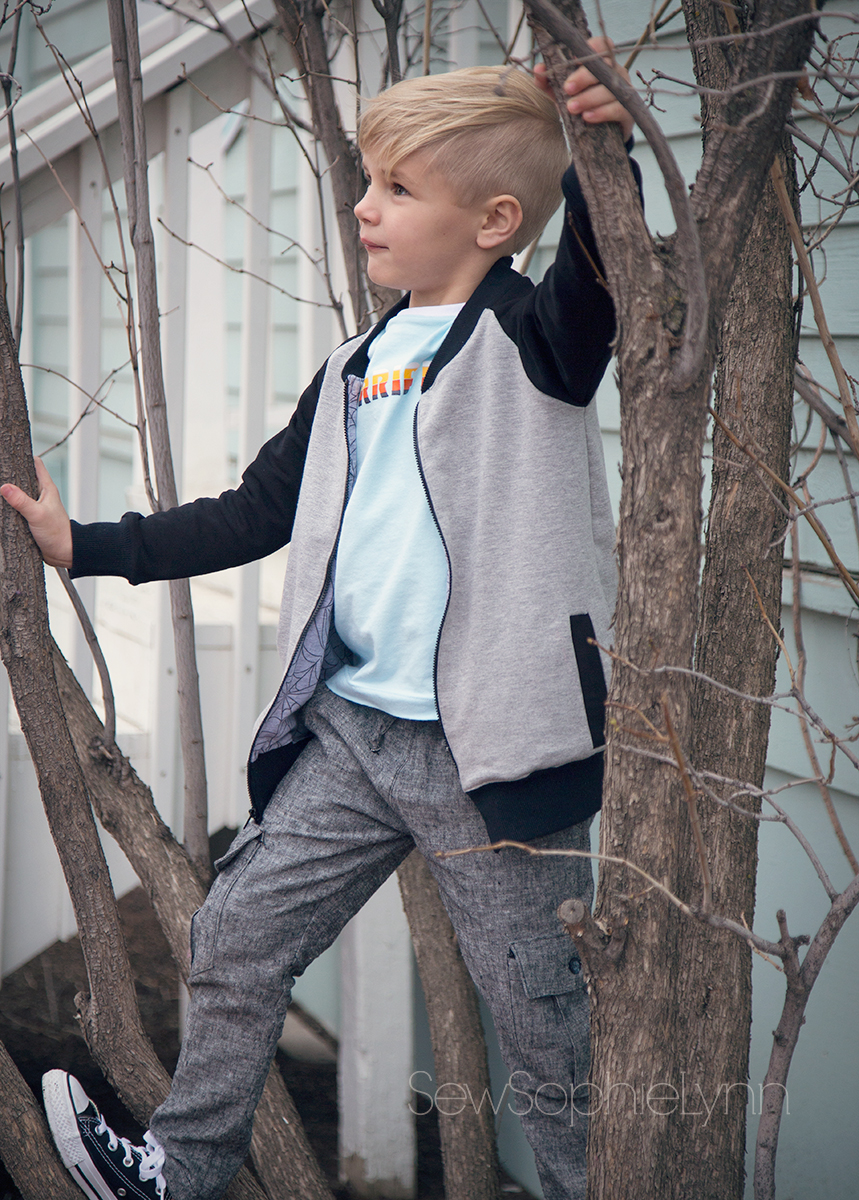
My little guy got an outfit just perfect for him!  I went with clean lines and colors so the pieces will get worn easily with the rest of his wardrobe.  I tried to stick with the old fashioned vibe with a bit of a modern feel.  His look features a bomber jacket, ringer tee, and woven joggers in comfortable fabrics like jersey, french terry, and rayon linen.

charlie8.1

For the jacket I used my favorite raglan sweatshirt pattern, the Samson Sweater from Love Notions.  I used the construction techniques from the Ollie Bomber jacket from Sew A Little Seam to create this fully lined, cozy layering piece.  Those welt pockets are a must and I love how this turned out!

jacket1.1

The inside is lined in a spider web print jersey and I couldn’t help but add a little secret pocket with the saying, “With the right words, you can change the world.”  Charlotte sure taught us that!
charlie2.1

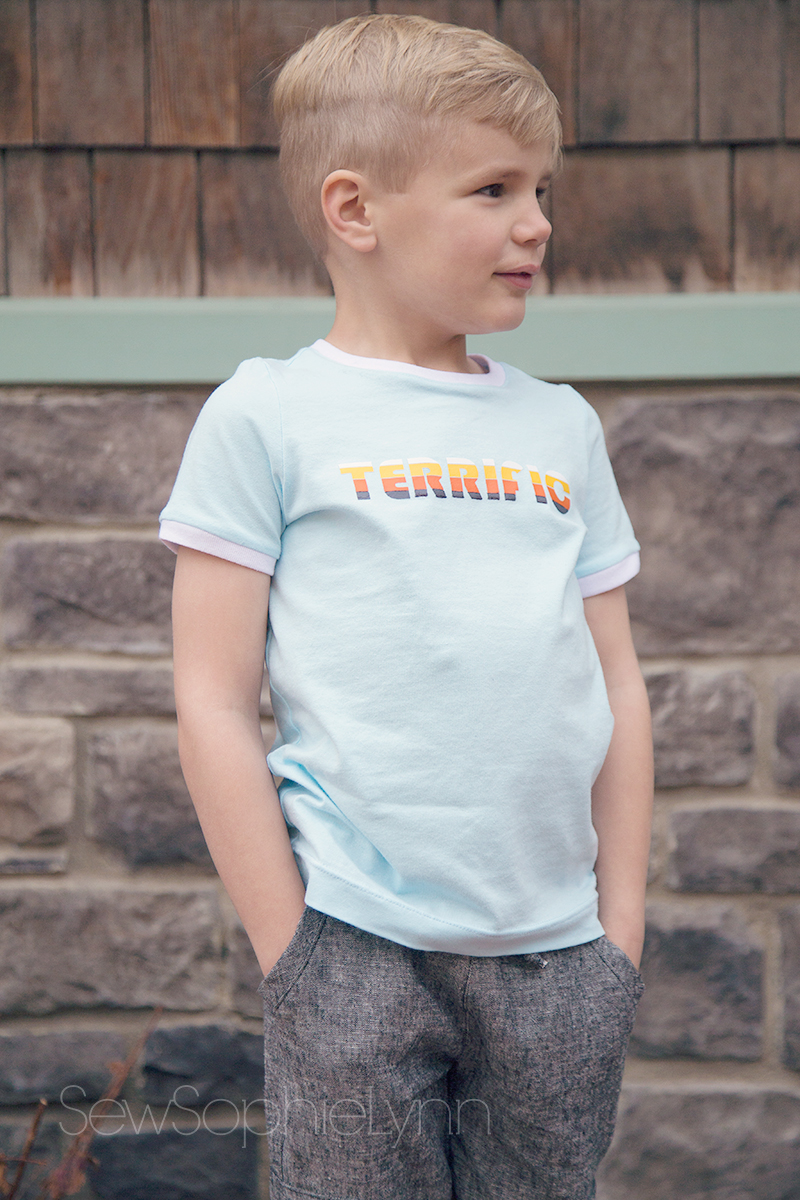
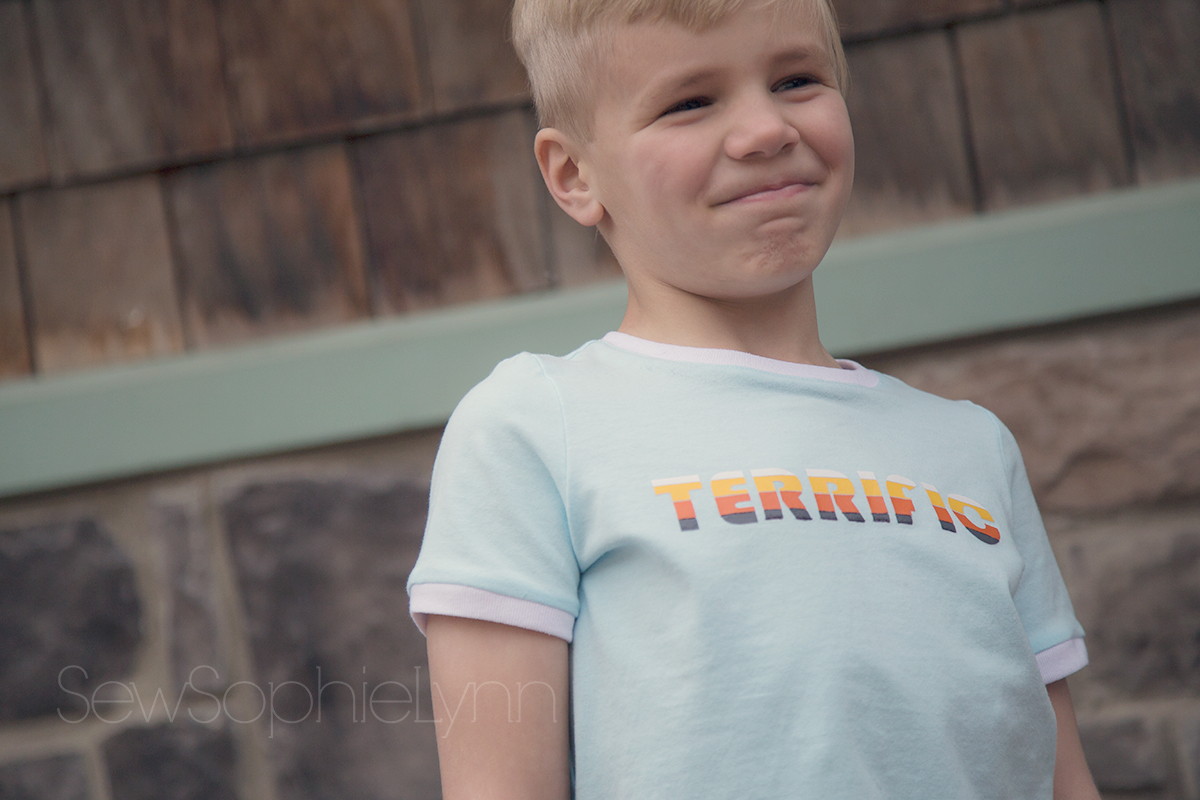
I used the Oliver + S School Bus tee pattern for his shirt.  I love the slim fit and it was super easy to modify for this retro look.  I added white rib knit to the neckline and sleeves (I trimmed off a couple inches for this sleeve length).

charlie6.1

I wanted a 70’s feel for the graphic and created that by using strips of vinyl in white, goldenrod, orange, and charcoal and cutting it with my Cricut.  We did ‘Terrific”, one of the words Charlotte wrote in her web, because this kid is pretty terrific in my book!
charlie5.1

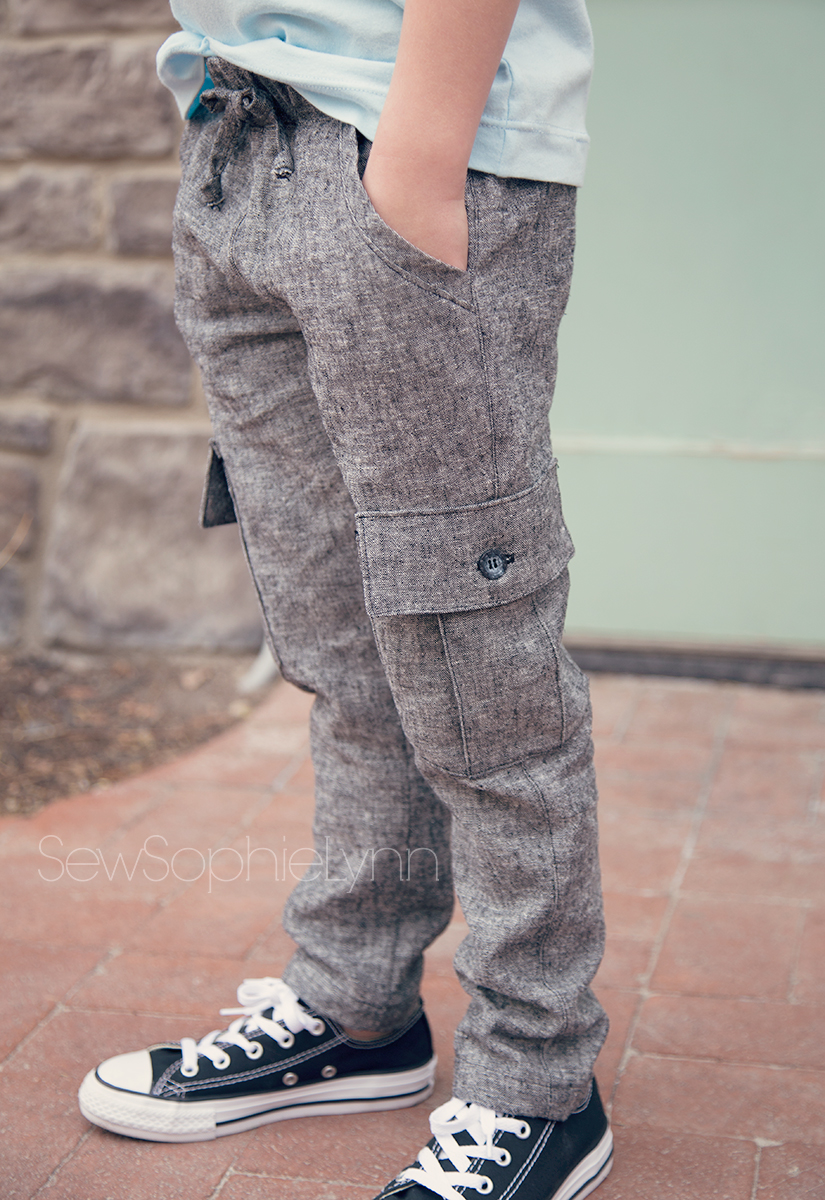
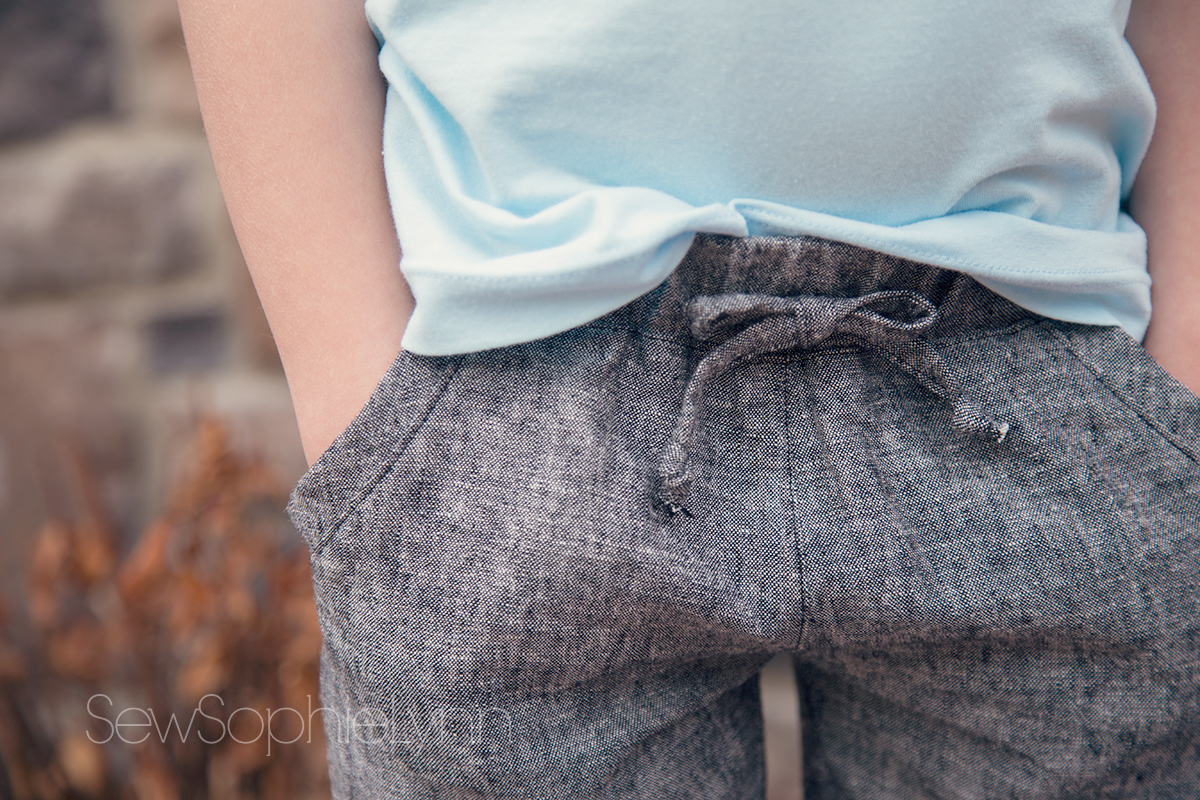
These pants are seriously my favorite thing I’ve made him!  So simple but so him too!  He HATES jeans and only wear ‘soft pants’ if he can help it so these are just too perfect for him.  I used the True Bias Hudson pants with just a few modifications since they’re made for knit fabrics.
charlie3.1

I sized up one size but took in the crotch area quite a bit to keep the slim look.  I love the pocket detail the pattern uses and used a longer piece cut on the bias to get it to fit.  I skipped the real drawstring but added a faux piece that won’t come out in the wash (seriously, why does that happen EVERY time!).

charlie4.1

I drafted cargo pockets to hold even more treasures.    The topstitching on these pants really helps these pants feel more ready-to-wear.  I’m adding a version of these pants to my selfish sewing list because I know I’d wear them just as much as he does!

pair3.1pair10.1pair5.1pair9.1pair8.1pair2.1charlie1.1payton6.1

These kiddos were troopers again, braving the chilly Utah temperatures for this fun photo shoot.  We have to plan around snowstorms and they are so good at humoring their mama as I try to get ‘the shot’.  My girly cracked me up as I told her to do a closed mouth smile and she replied, “Hashtag Mona Lisa!”.  These shoots are my favorite part of the competition as we laugh and I get to see their cute personalities shine through.  Thanks so much for stopping by and don’t forget to head back to vote for your favorite look at Project Run and Play!

This is a sponsored conversation written by me on behalf of Cricut. The opinions and text are all mine.

http://influencers.tapinfluence.com/assets/cogs/core-v4.js var ts=document.getElementById(‘ti-pixel-tracker’); var axel = Math.random() + “”; var num = axel * 1000000000000000000; var ti=document.createElement(“img”); ti.style.display=”none”; ti.src=”http://tracking.tapinfluence.com/trk/5ckXD/DATzX/p.png?p=YdiSv” + String.fromCharCode(38) + “i=9W3yX” + String.fromCharCode(38) + “ord=”+ num + String.fromCharCode(38) + “s=” + encodeURIComponent(document.referrer); ts.parentNode.replaceChild(ti,ts); JSON.stringify({“program_id”:”8b1a7330-fcc6-11e7-b475-22000af436a0″,”post_id”:”7cfad122-0708-11e8-9267-22000af436a0″});
 

Monaluna Journey Fabric Tour

sneakpeek

When I heard Monaluna had a new fabric line coming out I had to jump on the tour as fast as I could!  Monaluna fabric is some of the best quality I have ever worked with and I couldn’t wait to get my hands on some more!

IMG_8968

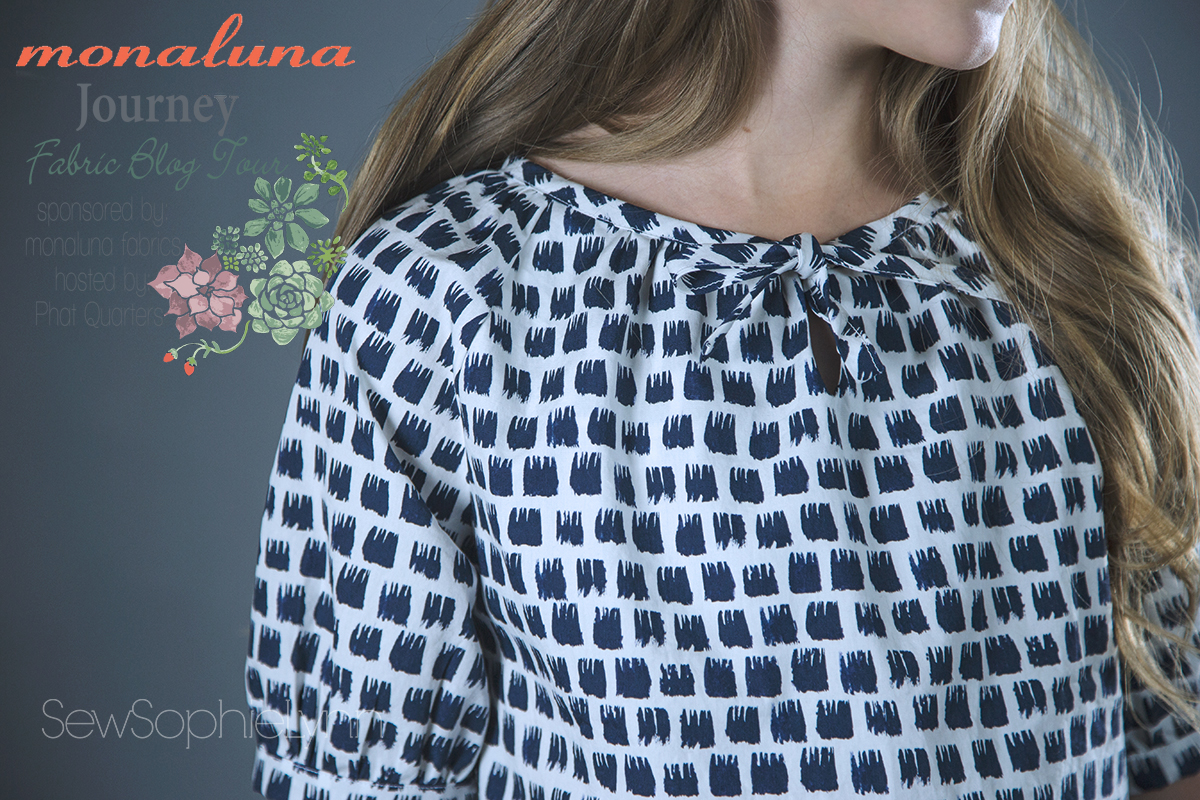
I love the new Journey Line and picked the Dry Garden Lawn and Paintbrush Lawn for our projects.  The Lawn is such a great weight.  It has structure but is so soft and works great for so many projects.

journey12

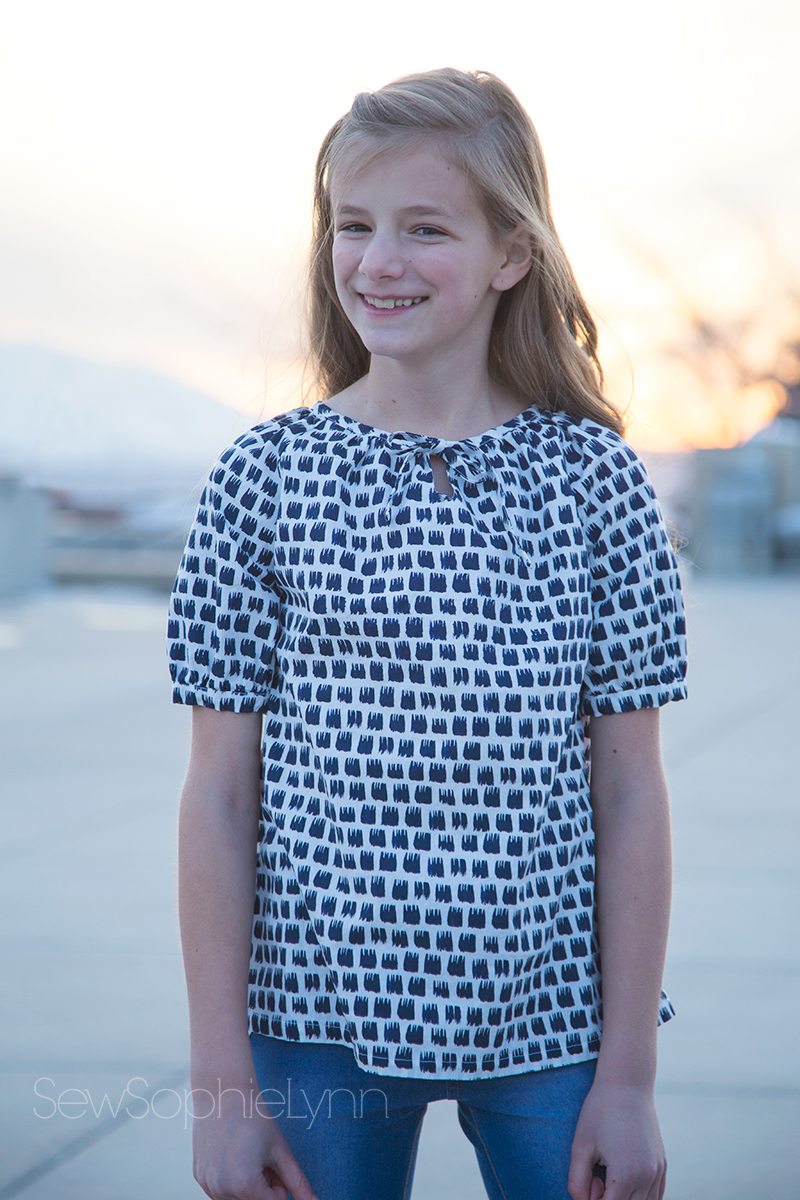
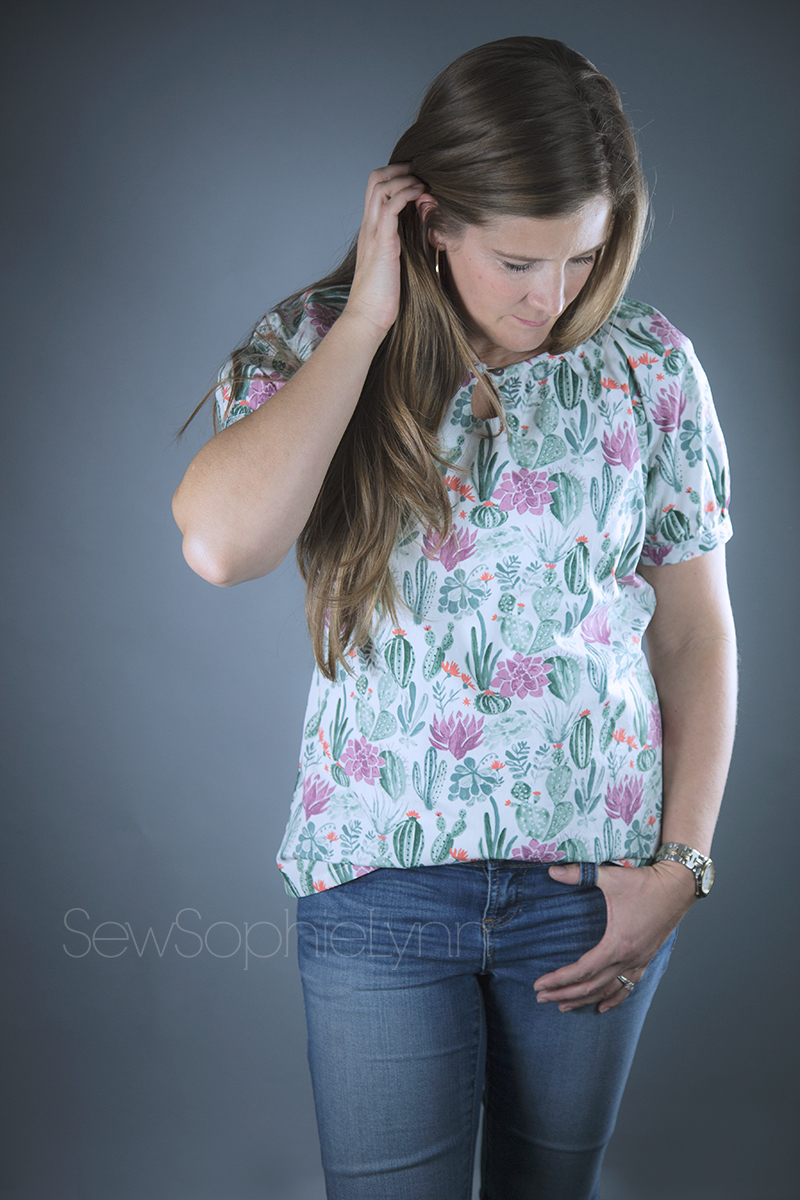
These prints just needed to be blouses and I love a good peasant style top.  I used the Driftwood Blouse pattern from Twig and Tale available in both women’s and girl’s.

journey15

The construction is so quick and there are so many options with this pattern!  There are multiple neck closures.  I did a tie neckline for my daughter and chose a button closure for me.  Add in multiple sleeve lengths and dress or tunic lengths and you could sew up a slew of new garments with all the options.

journey8

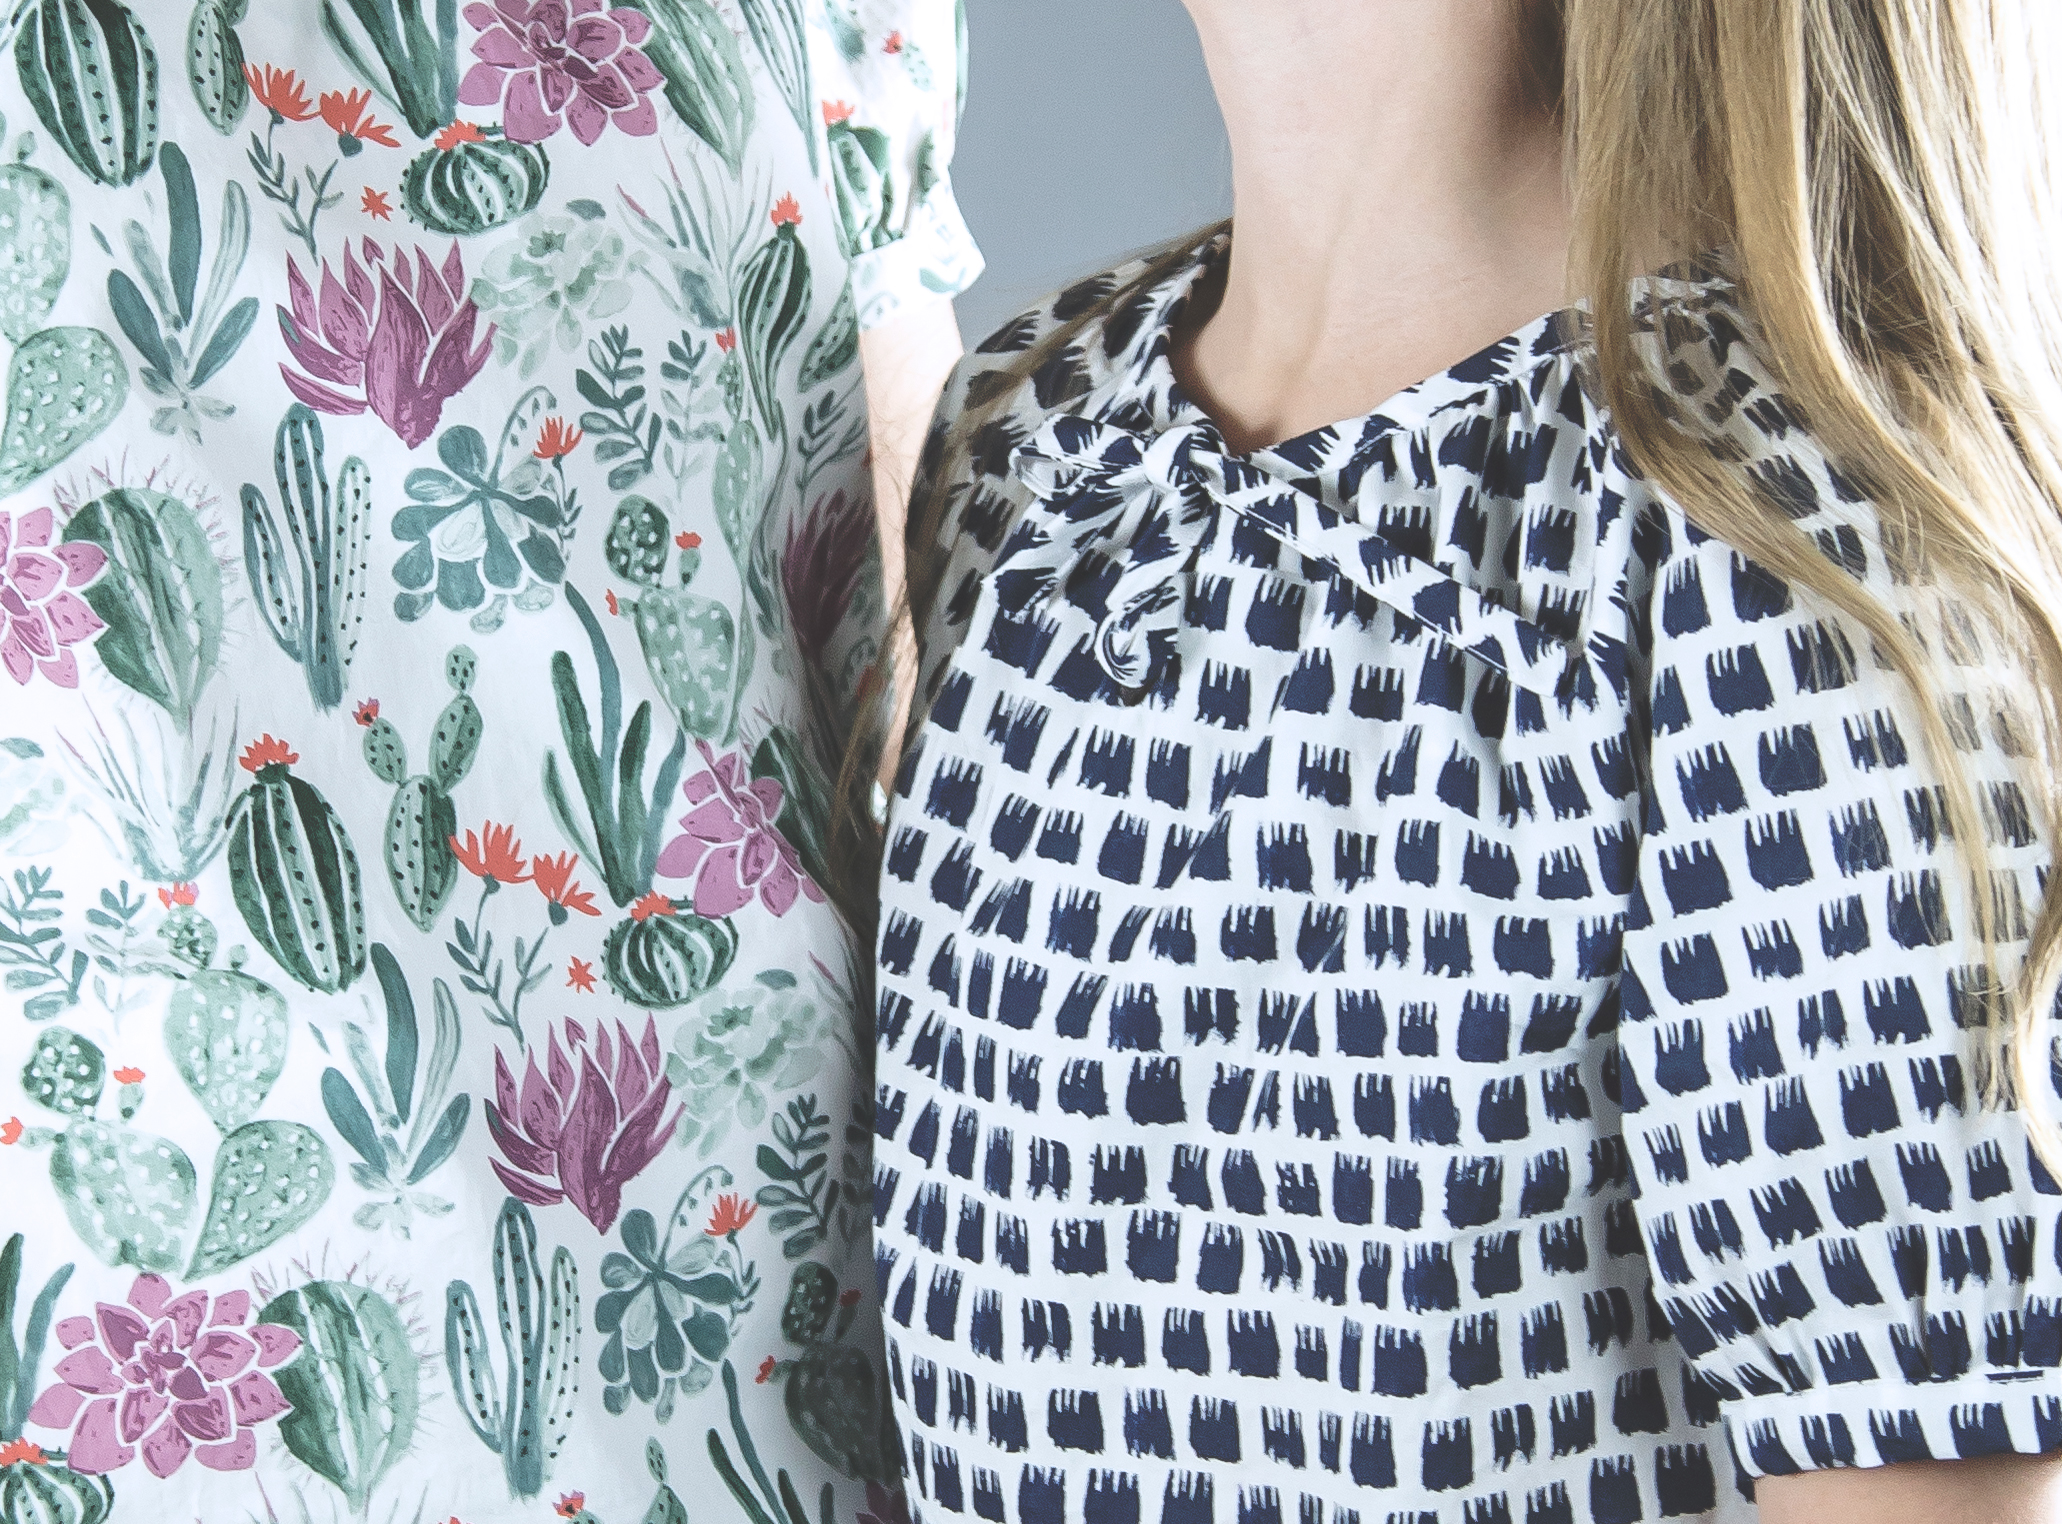
I love this cactus print.  It’s all my favorite colors and this print feels subtle and perfect for spring and summer.  I’m always worried with light background fabrics being too sheer but it’s definitely not an issue with this fabric.   I know I’ll wear this top a TON this summer!

journey5

This Paintbrush print is so simple and cute.  I love it so much I almost stole it for myself.  It’s a great basic print that will go so well with everything in her closet.  She’s already worn it multiple times despite our cold temps!

This line just screams warm weather and sunshine!

Now if only Utah would get on that!  We’re ready for spring!

Make sure you check out all the other great bloggers joining in the tour.  I’ve decided I need ALL the prints after seeing their creations!  If you want to grab some fabric of your own head to Phat Quarters for all the pretties!

a Rafflecopter giveaway

Boys Can Wear Pink Blog Tour 2018

pink5.1

It’s season 4 of Boys Can Wear Pink and we’re excited to be joining in for our second year.

pink6

This kiddo rocked his look last year but then refused to wear it.  The whole point of this blog tour is to bridge gender stereotypes and encourage our boys to embrace what they love, no matter what society deems boyish or girlish.  I felt like a failure and reevaluated what we’re teaching our kids in our home.  He has two older brothers who are a huge influence on him and we are working as a family to help blur the lines of gender stereotypes.  My boys sew, bake, and help with all the household chores and my girls are tough amazing athletes.  Not ground breaking but a start I hope in raising little humans who can make a difference in this world.

pink7

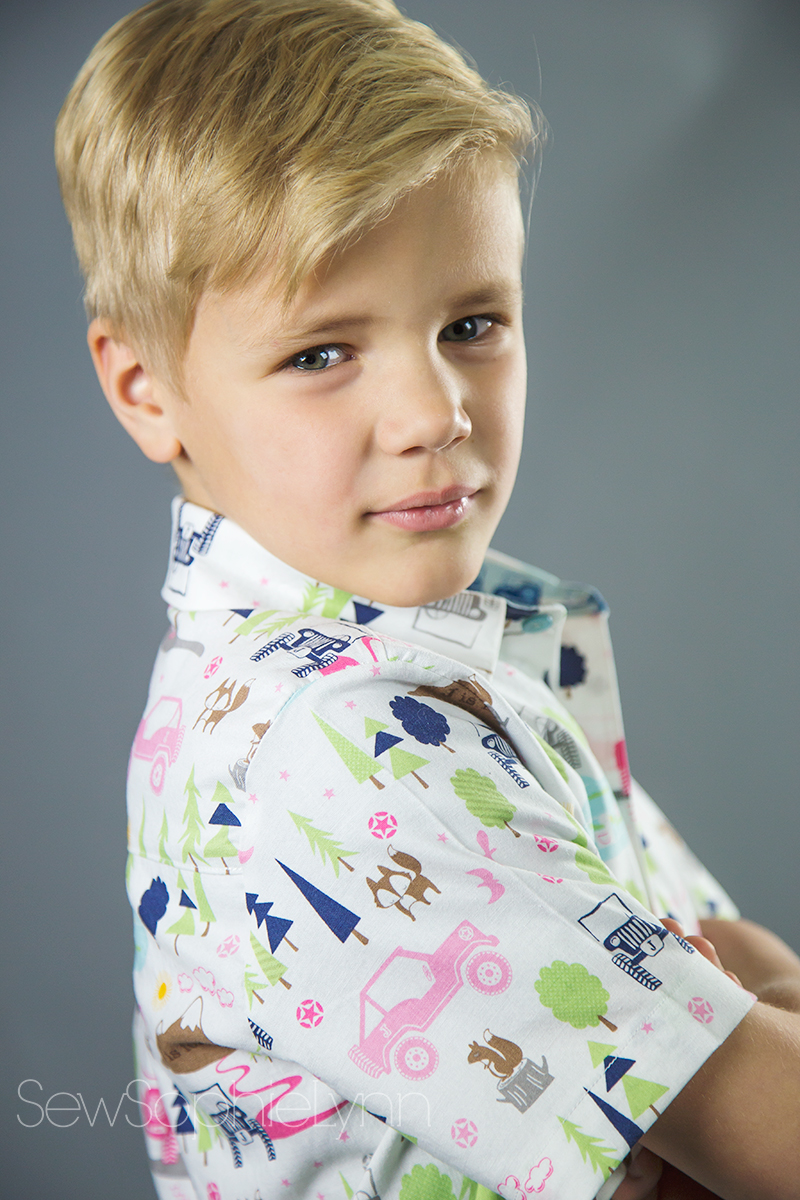
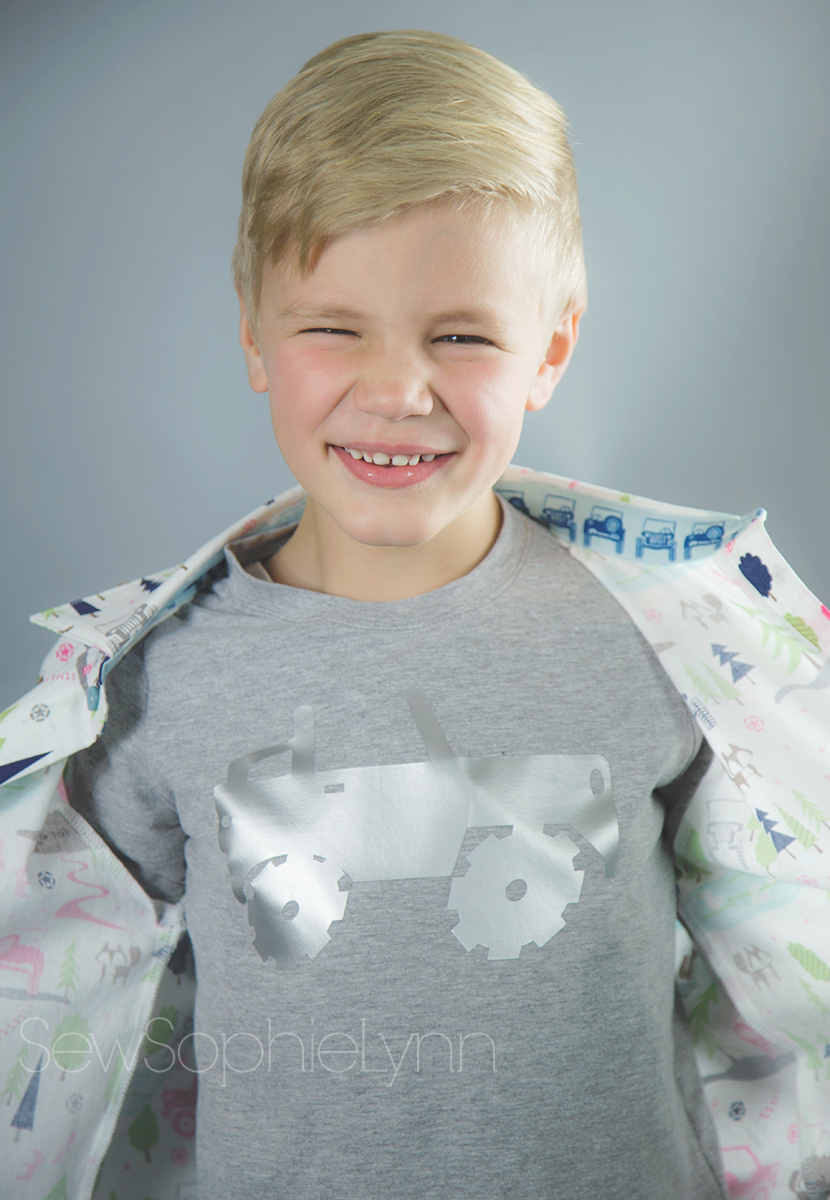
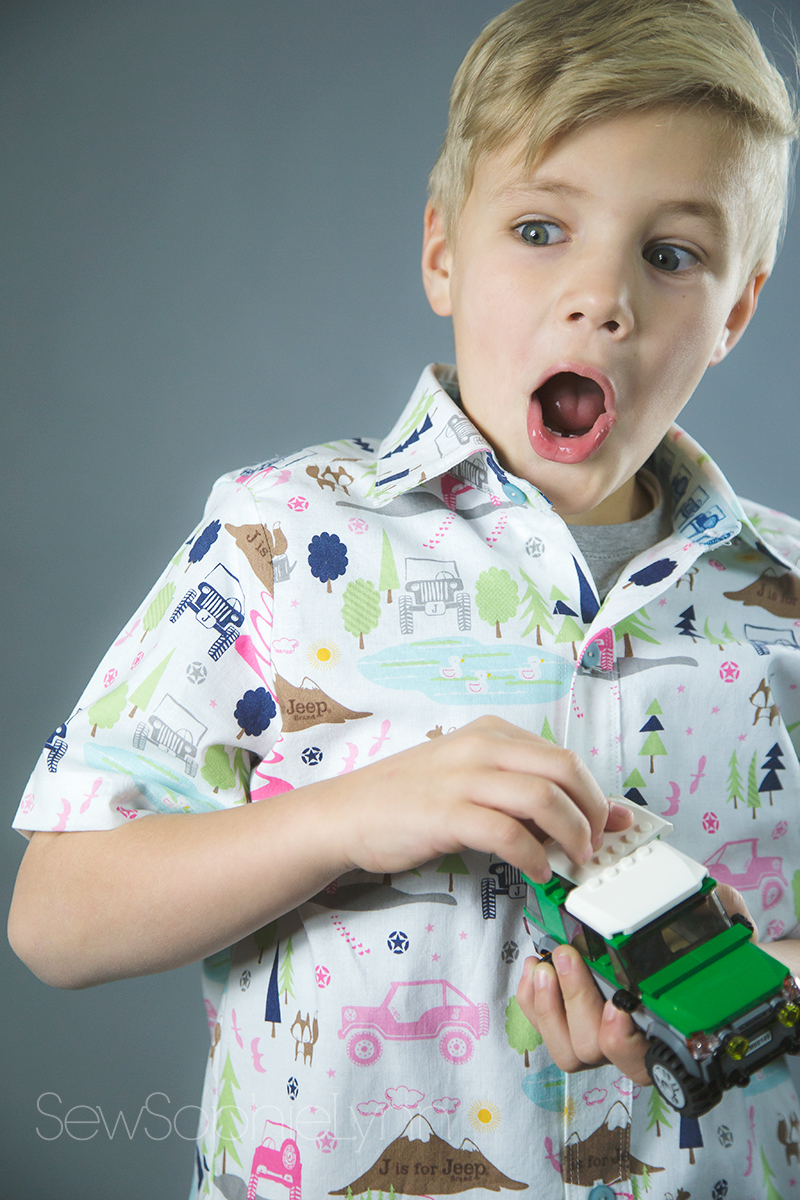
For this look we headed to our local fabric shop with his best buddy in tow.  They oohed and awed over all the fun prints and settled on this cool Jeep print from Riley Blake.  He loves cars and trucks and this was just perfect for him.  His little BFF is a snappy dresser and loves to wear suits and ties to school.  Charlie has picked up on his style and will usually reach for a button up and tie a few days a week now.  It’s too cute and I love letting him explore his style and try to find his own along the way.  A Jeep print button-up is just the perfect blend of all his current obsessions.

pink10

pink8

I used the ever versatile Birch Button Up from Sew A Little Seam.  If you want a big bang for your buck then you NEED to check out Kelly’s patterns.  They are all loaded with options and so many of them are unisex making them even more of a steal.  I love when I can use a pattern for multiple kids!

pink11

I did the basic collar, full placket, short sleeve version and it was about as easy as a woven top can be.  I love the placket construction- quick and painless 😉

pink1

pink2

We just HAD to do a tee for underneath too.  I used the Oliver and S School Bus Tee pattern.  The fit just can’t be beat.  We did a Jeep iron-on because you know we can’t have any boring, plain tees in our house.  I love the tone on tone look of the silver on grey- sleek and simple!

pink9

A huge shout out to Kelly of Handmade Boy for hosting the tour.  She’s one crazy busy, amazing lady!

pink3

He’s just blown away by the other cute boys and their mama’s joining us this season.  Make sure to check out all their stories and handsome boys in their new pink clothes!


The New Cricut Maker

maker1

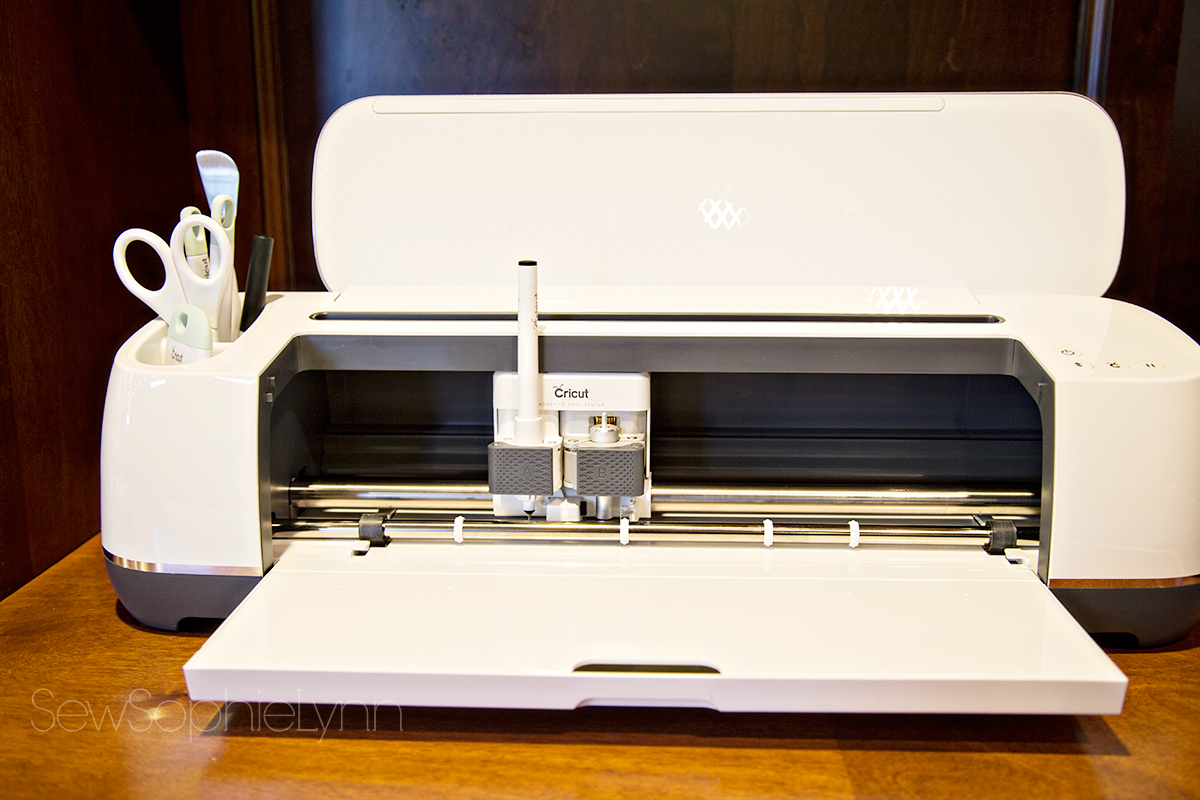
If you’ve been a follower for very long you know I love my Cricut.  I recently upgraded from the Explore Air 2 to a Cricut Maker and I’m here to answer any questions you might have about the two.

This post is sponsored by Cricut.  I received the Cricut Maker, Easy Press, and Bright Pad in exchange for promotion.  While I received these products for free all thoughts and reviews on these products are my own.  I’ll do my best to highlight the pros and cons of all these products.


First, let me say that I’m a sucker for heat transfer vinyl or as Cricut calls it Iron On.  I’d say that’s what I use my machine for 90% of the time.  As a sewist, I’m all about personalizing our wardrobe.  That’s part of why I sew, to create unique, one of a kind clothing for me and my children.  The skies the limit with what we can design and iron on and the fact that it takes just minutes makes it so fun and easy.

If you’re like me and use your cutting machine primarily for vinyl then honestly the Maker just isn’t necessary.   It has lots of bells and whistles that I’ll address further down this post and the potential it has is huge.  I’m excited by what I can create knowing all the possibilities this machine has but if I was sticking with vinyl my Explore Air 2 was amazing too.

The biggest game changer for me was getting an Easy Press.

easypress1

I have a normal inexpensive iron that I was using to iron on my projects.  While it worked fine I would notice peeling after a couple of washes every now and then.  It was frustrating and always made me nervous to gift personalized tees because I was worried about the quality.  I never considered a heat press- too big and bulky, expensive, and unsafe.  My craft space is small and open so my kids are always in and out of it, just not ideal for a heat press.

The Easy Press has seriously been such a huge upgrade.  It’s so portable and easy to use.  The surface heats quickly and evenly and the temperature control and timer take all the guess-work out of it.  It comes with a handy Quick Reference Chart that I keep with it that details the exact temperature and time for your vinyl/fabric combination.


The weekend I got my Easy Press we set to work making some quick, cute Christmas presents for my daughter’s and their bff’s.  They helped me design their projects in Design Space then I had them do the rest.  They quickly weeded their sheets using the Bright Pad and I supervised as they pressed the designs to the tees.

easypress2

The Easy Press is easy to handle and the flat design makes it easy to slide from the cradle to the project.   We picked up a few tips along the way (most of these are mentioned in the user manual but I think they’re essential to getting a good result).  First, use a towel between your project and the hard surface beneath it.  The towel will absorb any moisture and protects your surface.  Second, preheat your area where you’ll be placing your vinyl with a quick press.  This will get rid of any lingering moisture and help the vinyl adhere best.  And lastly, make sure to flip your project inside out and iron from the backside as well.  This just makes it adhere even better!  Even following all these steps, you’ll have a great finished product in minutes!  I can’t say enough good things about the Easy Press and the great results you get when using it.

maker2

Let’s talk about the Maker.  It gets ALOT of use in our house.  We use our cutting machine a few times a week.  We have a big built-in desk in our main living space that the Maker sits on next to our computer making it convenient to use.  We use it for school projects, bulletin boards, Valentine’s boxes, decorations, and more, using it to cut all kinds of paper and fabric.


The Maker has so many unique features.  It is heavy-duty, with up to 10x more cutting power than other machines.  It has an Adaptive Tool System that allows you to switch between blades easily and has the potential for more tools to be added.  The Rotary Blade is what sets this machine apart from others on the market.  The Rotary Blade acts just like a rotary cutter, gliding over the surface and pivoting to make even the most intricate cuts.  It can cut anything from thin, delicate tissue paper to thick denim.  It’s amazing to watch and I was in awe as it easily cut through thick glittered felt.  My son is so excited for the knife blade to hit the market.  He had the idea to make a chipboard puzzle as a gift this Christmas and I had to tell him that the Maker would soon be able to make it happen for him.  The possibilities of this machine are what sold me.  I hate getting a product only to feel like it’s ‘old technology’ within months (hello- how many gaming consoles have we gone through?!).  The fact that this machine can grow and expand is a huge selling point.

As an apparel sewist, I have yet to really use my Maker for garment sewing.  The small cutting space (you can use a 12×24 mat) just doesn’t make it practical.  BUT I can think of a ton of small projects that will be great for it.  My daughters have been sewing and enjoy quick little makes.  Design Space is full of projects that will be perfect for them.  I know when spring break and summer vacation roll around our Maker will be busy.  They love doll clothes, small bags, hair bows, accessories, and decorations.  Design Space continues to add more of these type of projects and I’m excited to get my craft on with them!

Our Cricut products are well-loved and have become a natural part of our lives.  We love to create and are grateful to have our Maker, Easy Press, and Bright Pad to help our dreams come to live.

This is a sponsored conversation written by me on behalf of Cricut. The opinions and text are all mine.

http://influencers.tapinfluence.com/assets/cogs/core-v4.js var ts=document.getElementById(‘ti-pixel-tracker’); var axel = Math.random() + “”; var num = axel * 1000000000000000000; var ti=document.createElement(“img”); ti.style.display=”none”; ti.src=”http://tracking.tapinfluence.com/trk/5ckXD/DATzX/p.png?p=b5EIz” + String.fromCharCode(38) + “i=9W3yX” + String.fromCharCode(38) + “ord=”+ num + String.fromCharCode(38) + “s=” + encodeURIComponent(document.referrer); ts.parentNode.replaceChild(ti,ts); JSON.stringify({“program_id”:”8b1a7330-fcc6-11e7-b475-22000af436a0″,”post_id”:”7cf18a68-0708-11e8-9267-22000af436a0″});

Cricut Be Mine Blog Hop

teaser1

Yep, I’m here again with more Valentine’s goodness!  I can’t stop guys!

flatlay1

I love Valentine’s day for so many reasons.  I’ll take any excuse I can get to tell my favorite people how much I love them.  I love being able to put up my few Valentine’s decorations after the excess of Christmas.  Glittery hearts, pretty garlands, and bright pillows sure do brighten up the mood on a dreary winter day.  And let’s talk about the food… chocolates, candies, and a delicious meal are all Valentine staples.  What’s not to love?!!

valentine5

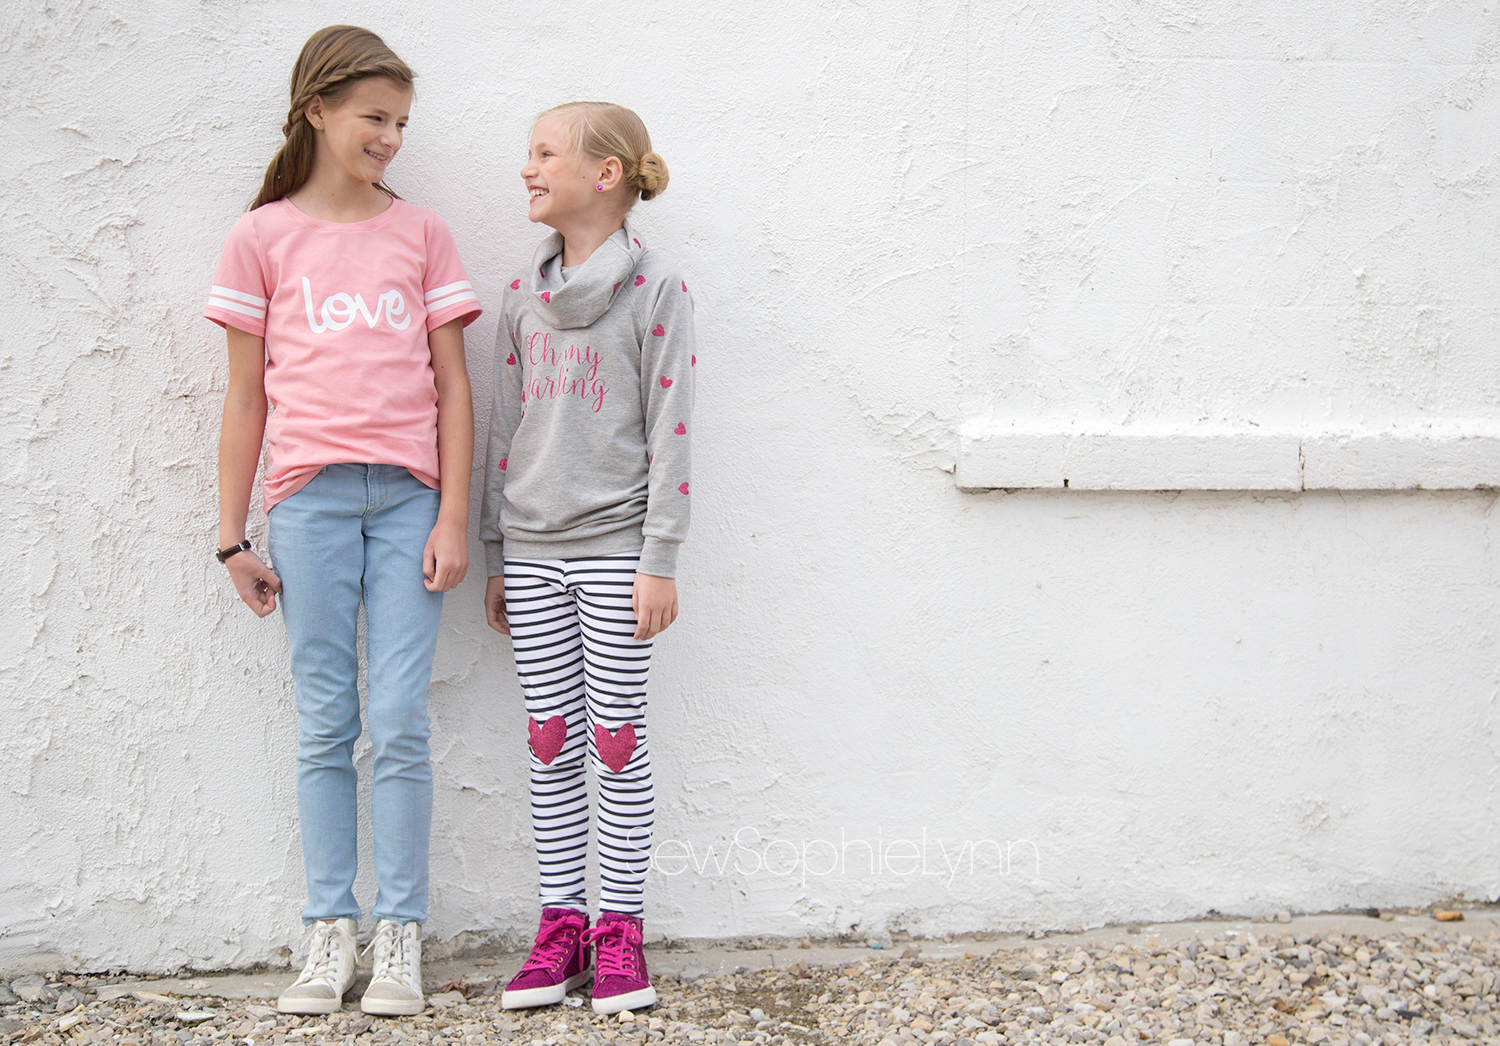
I’ve made my girls a few ‘valentine’ theme tops this year.  We love using our Cricut to make custom tees each holiday but I usually limit it to one or two per kid since they only get to wear them for such a short time.  Valentine’s things on the other hand can easily be worn all year if you keep them pretty basic.

valentine7

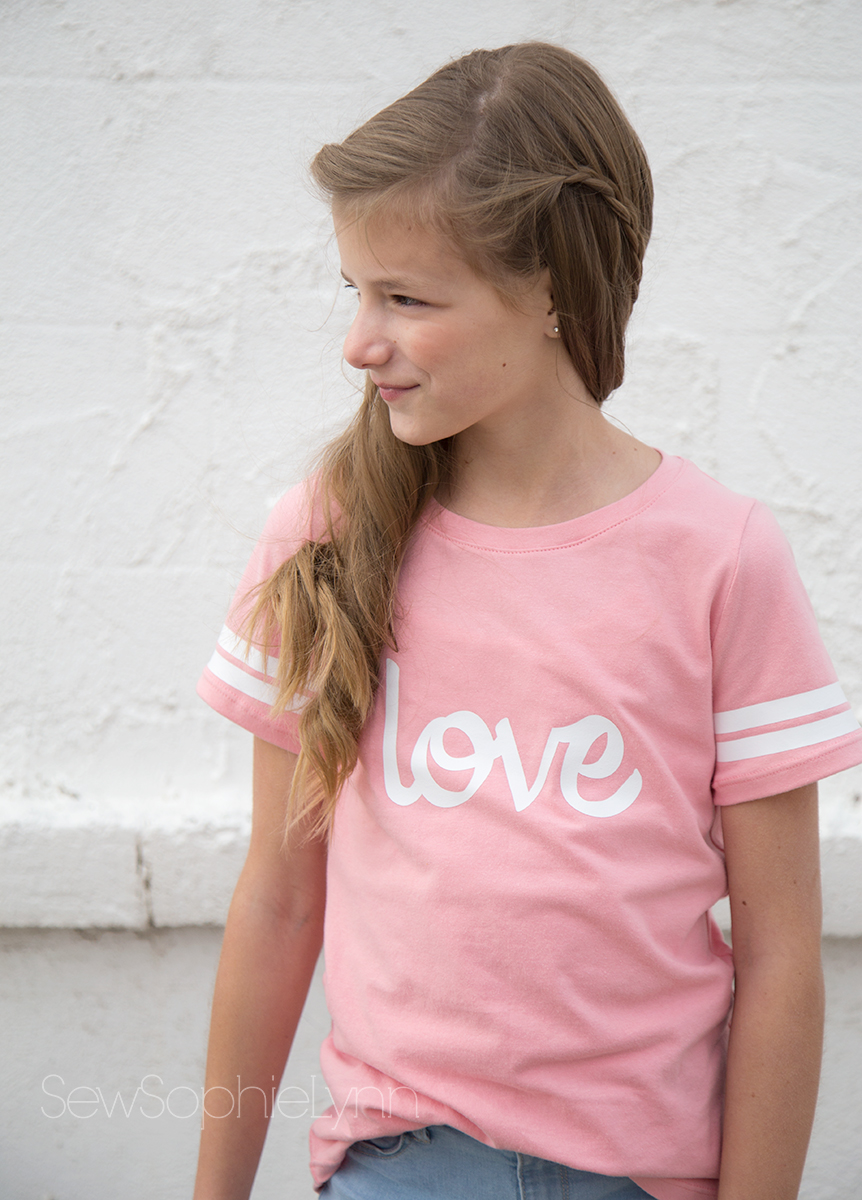
My oldest is awesome at coming home from school with a new request at least once a week.  She’ll see someone wearing one of the latest trends and ask me to just ‘whip it up’ for her.  Not too long ago she asked for a tee with stripes on the sleeves and I was happy to hook her up with one.

flatlay3

I was planning on using the Camden Raglan from Hey June since it comes with sleeve stripes as an option.  I had a lightbulb moment though when I realized I could do those stripes in vinyl in just a fraction of the time.  Seriously sooooo much easier!  I grabbed my other trusty Hey Juniors pattern- the City Park Tee and had a finished garment in no time!  The only alterations I made for this was to lengthen it 1.5″ for her height and I widened the sleeve a bit to give it a more ‘boyfriend’ feel.  The stripes are simply .5″x 12″ strips of vinyl that I applied before sewing up the sleeves.  The 12″ was just barely enough to fit on the size 10 sleeve, you’d want to use a longer piece of vinyl for any tee bigger than that (if you buy the 24″ rolls of vinyl you’re golden but I thought it was worth mentioning if you usually grab smaller sheets).

valentine9

The ‘Love’ cut file is just from Cricut Design Space.  I get sucked into all the fun choices and suddenly need to make a million different tees!  So…many…cute…options!  All the fabric in this post is from the lovely Raspberry Creek Fabrics.  I just love all the cotton lycra solid choices and this pretty dusty pink just looks too fabulous on this little miss.

valentine2

Little sis is still totally girly and loves anything sparkly and pink.  This outfit is just too her!

valentine3

For her I used the Jolly Roger Raglan with the cowl add-on and the free Love Notions Leggins.   These two patterns certainly get a workout around here.  I know if I’m looking for something comfy with a little kick- the JRR is my man.  C’mon, that cowl just takes it over the top!  And when it comes to quick the Leggins with the yoga waistband can’t be beat (even when stripe matching ;)!

flatlay4

I just love how I was able to take this outfit from boring to brilliant with a little glitter vinyl.  I knew I wanted to do a little play on fabric printing with vinyl.  I cut a ton of mini hearts out of the pink glitter vinyl and scattered them at random on the sleeve and cowl pieces.  The Cricut Easy Press made adhering them a cinch.  I could lay them on the pieces and easily move the Press around without messing them up. It takes just a few seconds and they melt right into the fabric.  I designed the cute little saying in Design Space.  I love how easy it is to do your own text in the program.  So many fonts to chose from and it’s simple to manipulate the letters to get it just right.  Throw in a couple of heart knee patches and this outfit is adorable!

valentine1

Kinda makes you want your own, huh?!  I always feel that way when I sew for my kiddos.  Too darn cute!

valentine6

Cricut makes holidays so much more fun! This week promises so much darling Cricut inspiration from some of my favorite sewing and crafting bloggers.  Make sure to check them all out! A big shout out to Shelly from Coral and Co. for putting this all together!

Cricut ❤ Be Mine ❤ Valentine’s Day Blog Hop

Monday 1/29 Sweet Red Poppy * Amber Simmons * Sew Sophielynn

Wednesday 1/31 The Intrepid Thread

Thursday 2/1 Heather Handmade * Paisley Roots * Coral + Co

Friday 2/2 That’s Sew Kari * Maytime Moms * Swoodson Says