This post is sponsored by Cricut. I received the Cricut Easy Press 2 in exchange for promotion. All thoughts in this post are my own.
It’s no secret that we’re huge Cricut fans in our house. We’ve all gotten spoiled and love to create looks that we dream up ourselves. As a seamstress, I love to create clothes and pick out pattern and fabric combos that suit both me and my children. The Cricut Maker, Easy Press 2, and sewing products help us take our handmade wardrobe to the next level.
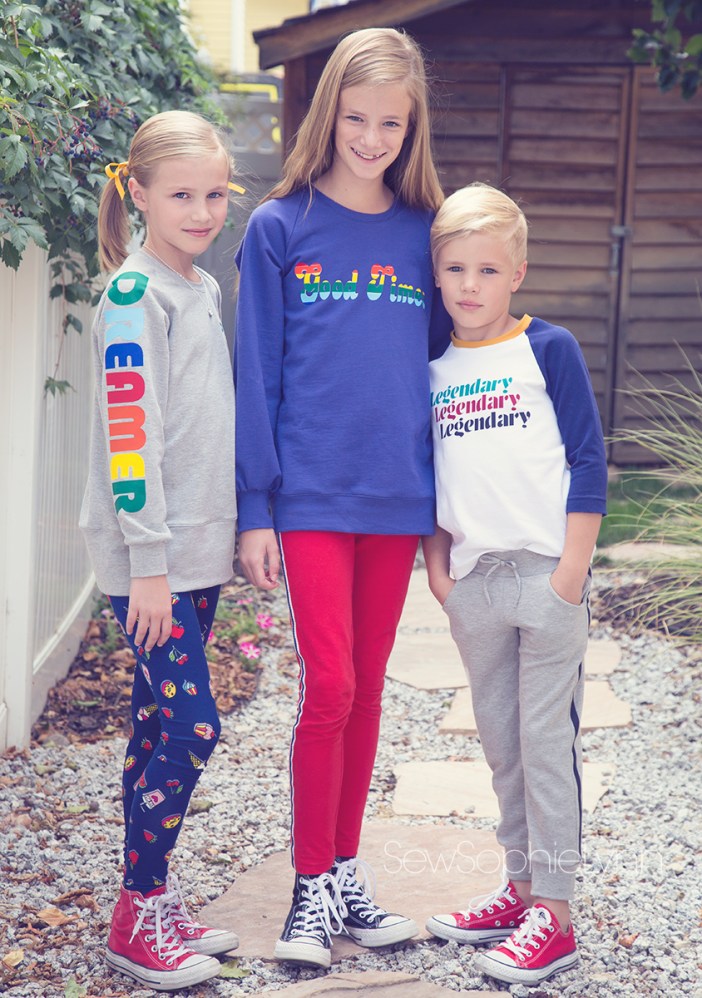
I’ve been absolutely loving all the rainbow and vintage vibe tees and sweatshirts that are everywhere these days. It was so much fun to come up with our own sayings and designs and use our handy Cricut tools to create looks that fit their personalities.

The Cricut EasyPress 2 makes ironing on your vinyl designs such a breeze. I’m loving the new vibrant color and three different sizes that will suit all your needs. The small 6″x7″ size works great for baby clothes and little projects. The medium 9″x9″ size is super versatile and a great all-purpose machine. The large 12″x10” has been fantastic for our family. It’s great for youth and adult clothing and has been getting a work out at our house.
The EasyPress 2 is easy to use and is so quick and handy. It heats up so fast and the ceramic coated plate produces smooth, even heating (something my iron sure lacked!). I use mine on my kitchen table and I know that it’s protected from the heat by the insulated safety base and the EasyPress Mat. It gets up to 400 degrees and irons on your designs in no time. The easy to read digital display makes it easy to set the temperature and timer to suit your iron-on material and fabric. And I love that it’s easy to store on my shelf and is light and portable. Phew! So many great qualities! I honestly don’t know how I lived without mine.

When creating these looks I turned to Cricut Design Space and the loads of fonts at my finger tips! You can create this look for yourself here. I used the Playroom Sampler pack, with Kelly, Orange, and Sky but I think it’d look amazing in an array of Glitter Iron-On as well.
I’m a Cricut Iron-On convert. After using different brands I’ve been thrilled with how well our Cricut brand makes have held up. Cricut has introduced the StrongBond guarantee that will give you the confidence and peace of mind that your iron-on projects will last and last. The StrongBond guarantee means that if your Cricut iron-on products are used as directed and you’re not completely satisfied, Cricut will replace it for free. Cricut Iron-on products are made to last 50+ wash and dry cycles and I’m here to testify that ours have taken a beating and still look amazing. That’s a big deal with kids- their favorites can stick around until they’re outgrown!

I used the Samson Sweater from Love Notions sized up one and with an extra wide bottom band to give it that oversized look. This french terry from Raspberry Creek is one of my favorite fabrics for fall. (I love it so much I used it for my little guys joggers too!) It’s nice and thick and worked wonderfully with the iron-on.

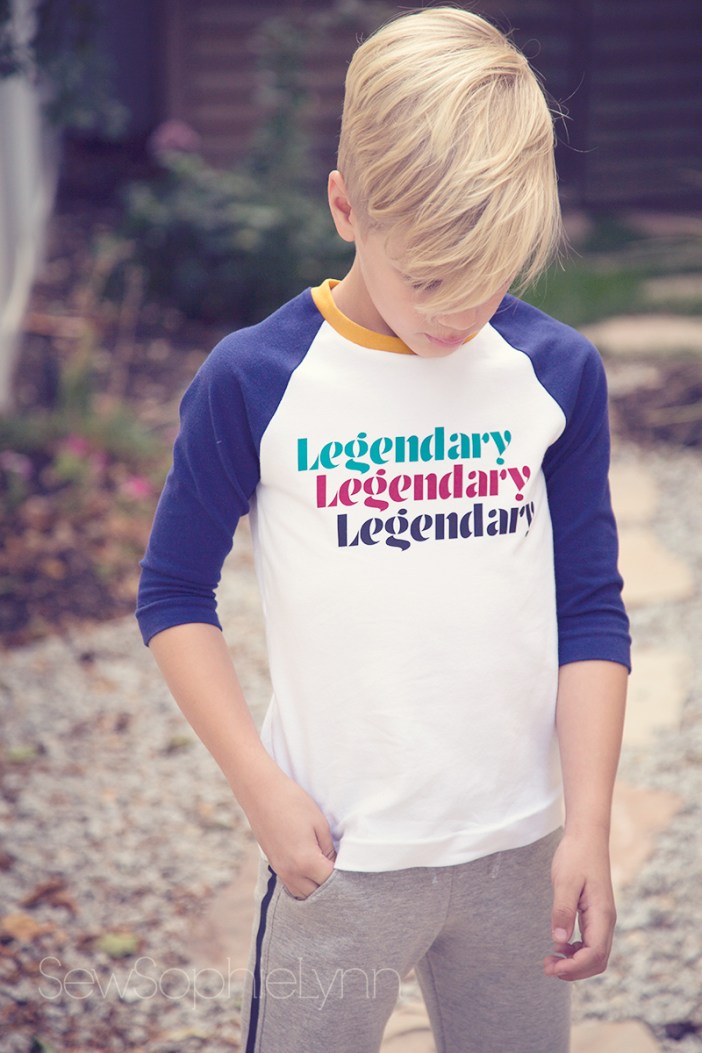
This Legendary tee was another fun design. This kiddo has certainly reached ‘legend’ status at our house so this tee was just too perfect for him. I used the Boho Sampler pack of Everyday Iron-On for this look. I used the #121 Ringer Raglan pattern from Thread Faction- I can’t get enough of that slim fit!
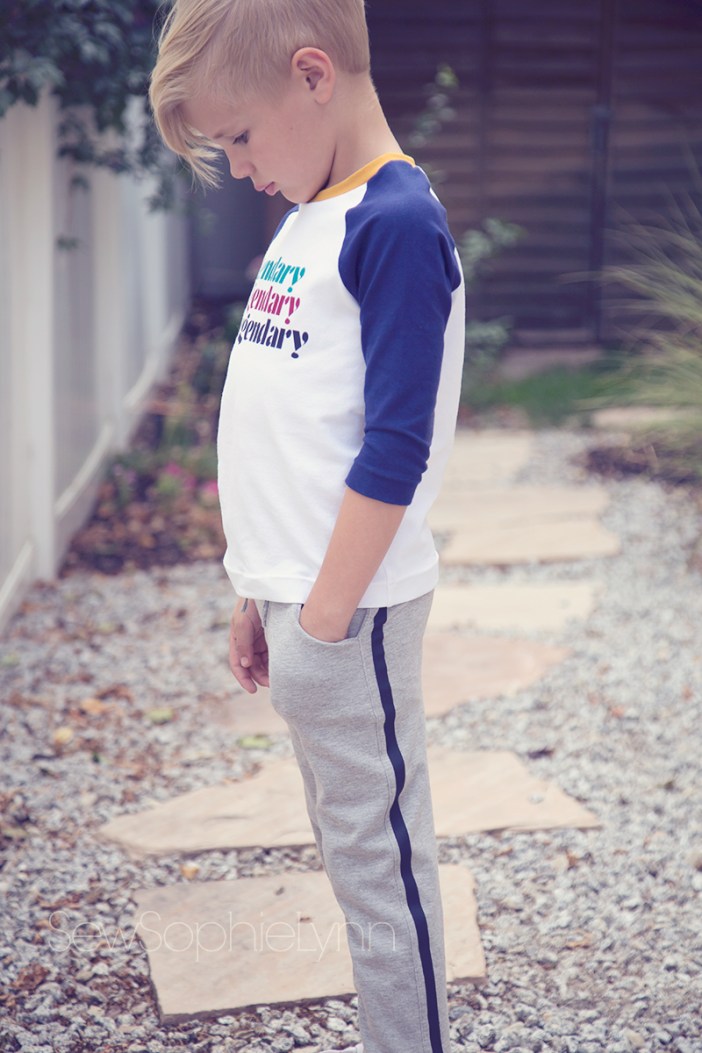
I used the Lexi and Lou Loungers from Made for Mermaids for his pants. I added a long vinyl stripe down the side and in the pocket for a touch of color. The large EasyPress made ironing on the stripe simple and easy! One bonus of making a garment is that you can iron things on flat, before they get completely sewn together. I sewed up the pockets and side seam, EasyPressed the stripes on, then continued with the construction.

This design is a trial and error look. I’m always trying to come up with new ways to use my Iron-On materials and this one was a fun one. I took strips of each color and taped them together using transfer tape on the plastic backing. I cut the design out in white iron-on and applied it to the sweatshirt. I then cut the design out of my rainbow piece and applied it directly on top of the white lettering. It’s far from perfect but that just means I get to keep trying it until I get it just right! I love the look and used the same technique here too. You can get this design in Design Space here.
Her top was made using the Striped Swallow Designs Apres Ski. Those big full sleeves take this sweatshirt from boring to brilliant.

I’m thrilled with this whole Retro Rainbow collection and love how quick and easy it was to make with our Cricut products.
This is a sponsored conversation written by me on behalf of Cricut. The opinions and text are all mine.
This is a sponsored conversation written by me on behalf of Cricut. The opinions and text are all mine.
https://influencers.tapinfluence.com/assets/cogs/core-v4.js var ts=document.getElementById(‘ti-pixel-tracker’); var axel = Math.random() + “”; var num = axel * 1000000000000000000; var ti=document.createElement(“img”); ti.style.display=”none”; ti.src=”https://tracking.tapinfluence.com/trk/IfFFz/qCBqj/p.png?p=zRsnp” + String.fromCharCode(38) + “i=9W3yX” + String.fromCharCode(38) + “ord=”+ num + String.fromCharCode(38) + “s=” + encodeURIComponent(document.referrer); ts.parentNode.replaceChild(ti,ts); JSON.stringify({“program_id”:”5d3784ea-9018-11e8-83a8-0632d5c66a00″,”post_id”:”548e2120-d193-11e8-ad38-06344b32889a”});

2 thoughts on “Retro Tees with the Cricut Easy Press 2”