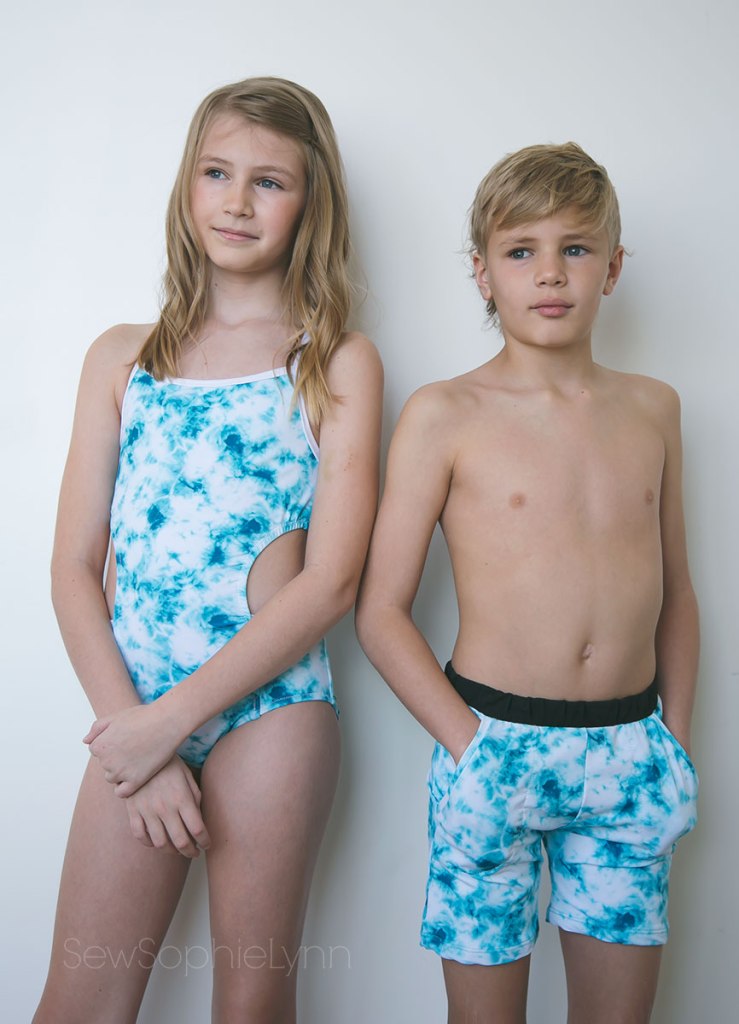
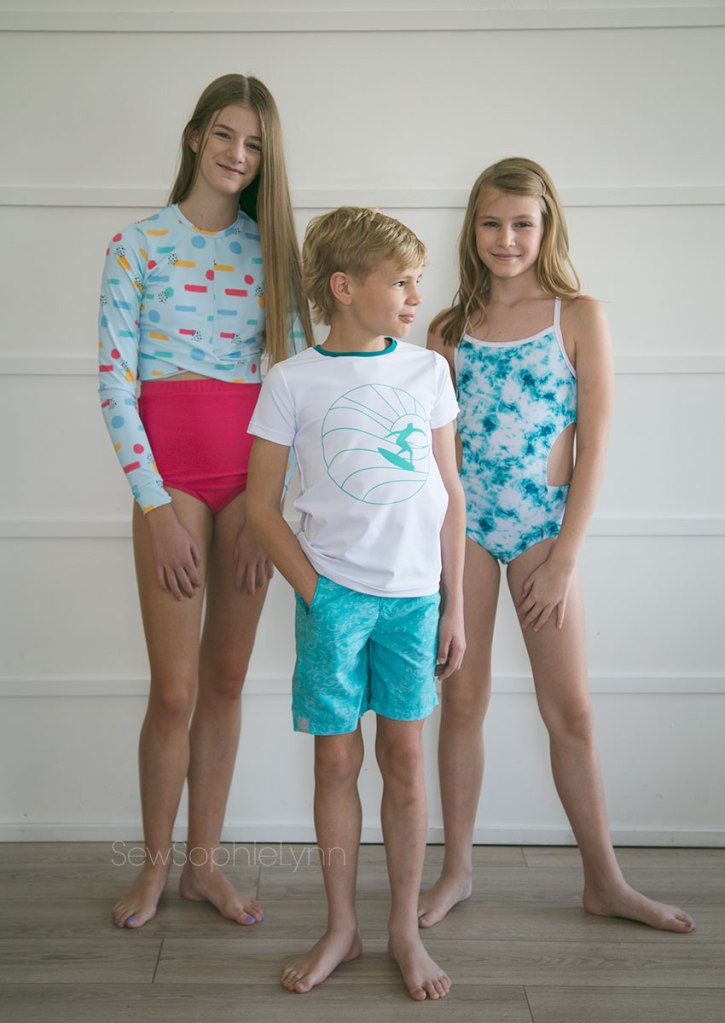
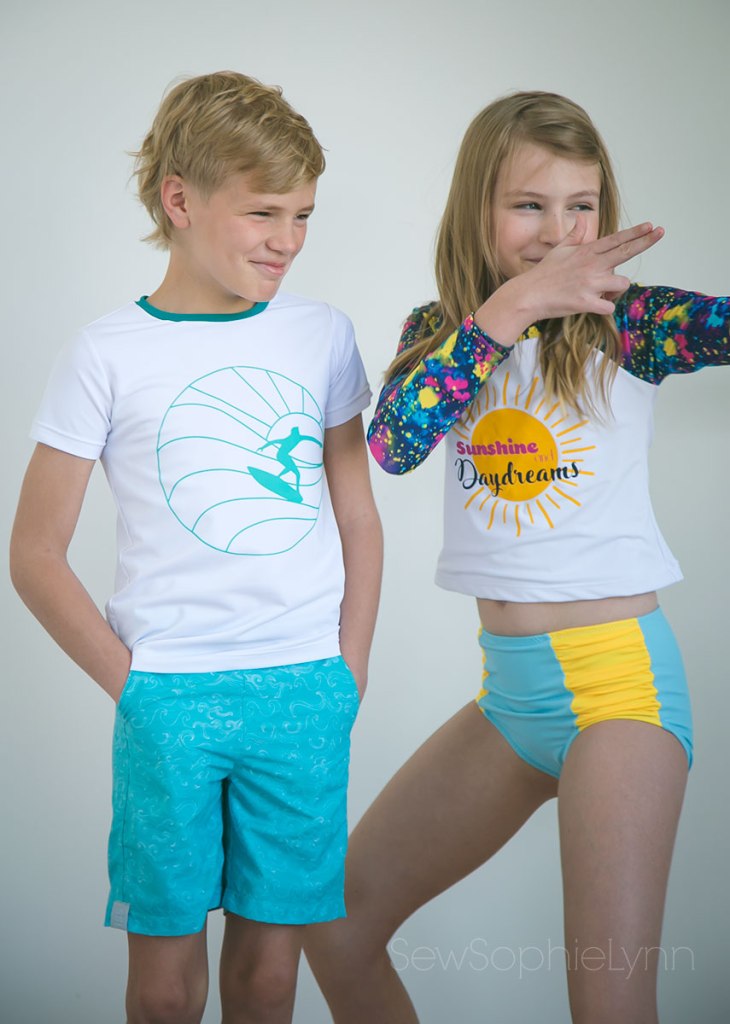
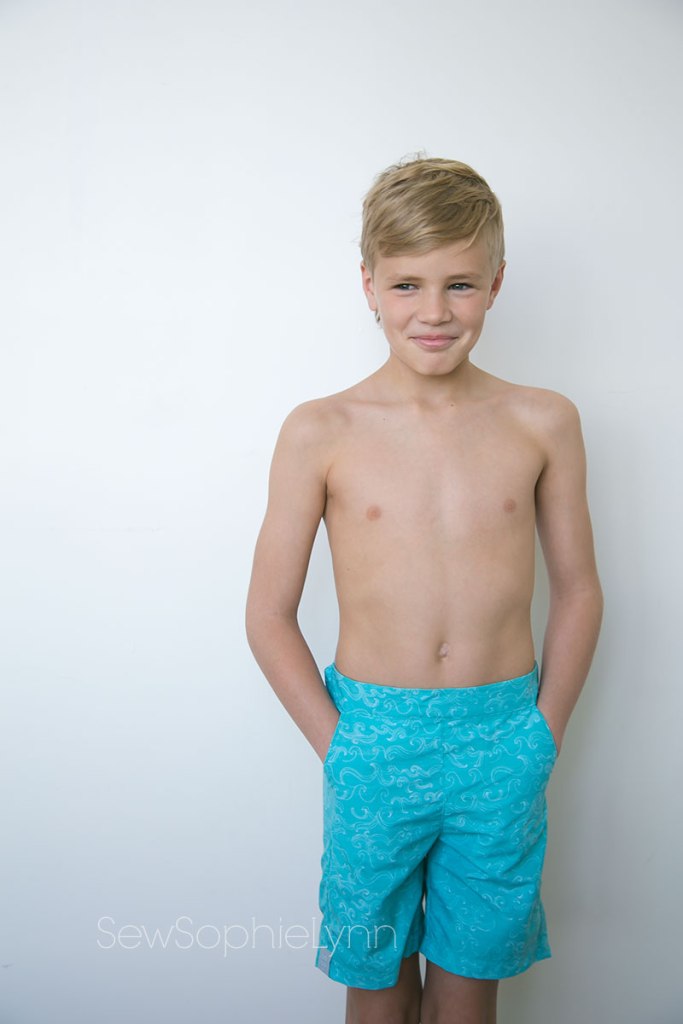
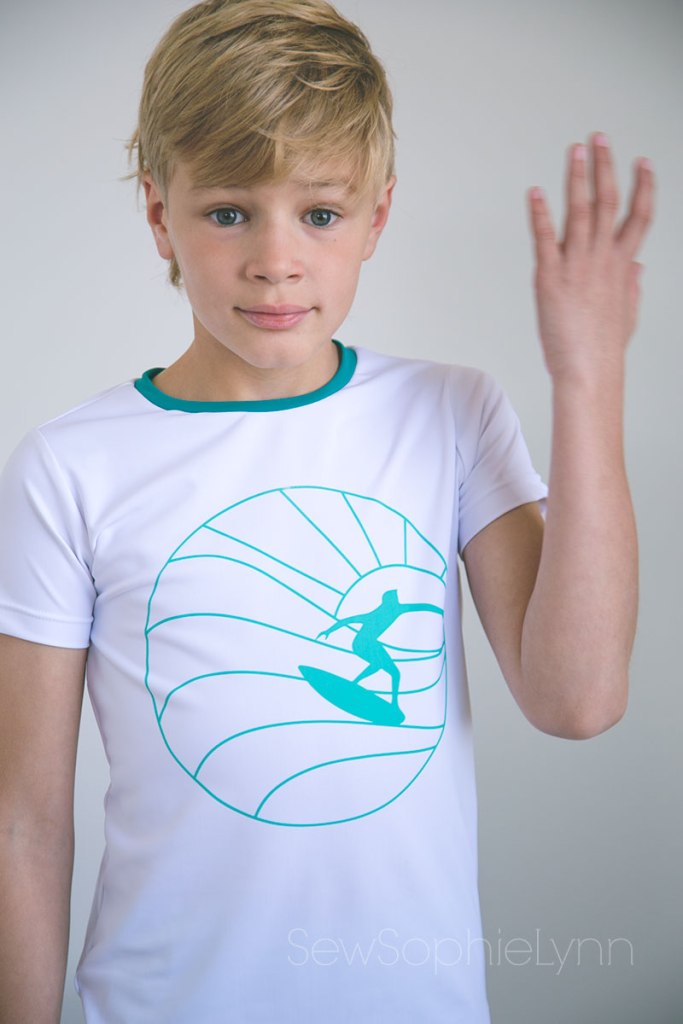
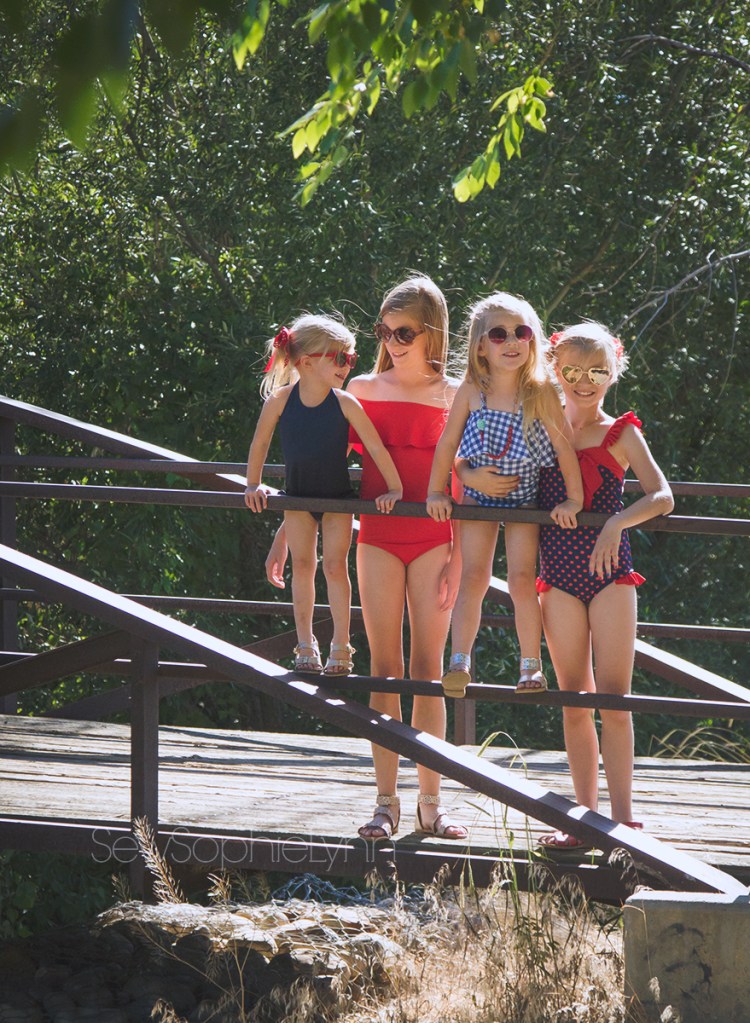
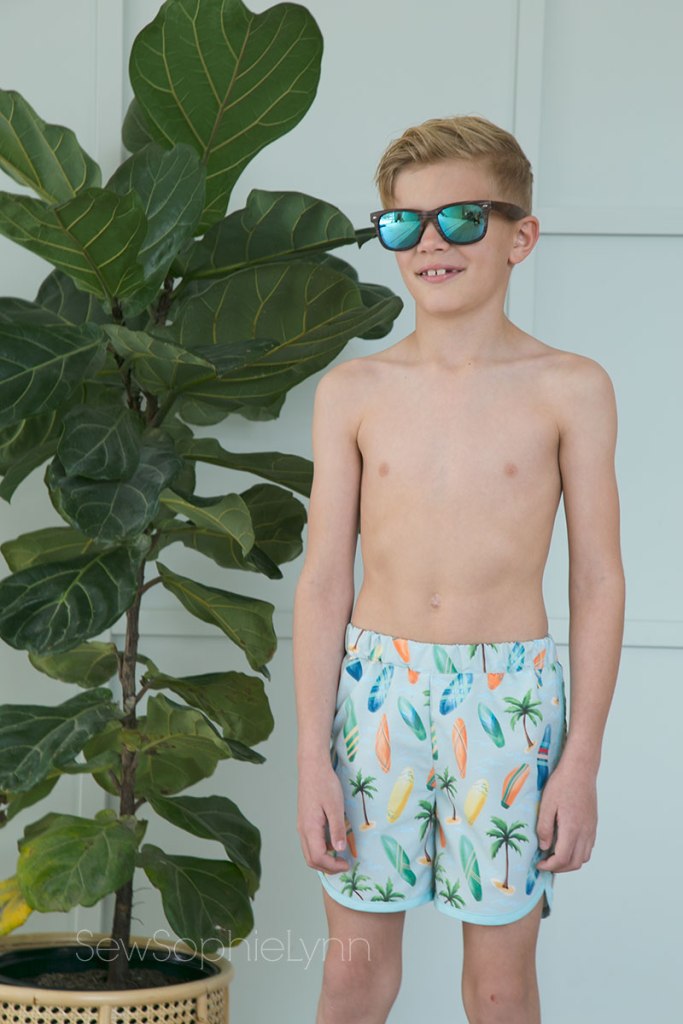
Have you been following along with the Suit Up for Summer tour this week? It’s been so incredible! So many new techniques to try, genius tips, and can we talk about all of the gorgeous swimsuits?! Hello! This year’s bloggers really blew me away. What a privilege it’s been to get to know them a little bit and to witness their amazing talent.

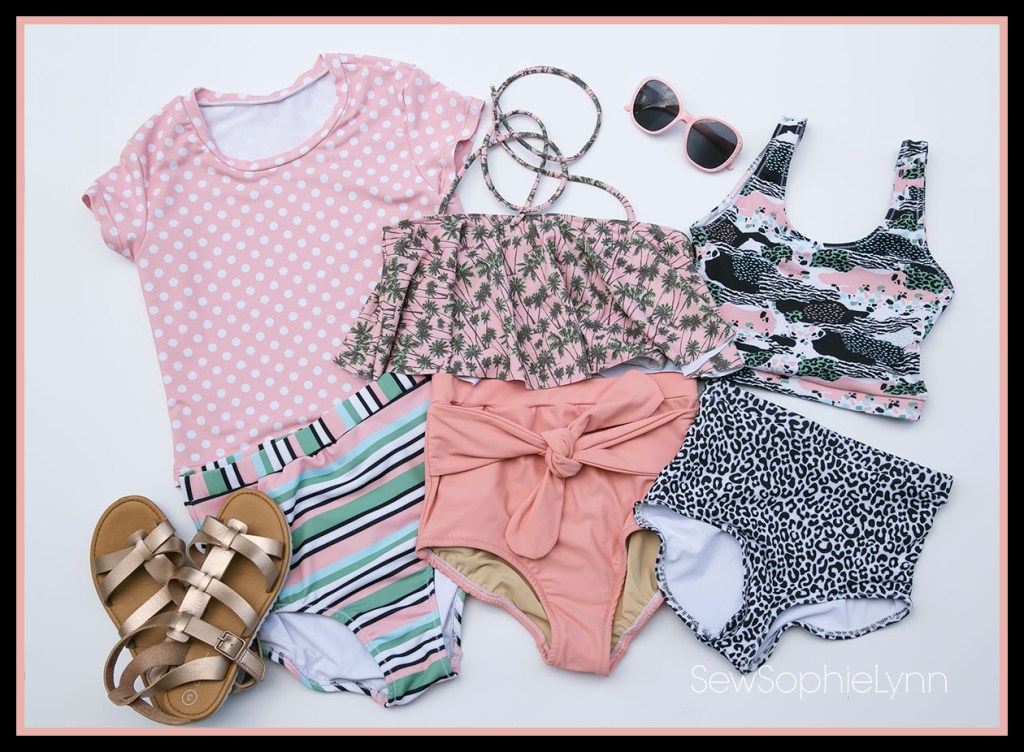
In years past, this week has been a bit crazy for me. I LOVE LOVE LOVE to sew swimwear and usually have about a dozen to share with you (you can find all of our past swimsuits here.) This year I scaled back for multiple reasons but I still couldn’t wait to sew a few new suits. The new Raspberry Creek Fabrics swim collection is just way too hard to resist!

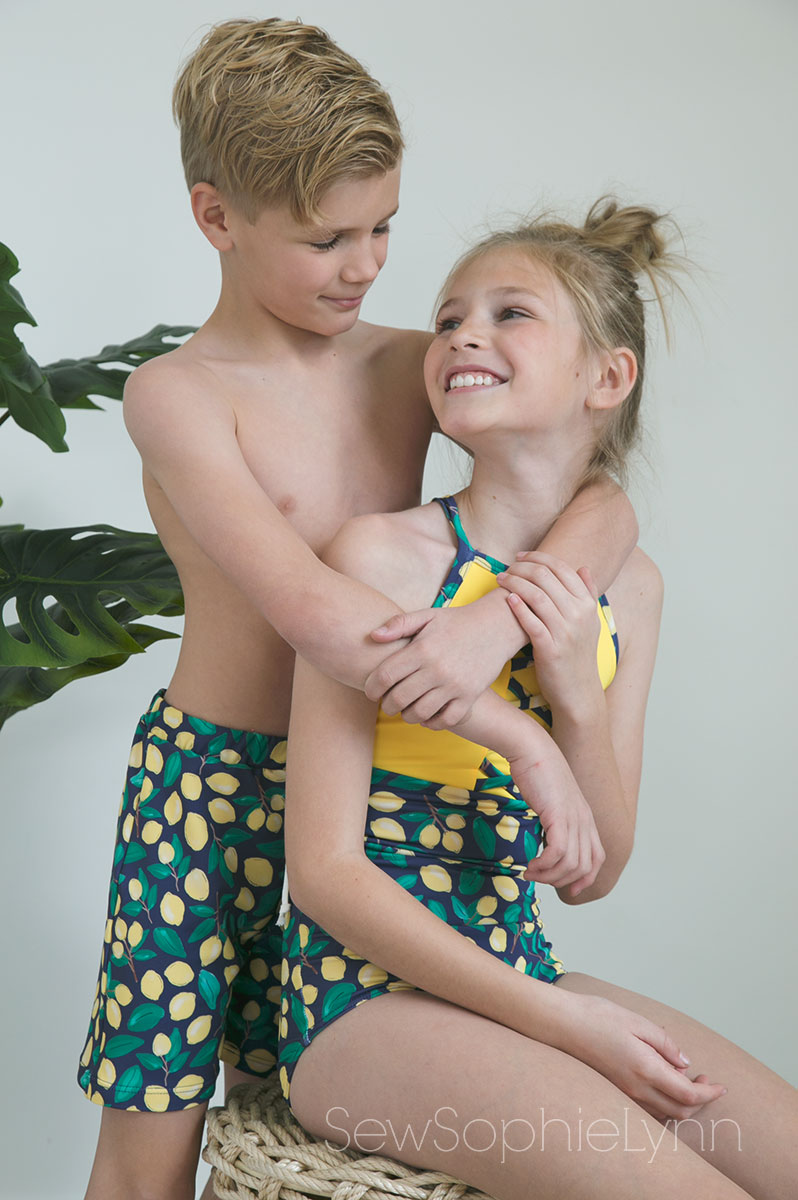
I always love RCF florals and this swim collection is just full of so many good ones. My girls and I don’t tend to gravitate to red but this print jumped out to all of us. My younger daughter requested it, I stole it and sewed it for myself, then my older daughter modeled it and has now claimed the suit for herself!

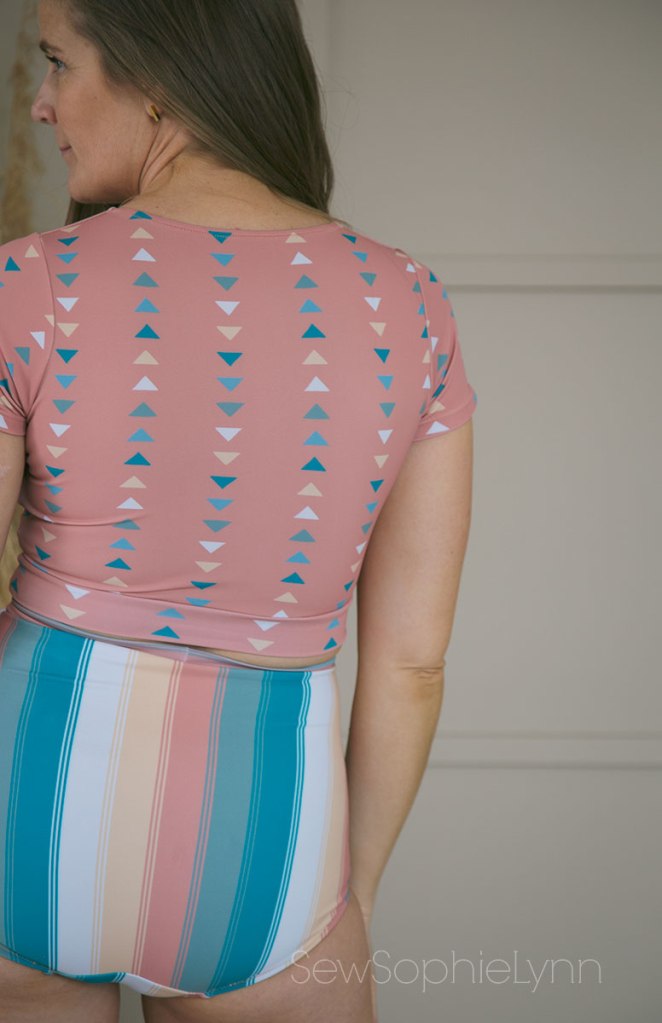
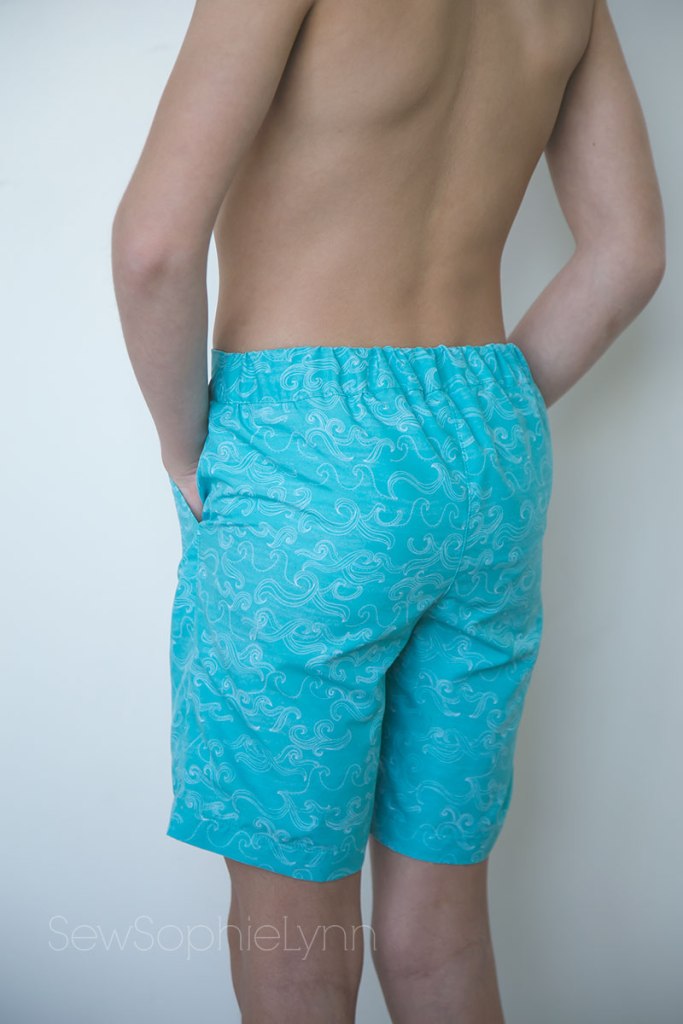
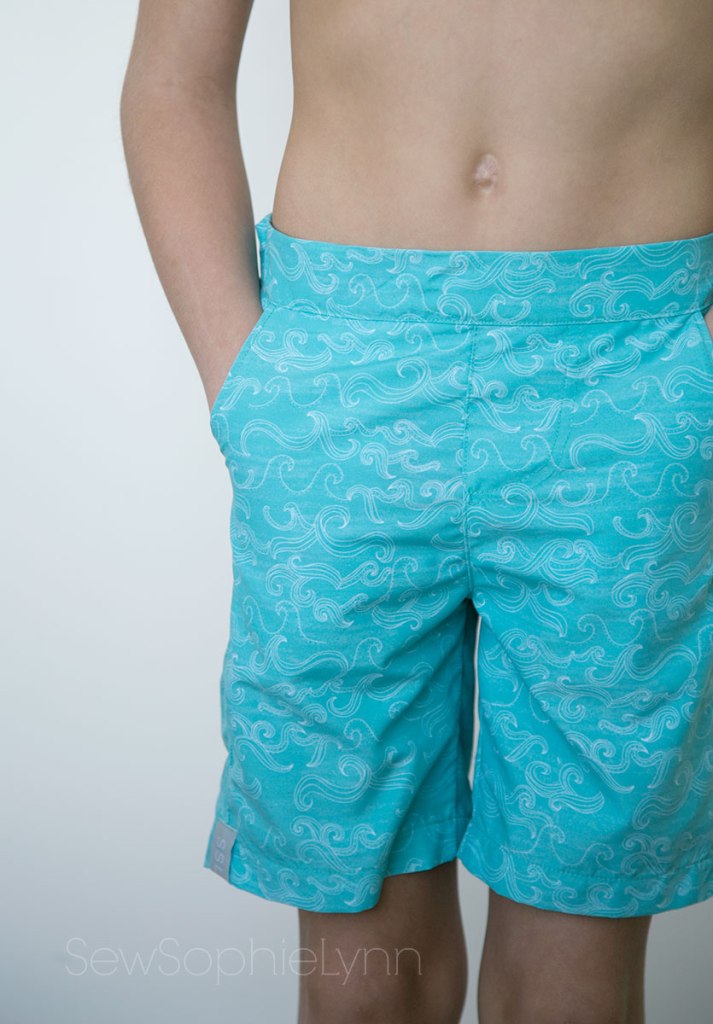
For this suit I used the Petite Stitchery Colby Bralette and Patterns for Pirates Busy Bee Bottoms. The top is not intended for use as a swimsuit but it worked out great. I did add cups between the lining and main fabrics for a little more coverage. I think next time I use this pattern for swim I will add elastic to the neckline and armscye as well. It’s extra comfortable without it and has plenty of negative ease to stay in place but I think it would lie better. Remember, I made this top for me, using my measurements but it fits my teen surprisingly well. I’m in love with this bottom pattern. My all-time favorite bottom pattern is the P4P Hello Sailors but this one just might be the new go-to. It’s very similar to the Hello Sailors (high-waist, great coverage) but has so many other options as well. The leg line is a little higher and feels more flattering but still is comfortable and modest. I sewed up a size small graded to a medium in the waist. My daughter measures into an XS but these fit great as well.

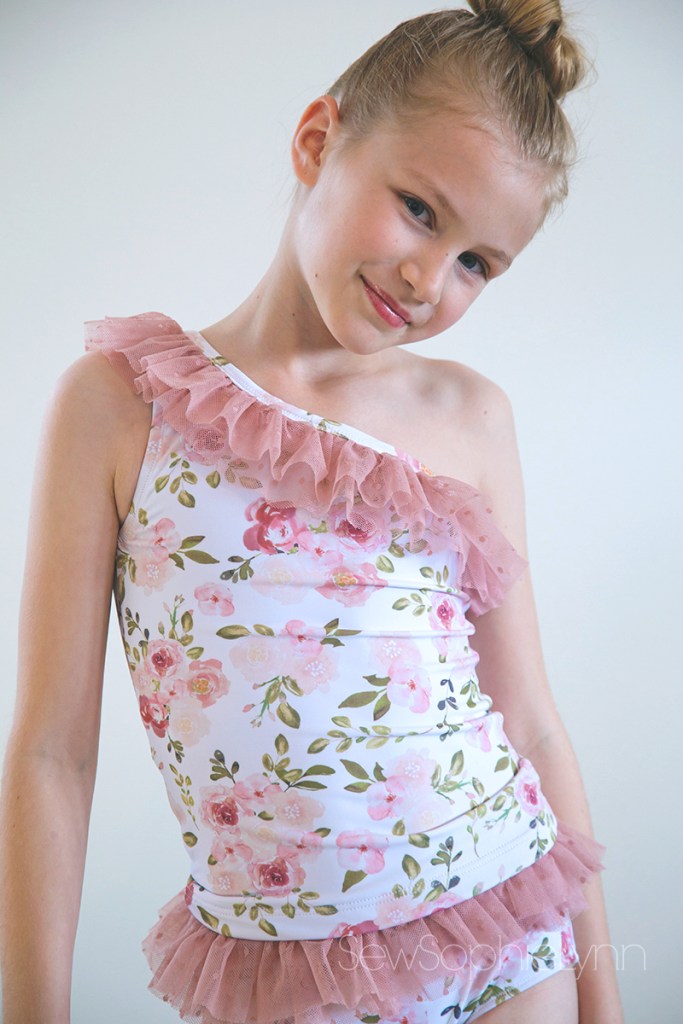
This is the Petite Stitchery Brooklyn– SO CUTE, right?!! This is another pattern so full of options. I sewed up this swimsuit in a small (again according to MY measurements). When I tried it on though the fabric design was very stretched and distorted so this little miss got another swimsuit! I think in a solid fabric, I’d stick with a small but I hated losing the details of these amazing prints. For the top I did the optional shelf bra and added cups. I also cut it at the longer cut line and added the band for a little more length. The bottoms have real pockets! While I loved this detail, they kept poking out so I sewed them down after these pics were taken. I love the idea of them but they just weren’t practical. I do keep seeing bottoms with pockets and might need to hack another pattern to have them (just big enough for a hotel key while on vacation!).

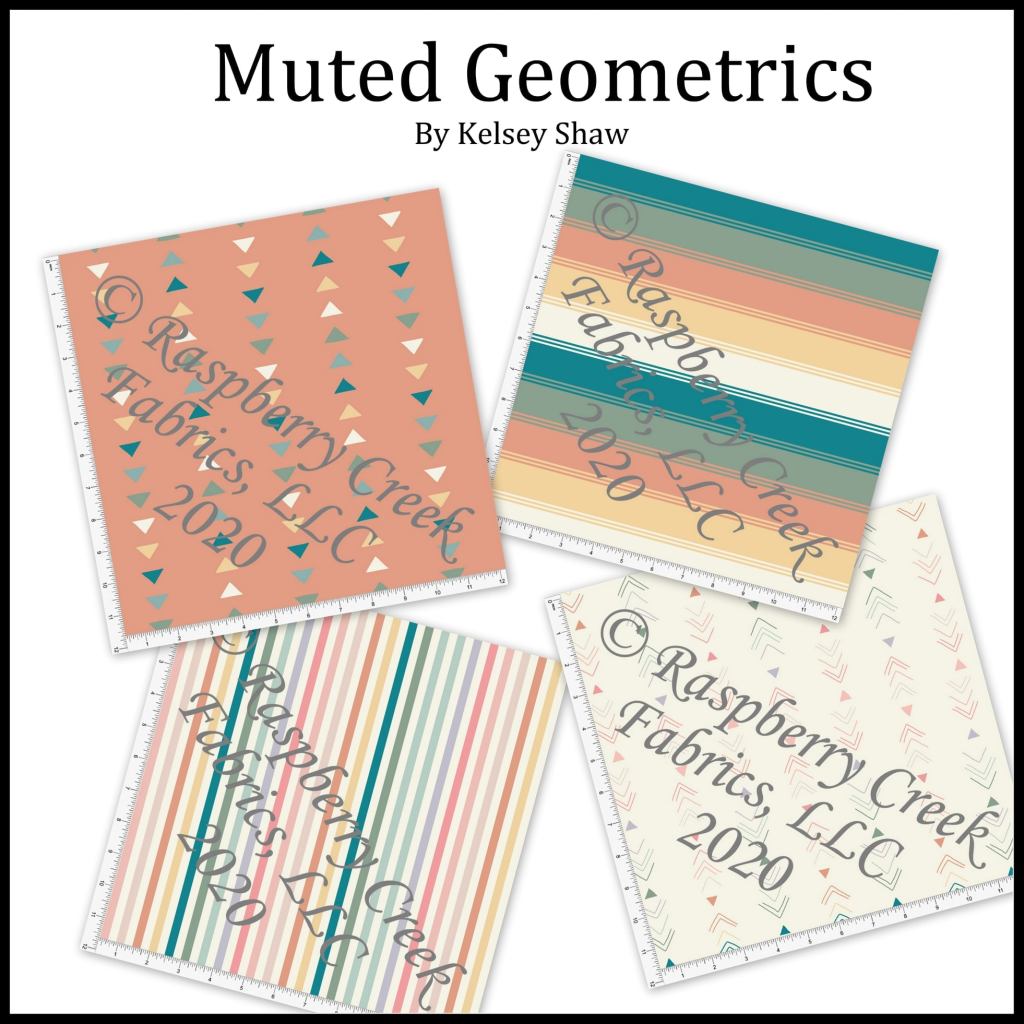
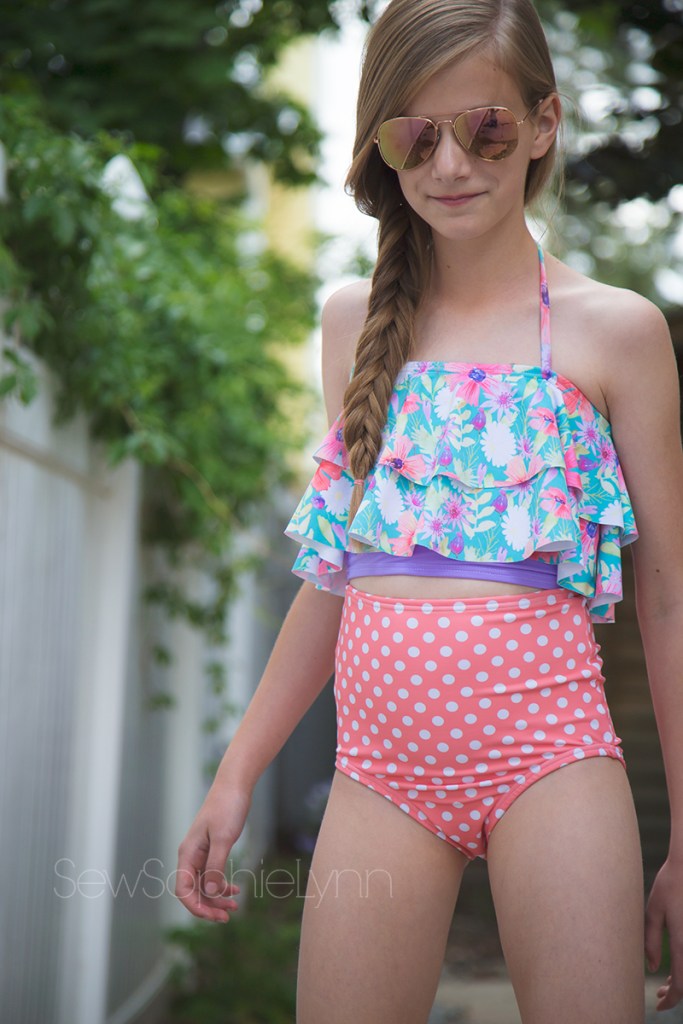
The colors in these prints are what sold me. The peachy foliage and teal geometric just remind me of our favorite vacation spot in Cancun. I paired these prints with solid peacock teal and tangerine for a little pop!

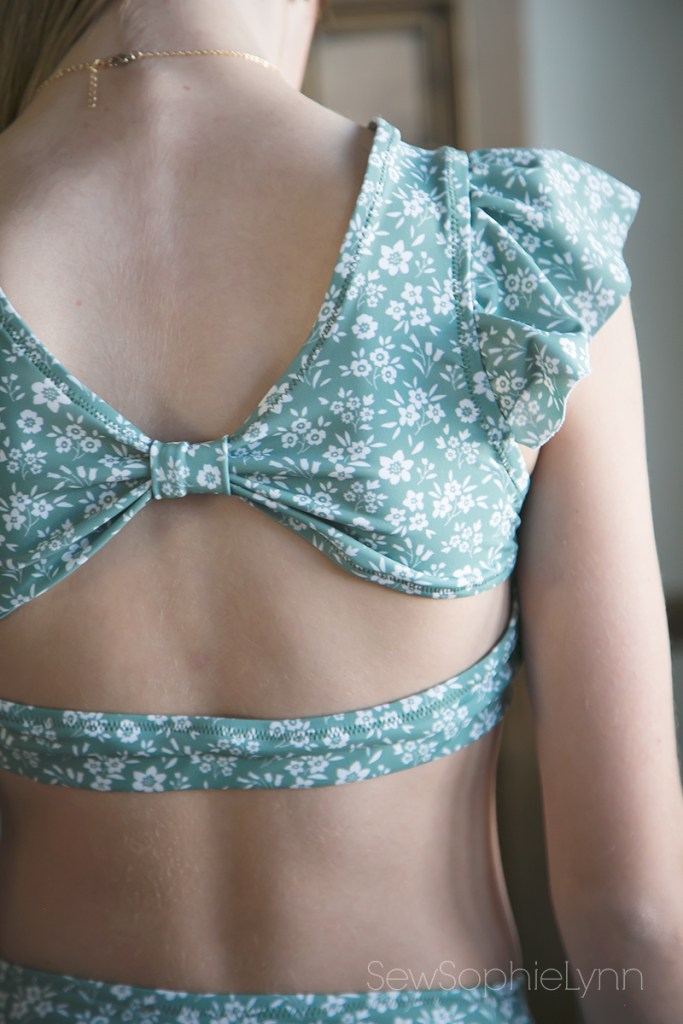
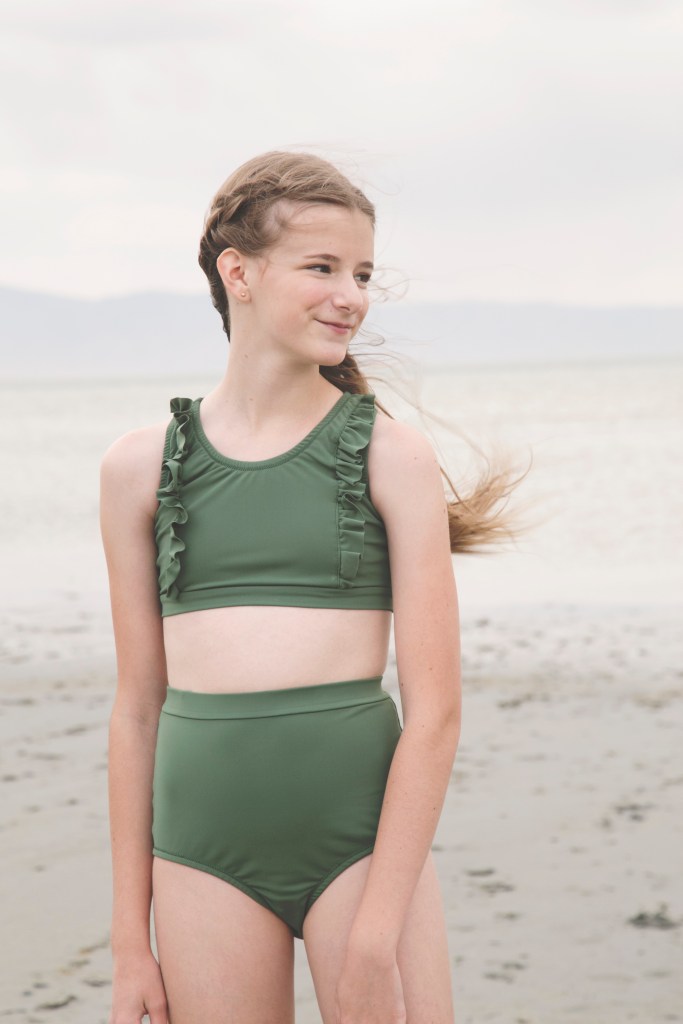
This girl had a very specific request for me. A ditsy floral swimsuit with flutter sleeves. Done and done!

The Little Lizard King Maui swimsuit seems to be a favorite of the RCF team this year and it’s no wonder! It’s really so, so cute! There are one piece and two piece options and the bow back is to die for. She picked the two piece and I slightly altered the flutter sleeve piece to give her the look she wanted. I extended the curved side of the pattern piece about an inch and then didn’t gather it as much as the pattern intended, starting and stopping the sleeve just under the arm. It gives it a little more of a grown up look than the typical flutter sleeve.

This Sage and White Ditsy Floral print was just what she dreamed. She really wanted a white floral and I love that Diana was able to make that happen! It’s so classic and sweet without being babyish. Just perfect for this almost teenager.

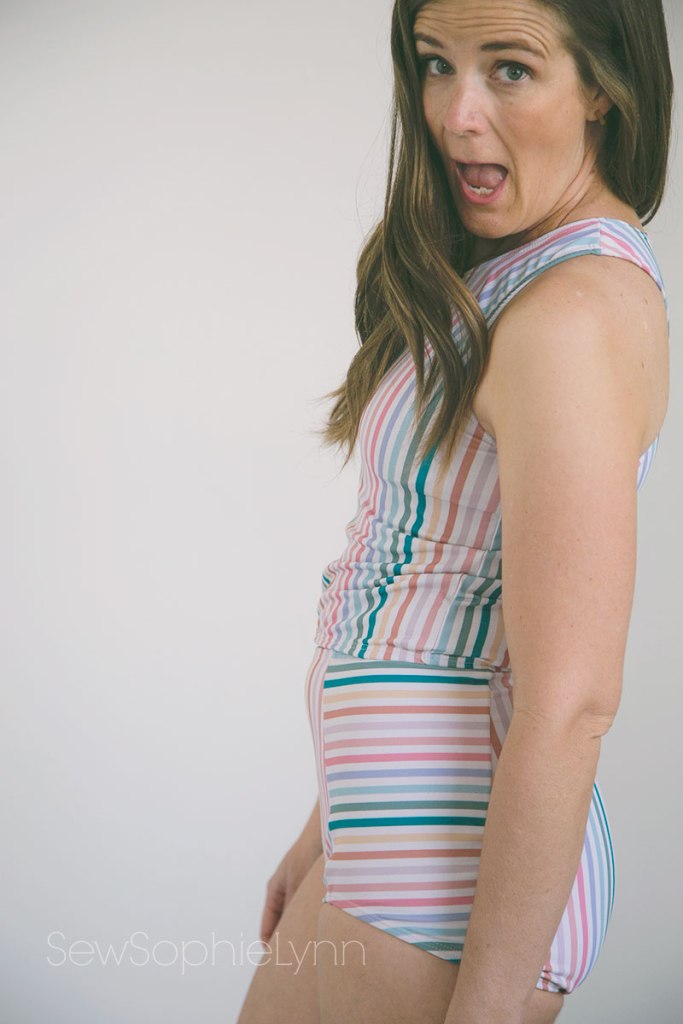
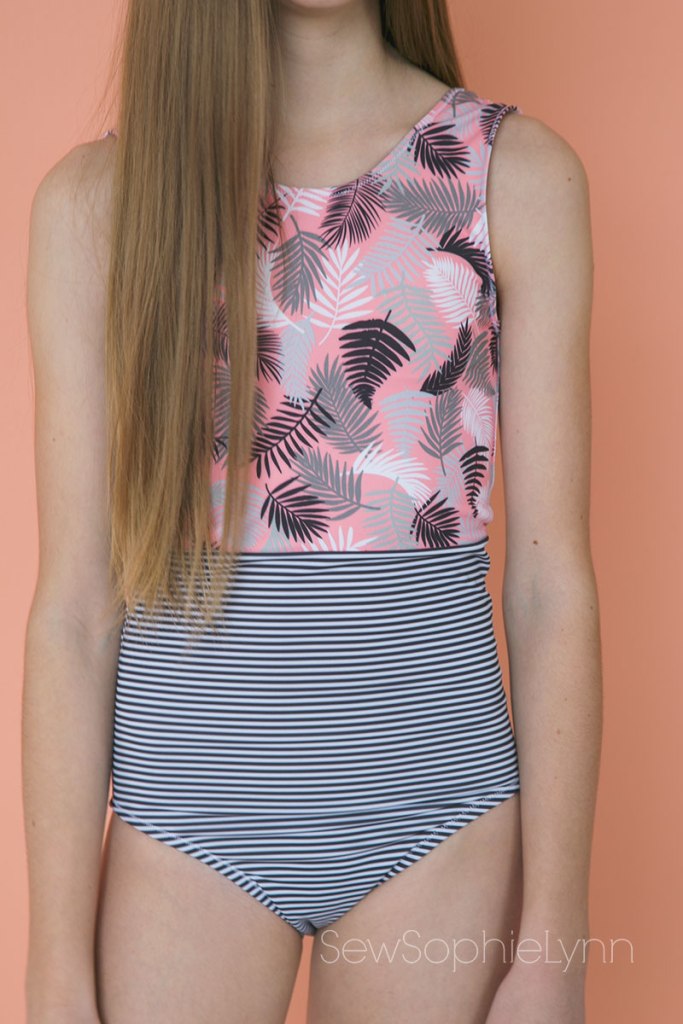
My swim wardrobe is pretty chock full but I really wanted another one-piece. I tend to shy away from them. Store bought suits rarely fit because of my long torso and I’ve yet to get a great fit when I’ve sewed one. I mentioned negative ease a bit before but let’s talk a little more about it. I think it plays such a huge part in how your finished garment looks and feels. Some patterns will have a lot of negative ease, meaning your fabric will be stretched to fit your body. This can be great to hold you in and keep things snug BUT it can also make your prints stretch out and make it uncomfortable to wear. I sewed a fantastic one-piece a couple of years ago but the negative ease really flattened me out (another con if you’re not working with a lot in the bust area like me!) and kept riding up in the length. You can solve this problem by sewing a bigger size (but I’d keep the elastic the same as your true measurements) or adding length.

So it was with a little trepidation that I sewed up this suit but boy am I thrilled! I sewed up the Clara from Swim Style Patterns. Swim Style is a new to me company based out of Australia. I stumbled upon them last year and immediately feel in love with all of their suits. They are so on trend and I initially thought of my girls with all of the adorable two piece options. But when searching for a one-piece with great coverage but a little extra ooomph, the Clara jumped out to me.

I love the leg line and the deep v-neckline really helps add to my (lack-of) curves. I sewed up a size small graded to a medium in the waist. I’m a rectangle with my current measurements being 34-30-38.
This pattern came together sooo easily! I loved the tutorial- not too lengthy but also had all of the information needed. The finish is nice and clean on the inside too making it sooo comfortable to wear. There are pockets to add cups and the option to add elastic to the under bust seam which really gives it that extra support. I chose to do a little gathering instead of the bust pleat since my bust is smaller. I was worried a pleat would be too big and the gathering turned out to be a great call. For my next version (which I seriously can’t wait to make), I’ll shorten the shoulder straps a bit to give even more lift and add power mesh to the stomach area between the lining and main fabric. Remember my rant about negative ease, the Clara seems to have the perfect amount for me! It’s not so tight that the print is distorted and doesn’t feel restrictive at all.

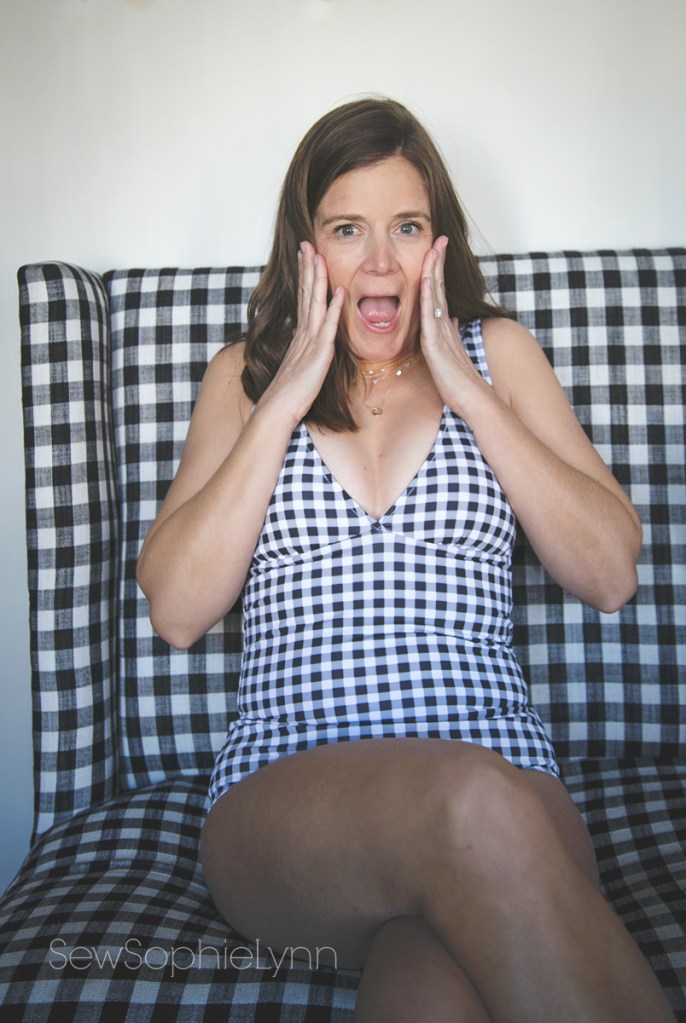
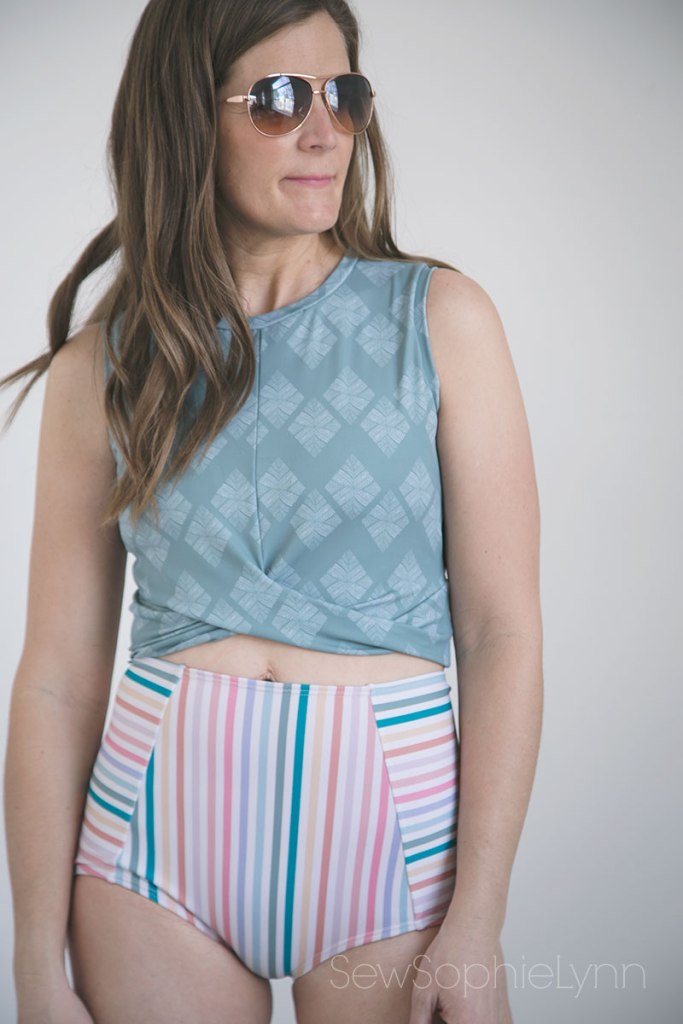
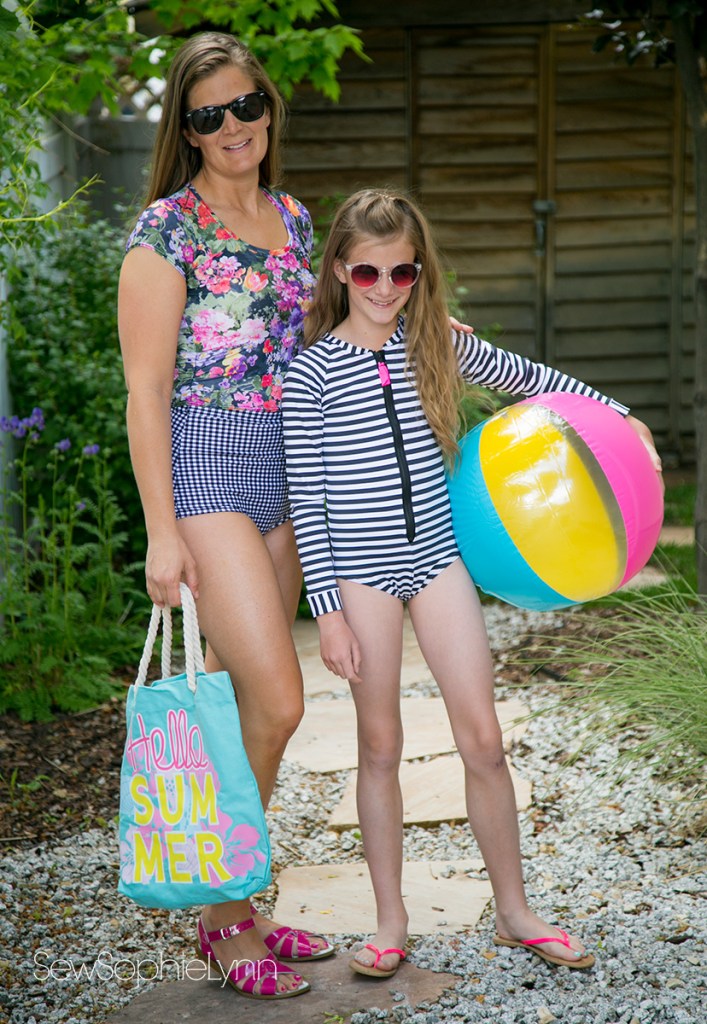
To say I have a thing for black and white prints is an understatement. I love me a good black and white stripe and gingham is right up there with that. This little bench is in our entry way and I was cracking up that I matched it!
I think the RCF CLUB basics don’t get enough love. They work great as coordinates but also stand on their own. This black and white gingham is so classy and timeless. Gingham is still everywhere in stores and will be around forever, just like this swimsuit! I can’t wait to wear it all summer long.


Thank you to all of our amazing sewists who joined in the tour this week! It’s been such a pleasure to sew along side them.
Hosted by SewSophieLynn and Paisley Roots
Sew Hard of Hearing, I Em Sew Happy, Zaji-Kali Makes, Sewing with CWay
Sew Mary Mac, Lorelei Caroline, Sew With Summer, All My Spare Time
Made By Kates, The Imperfect Sewist, Intensely Distracted, Lovely for Life
Sew Whit Designs, Sew What with Afton, It’s Liesel, Clothed in Vermillion
Kainara Stitches, Stacey Durant, Desert Blooms, That’s Sew Kari


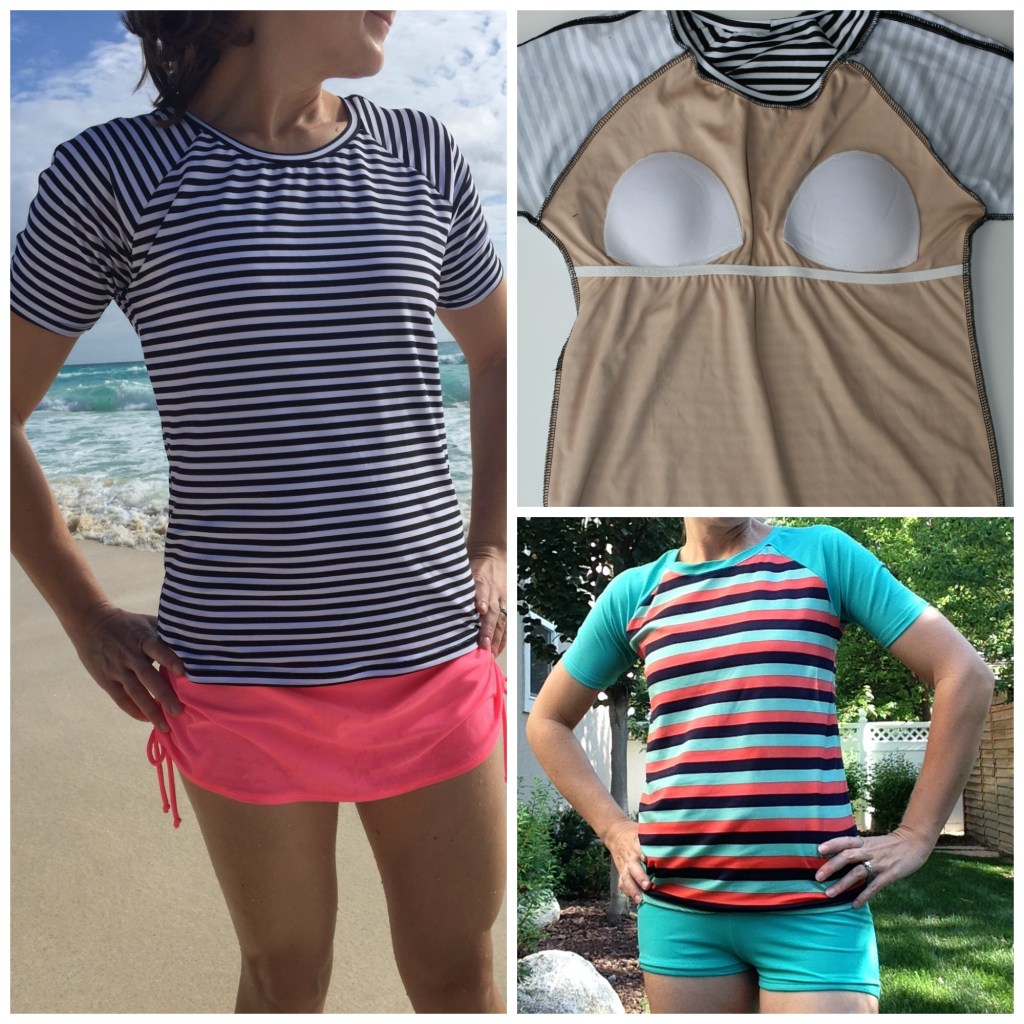


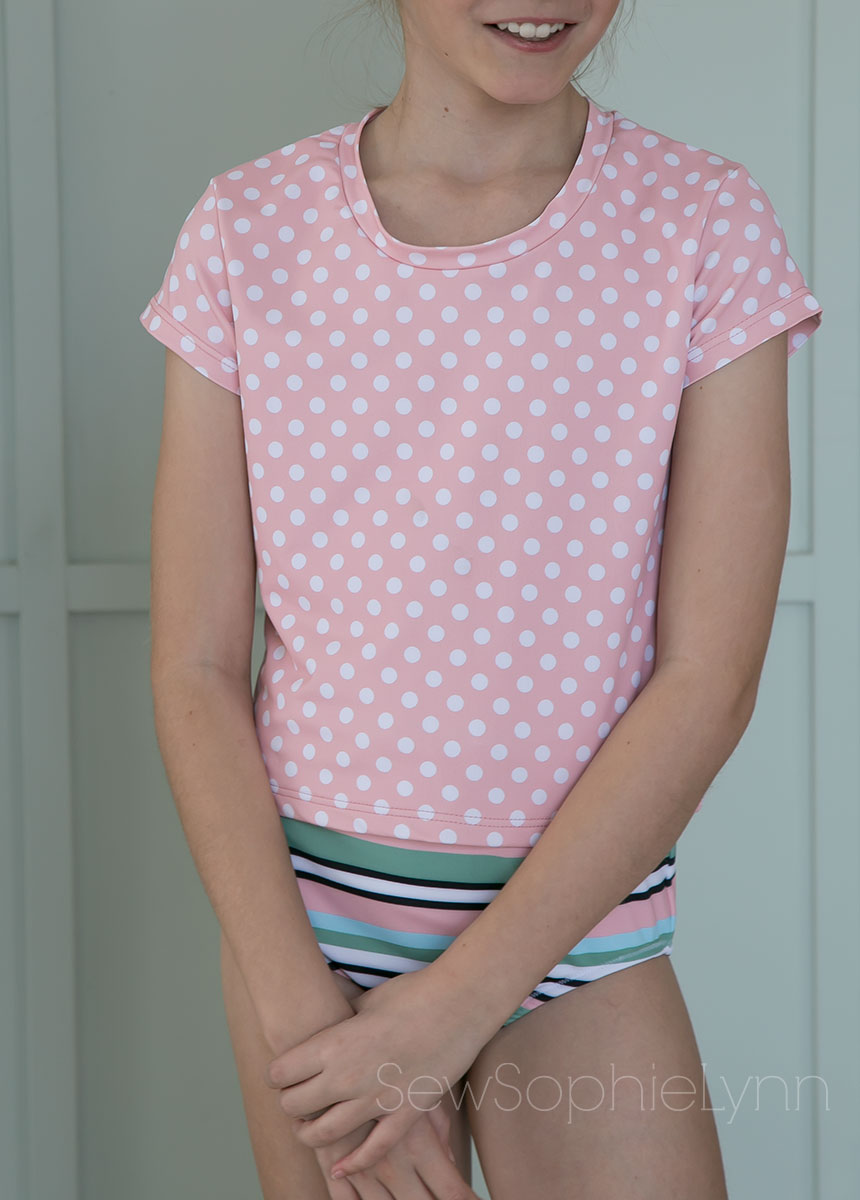
 This girl is just starting to develop breast buds and we wanted to add a little bit of coverage to her suits. She doesn’t need support yet but really just wanted to add some chest coverage. I’ve been adding bra cups to all my suits for years and I knew some light foam cups would be just what she needed. Here’s how I did it:
 First, I had her hold up the lining front piece. We positioned the cups accordingly. I used light foam cups, similar to what you find in sports or lounge bras. In fact, I save all of the cups from old lounge bras to re-purpose for my swim suits. I also like to stock up when I hit the LA fabric district (they’re a screaming deal at like 4 for $1). Wawak is another option for cups and
 Next, sew your cups on with a zig zag stitch. I like to sew over the cup edge to really smooth the edge and make it not as noticeable from the outside of the suit. Depending on the thickness of your main swim fabric, you can sew your cups on either the right or wrong side of your lining. With thick quality fabric like Raspberry Creek, I usually put the cups on the wrong side of the lining between the lining and main fabric. I find it more comfortable to not have the actual cup against my skin but it really works either way. For my rash guard, I did the cups against my skin so you can see them more clearly in the tutorial.
 I love the results of adding this little bit of coverage. I also hand sewed cups to the lining of an already finished suit and she feels so much more comfortable with the extra support. This would work well for ready to wear suits too since most children’s suits don’t adapt for this in the larger sizes. This is new territory for me and I’m glad I could give my girl a little more confidence when she hits the pool this summer.
 If you or your girl need just a little more support, you can add an elastic band for a shelf bra to your suit too. I don’t need much support, just a little lift and this method is perfect for me.
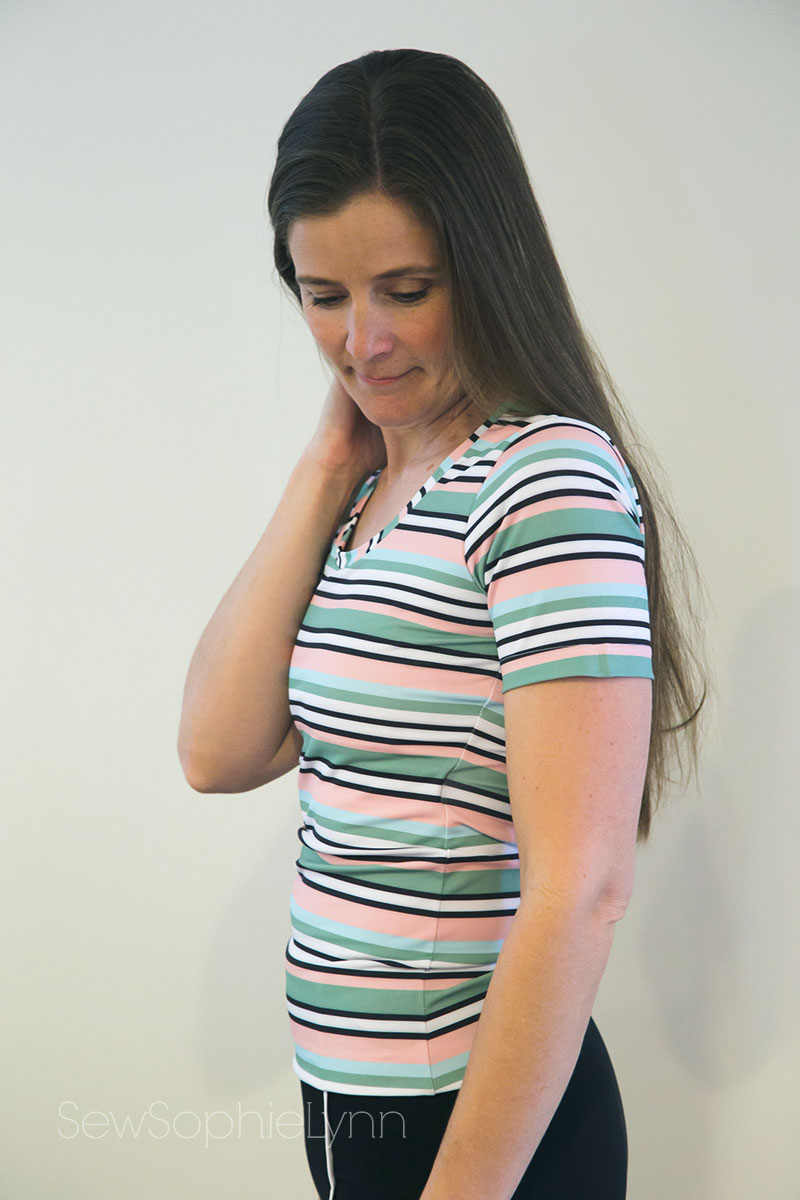
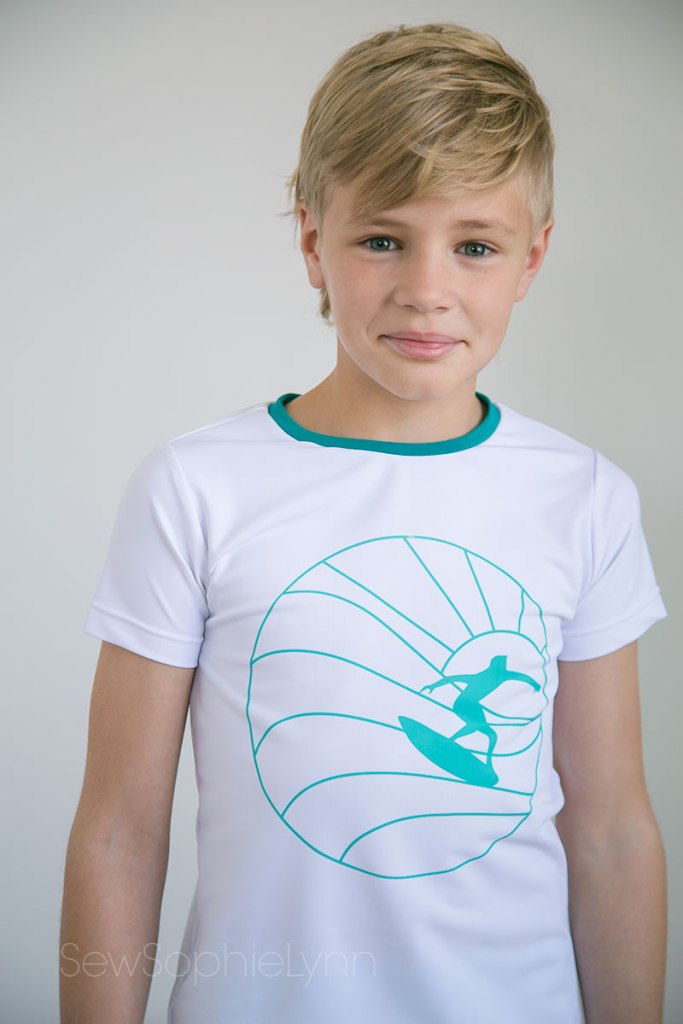
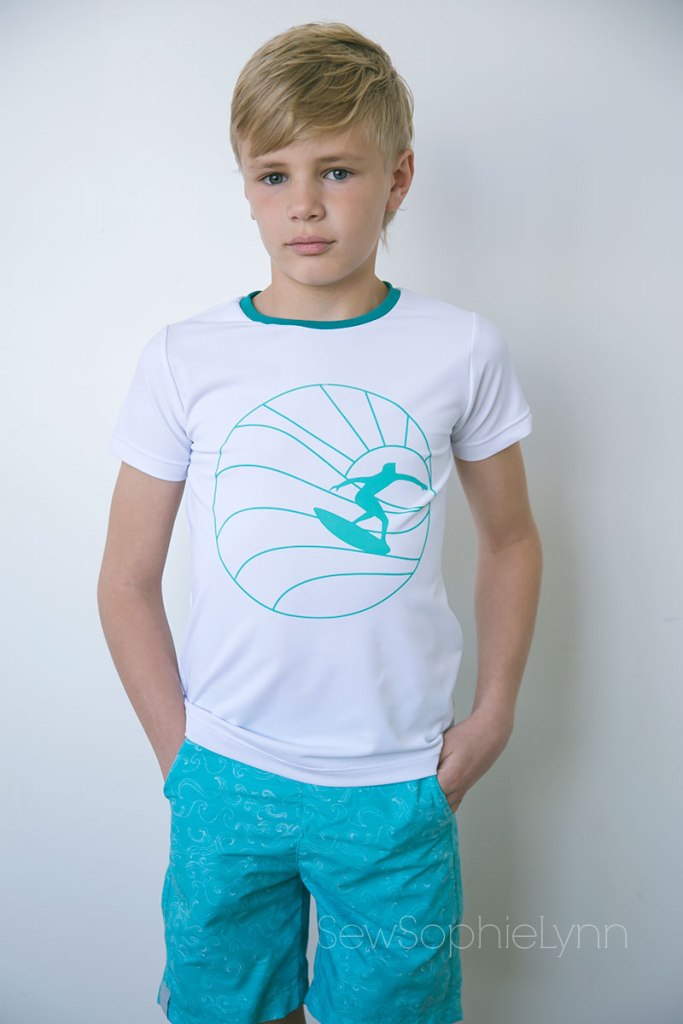
 For this rash guard I used the Patterns for Pirates
  For my suit, I used the same technique as my daughter to sew on the cups but this time I sewed my lining to the front and back bodice pieces at the shoulders first so I could ensure a good fit when placing them. I don’t like to fully line my rash guards because the extra layer is a little too hot for me. In the past I have fully lined the front but this time I chose to just line the top half. To add the elastic, determine how tight you want it to be. I cut mine two inches shorter than the width of the lining where I was placing it. You will then sew your elastic to your lining, stretching it as you sew. I like to sew my elastic just outside of the side seam allowance. This prevents pulling at the side seam. I use a zig zag stitch but you can use any stretch stitch. I had cut my lining piece longer than I needed so I had some wiggle room to work with. Once I had my elastic sewn on, I trimmed off the extra lining on the bottom.